
1. Overview
This article shows you how to set up more customized sorting for a hierarchy's values in your metric set from the Data Analysis Panel. For each level, you can choose a sort direction and optional members to appear on top or the bottom.
Similar sorting options are also available when editing a hierarchy or time dimension to define their default sorting when added to a metric set or used in a filter.
2. Defining custom hierarchy sorting
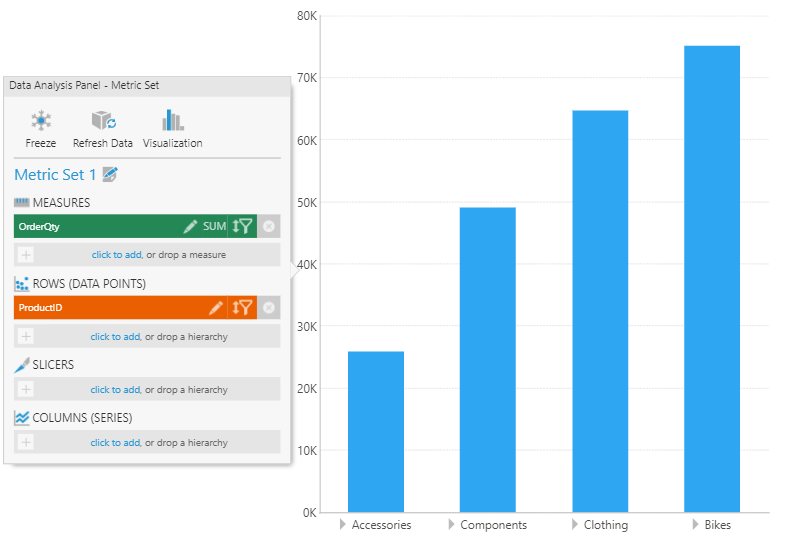
For this example, create or edit a metric set that is configured with one measure and a hierarchy under Rows.
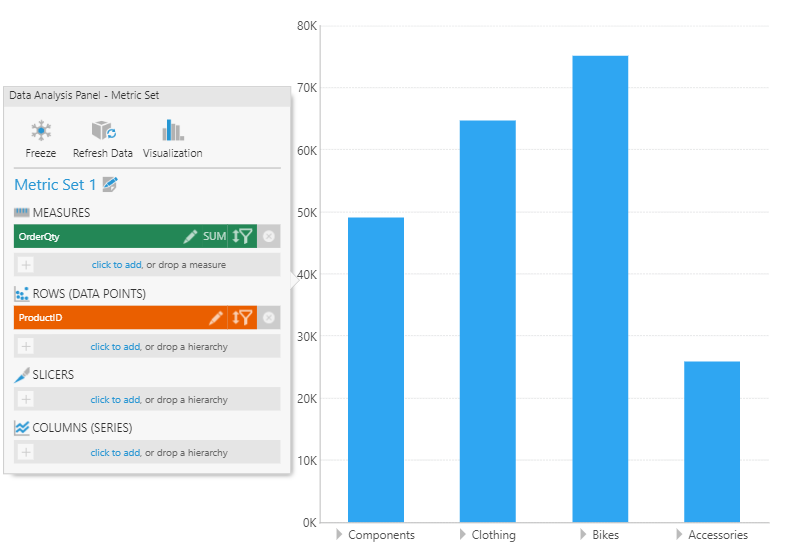
From the toolbar, re-visualize the metric set as a bar chart and observe that the bars are sorted according to Product Category names in ascending or alphabetical order. This is the default sorting behavior for the Product hierarchy and its levels.
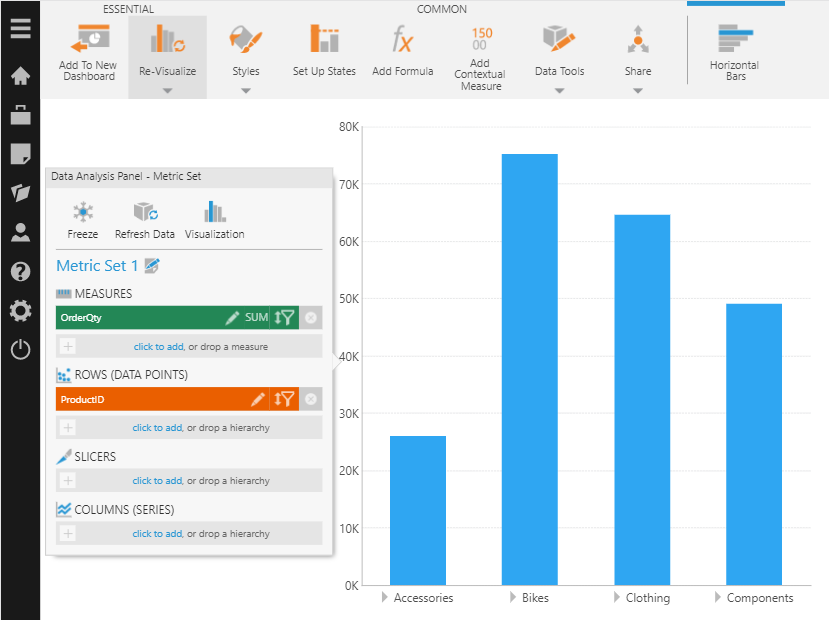
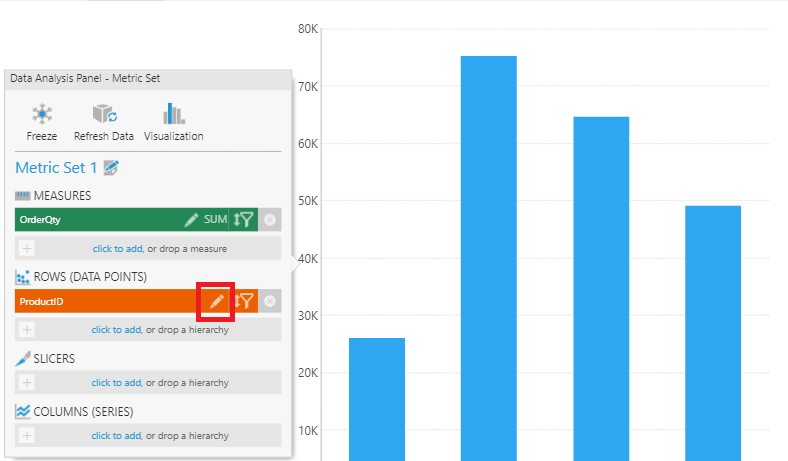
In the data analysis panel, click the Edit icon for the Product hierarchy.
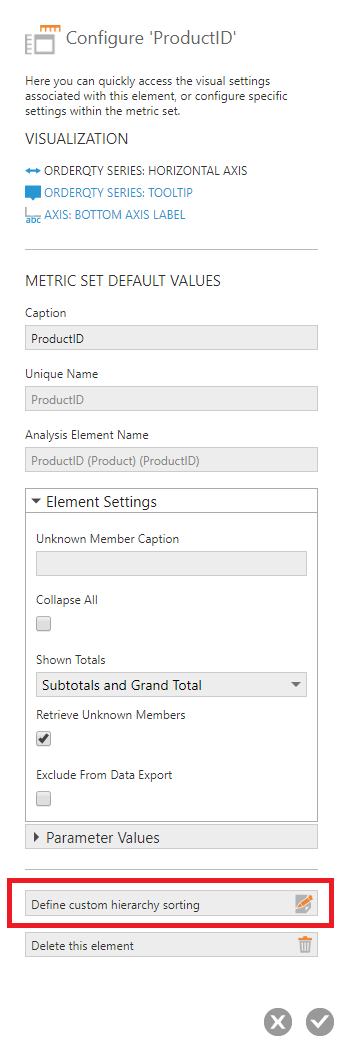
In the Configure Metric Set Element dialog, click Define custom hierarchy sorting.
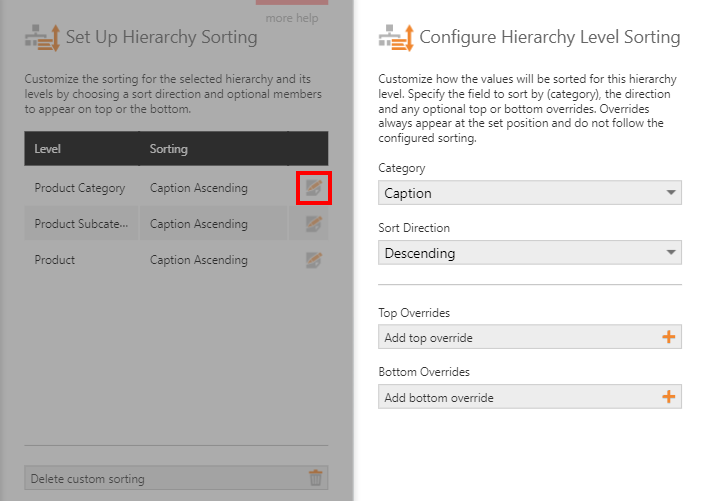
In the Set Up Hierarchy Sorting dialog, you'll see list of hierarchy levels (e.g., Product Category, Product Subcategory, and Product).
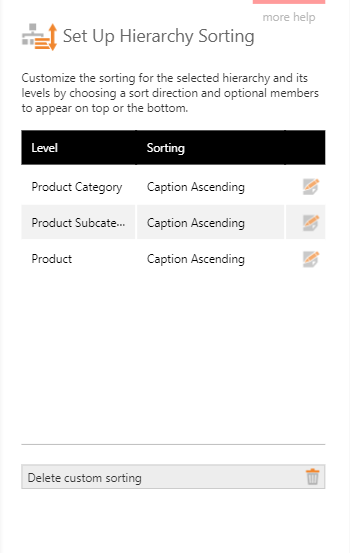
Click the edit icon for the Product Category level to configure the sorting for this level.
In the Configure Hierarchy Level Sorting dialog, set the following options:
- Choose a Category. This is the member property you want to use for sorting (e.g., Caption or UniqueName).
- Choose a Sort Direction. For example, set it to Descending.
Click Submit to save your changes.
Observe that the bars are now sorted according to Product Category name in reverse alphabetical order.
3. Specify members to be on top or bottom in sort order
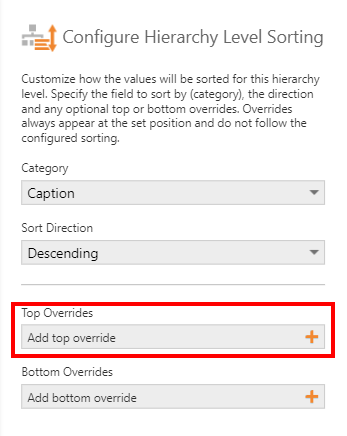
In the Configure Hierarchy Level Sorting dialog, there are two additional options which let you choose one or more hierarchy members to always appear on top or bottom in the sort order.
For example, extend the previous example by clicking Add top override.
Click the dropdown that appears and select the member (e.g., Accessories) you always want to appear on top.
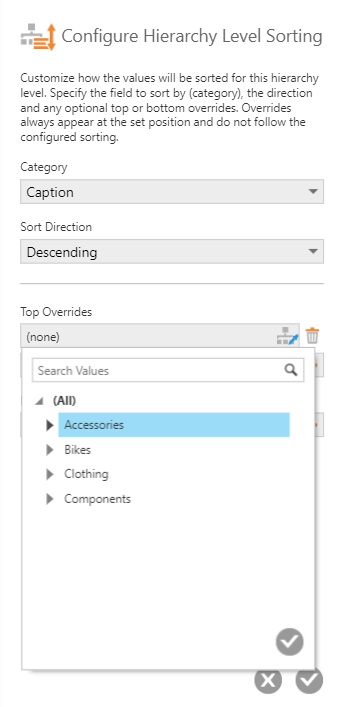
Click Submit to save your changes.
Observe that the bars are now sorted the same as before (reverse alphabetical order) except that the Accessories member appears first in the sort order.
You can specify which members appear at the bottom by adding a bottom override in a similar way.