
1. Overview
This article describes what to do when you want to upgrade an installed application instance to a new version, then walks through upgrading an instance installed directly on Windows.
2. Review the release notes
Before upgrading, review the release notes as they may contain important information about changes in functionality with the latest release.
For example, the list of changes page may include a list of behavior changes that could potentially impact your existing content.
3. Review licensing
You may need a new version of the license, which can be applied during or after the upgrade procedure:
- When upgrading between minor versions or revisions: you do not need a new version of the license.
- When upgrading between major versions: you do need a new license version. If your existing license is a subscription license, the license auto-update feature should detect, download, and install your new license version if the license validation feature is active and outgoing data traffic to update.dundas.com on port 443 is not blocked by any firewall. Otherwise, contact your Account Executive or Support.
See the article on version numbers for more information about them.
If you need to apply a new version of the license yourself, you may want to obtain it beforehand so you can apply it during or immediately after the upgrade. For details on viewing and adding licenses before or after upgrading, see the article about managing licenses.
4. Download the latest version
The remainder of this article walks through the upgrade procedure for an existing Custom Analytics instance on Windows. For other types of installations:
- Upgrades for Docker and Kubernetes deployments are determined by your selected tag or version parameter.
- For Custom Analytics running directly on a Linux server, see Installing Custom Analytics on Linux for details on installing and then running a new version Deployment Wizard, which can be used to upgrade your instance.
- If you are upgrading an older Logi Symphony Managed Dashboards & Reports module to version 26.2 or higher, follow the general installation procedures instead to create a new Custom Analytics instance, and select or specify your existing application and warehouse databases. You can also obtain further guidance from your Simba representative.
To upgrade an existing instance of Custom Analytics installed directly on Windows, first download the latest Dundas.BI.Setup program for Windows from the My Account page of this website after logging in.
5. Run the new Setup program
The Dundas.BI.Setup program for Windows that you downloaded from this website contains the new version of Custom Analytics, and its name contains its version number.
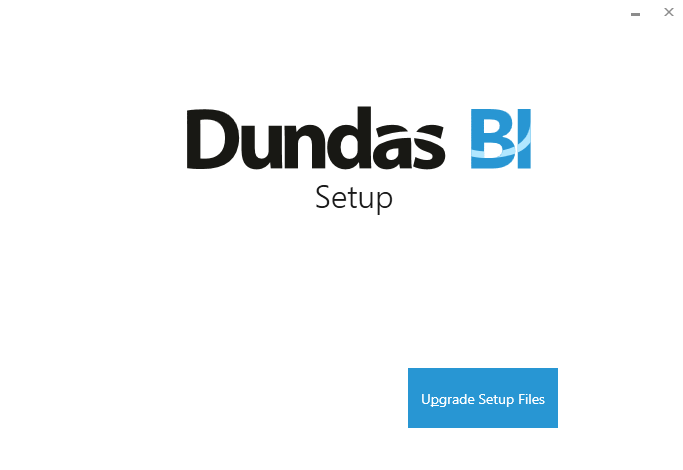
When you run the setup program, it may ask you to upgrade the existing Dundas BI Deployment application that is already installed. Click Upgrade when you see this screen.
This is just a setup upgrade - your Custom Analytics application instance will be upgraded in a later step.
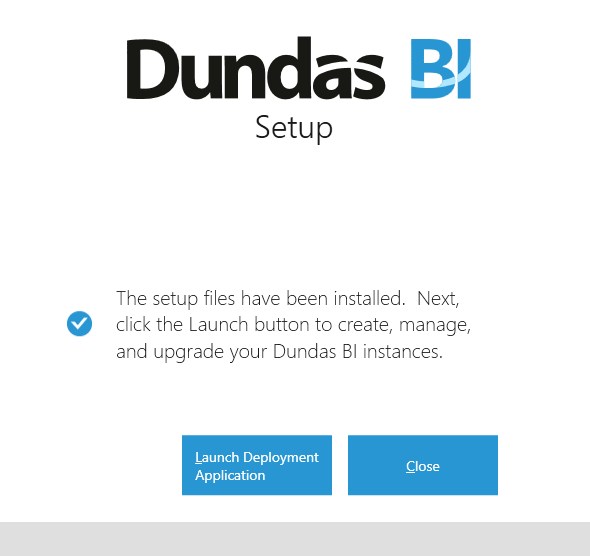
After the setup upgrade is complete, click Launch Deployment Application to open the Dundas BI Deployment application.
6. Upgrading an instance
You're now running the latest version of the Dundas BI Deployment application.
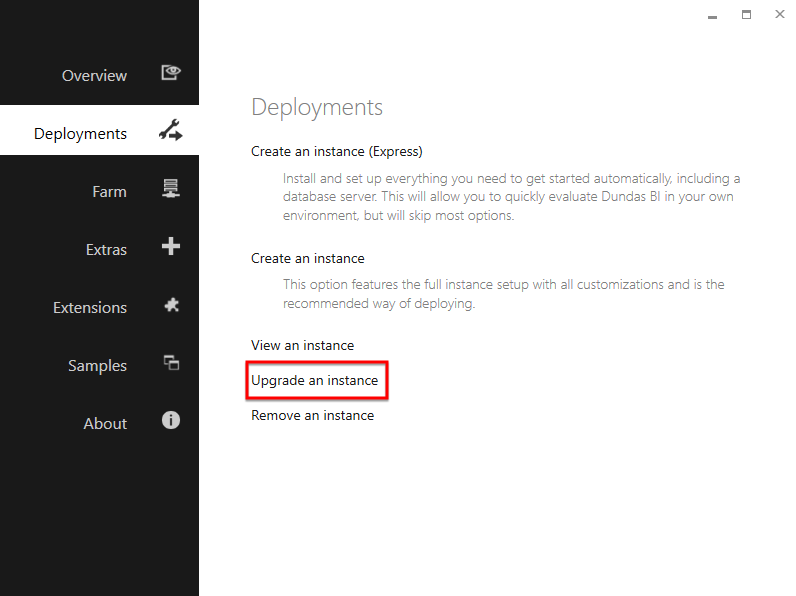
In the main screen, click Deployments on the left. Then click Upgrade an instance.
6.1. Prerequisites
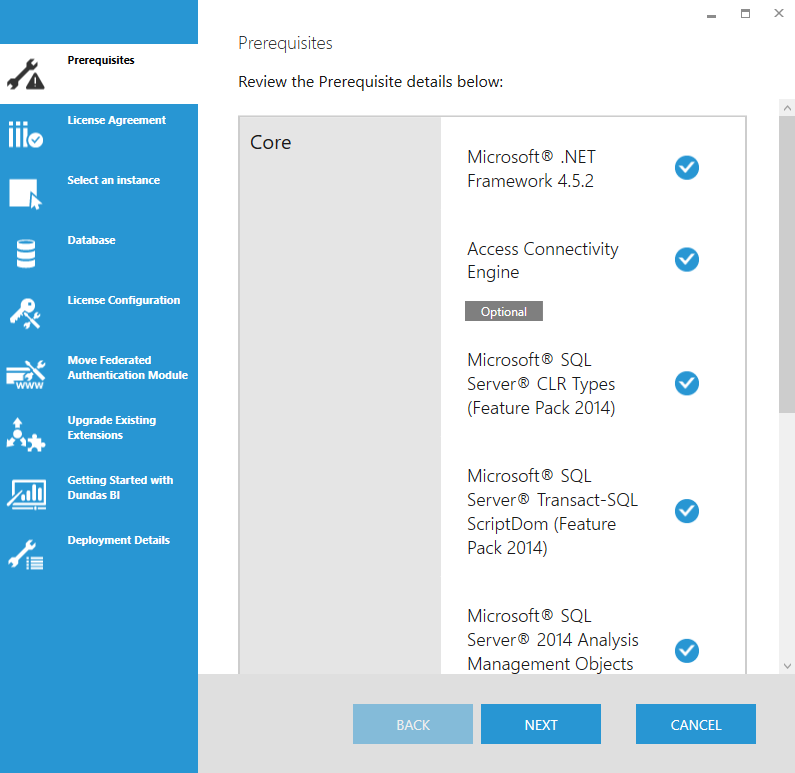
The upgrade installation requires a number of prerequisites to be installed before it can proceed further. If your system has all of the prerequisites, simply click Next to continue.
If your system is missing some of the prerequisites, install the missing prerequisites. Then return to this screen and review the Prerequisite details again. Once all of the checks have passed, click Next to continue.
6.2. License agreement
You must agree to the terms of the Dundas BI License Agreement before proceeding. If you agree with the terms, select the given checkbox and then click Next to continue.
6.3. Select the instance for upgrade
In the Select an instance step, select the existing Custom Analytics instance you want to upgrade.
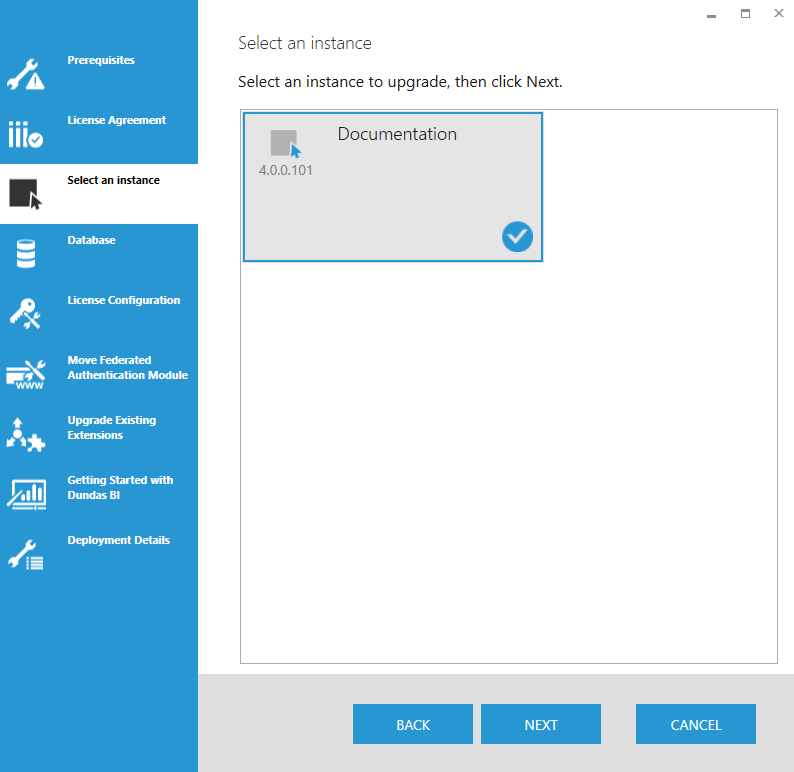
Click Next to continue.
6.4. Upgrade database connection
In this step, you must decide whether to use the existing database connection settings for the Custom Analytics application and warehouse databases, or enter different connection settings.
It is recommended to keep the existing settings but if you want to apply new settings, select that option and click Next. You will be allowed to enter the new settings exactly as if you were installing a new instance. See Installing Custom Analytics for more details on setting up the Application Database and Warehouse Database.
Make sure the option to backup databases before upgrade is selected.
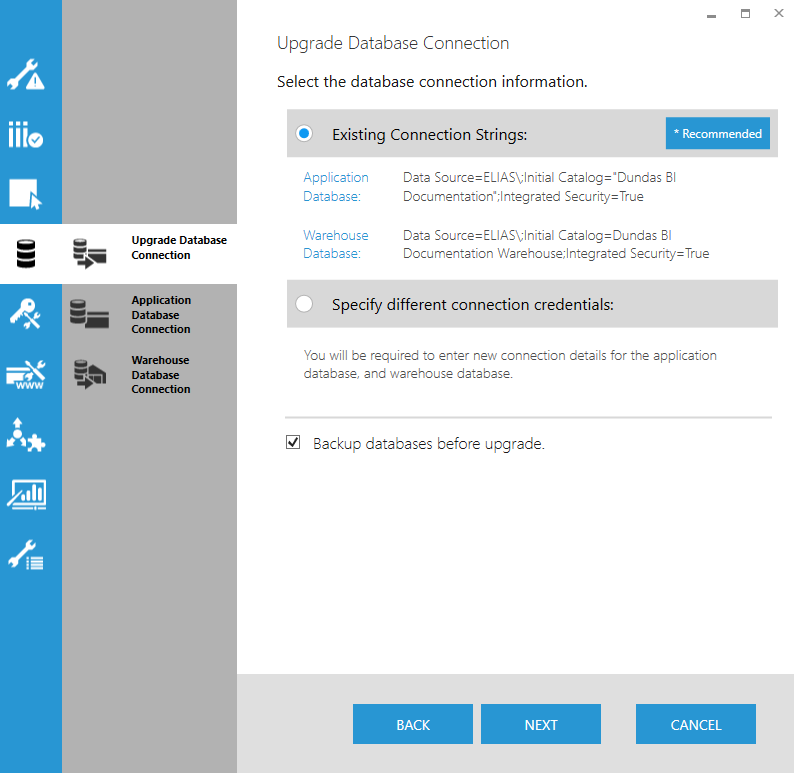
Click Next to continue.
6.5. License configuration
The License Configuration step only appears if you are upgrading to a different major version, find more details in the article Version numbers.
In this case, indicate whether you want to use the evaluation license, or apply an actual license file obtained from Simba.
Note that you can always apply a retail license after you've upgraded the instance (by going to the Admin screen). See Managing licenses for more details.
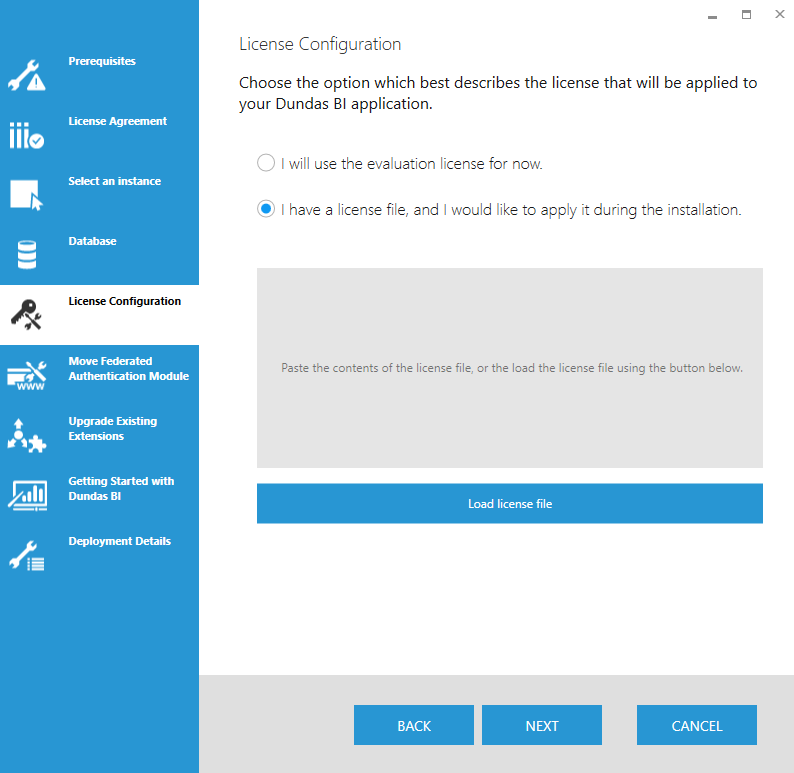
Click Next to continue.
6.6. Move federated authentication module
The Move Federated Authentication Module step appears only if you are upgrading an instance with an external Federated Authentication Bridge (usually early versions of Dundas BI 4.0).
In this case, indicate whether you agree to move the Federated Authentication Bridge to be underneath the Custom Analytics website.
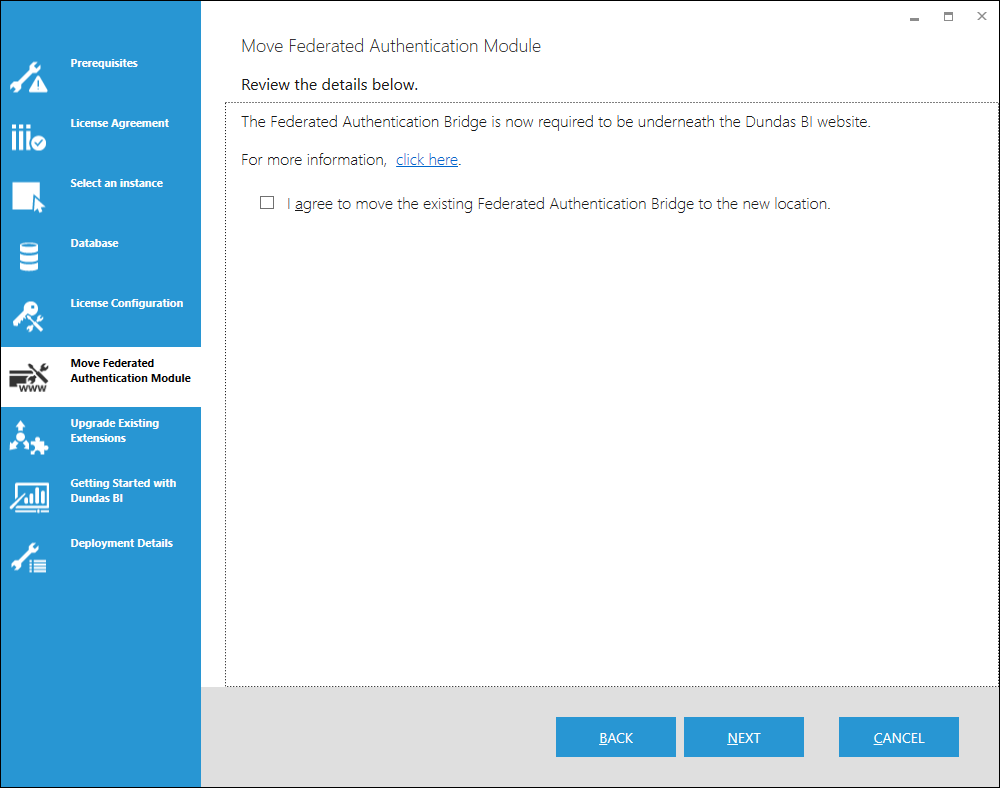
Click Next to continue.
6.7. Upgrade existing extensions
Select existing extensions to upgrade, such as the SAML 2.0 Protocol Extension.
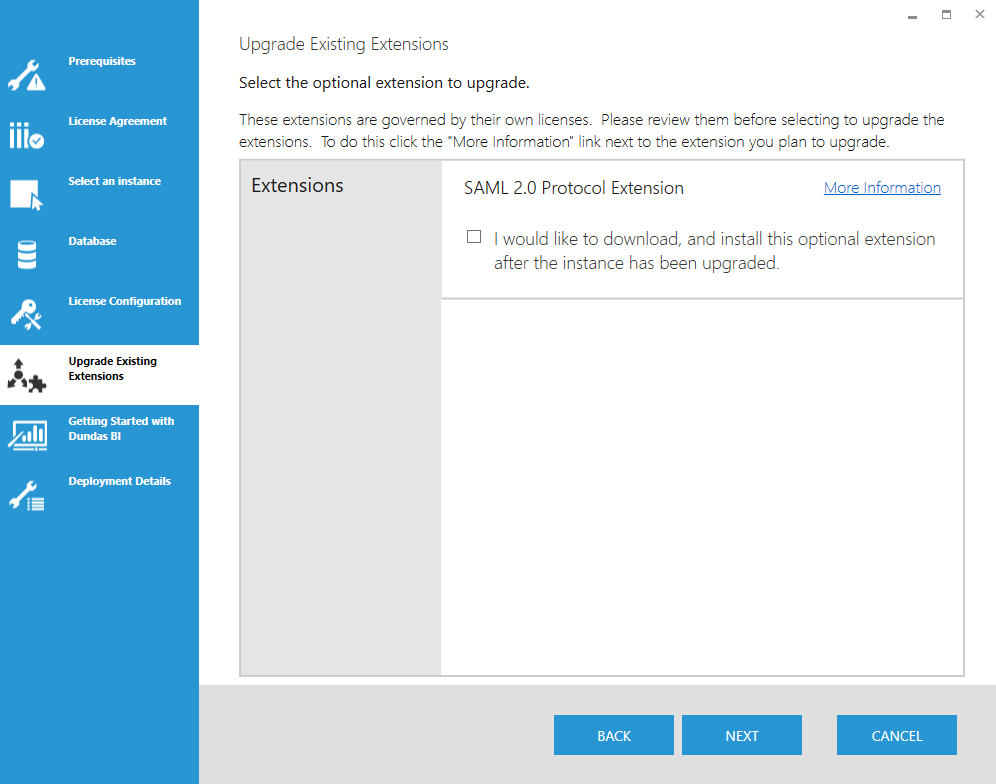
Click Next to continue.
6.8. Getting started tutorial
Indicate whether you want to include the Getting Started Tutorial project, which may have been updated since the previous version.
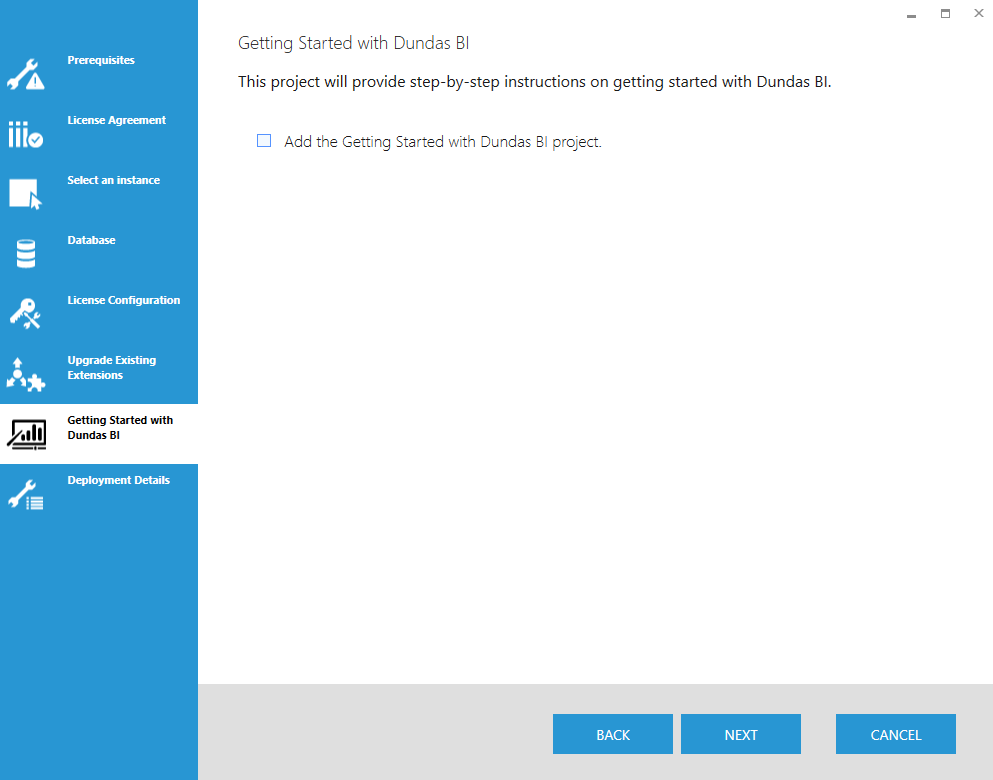
Click Next to continue.
6.9. Review upgrade details
Review all of the options you selected one more time before proceeding with the upgrade installation.
You can also print the list of upgrade details from this screen.
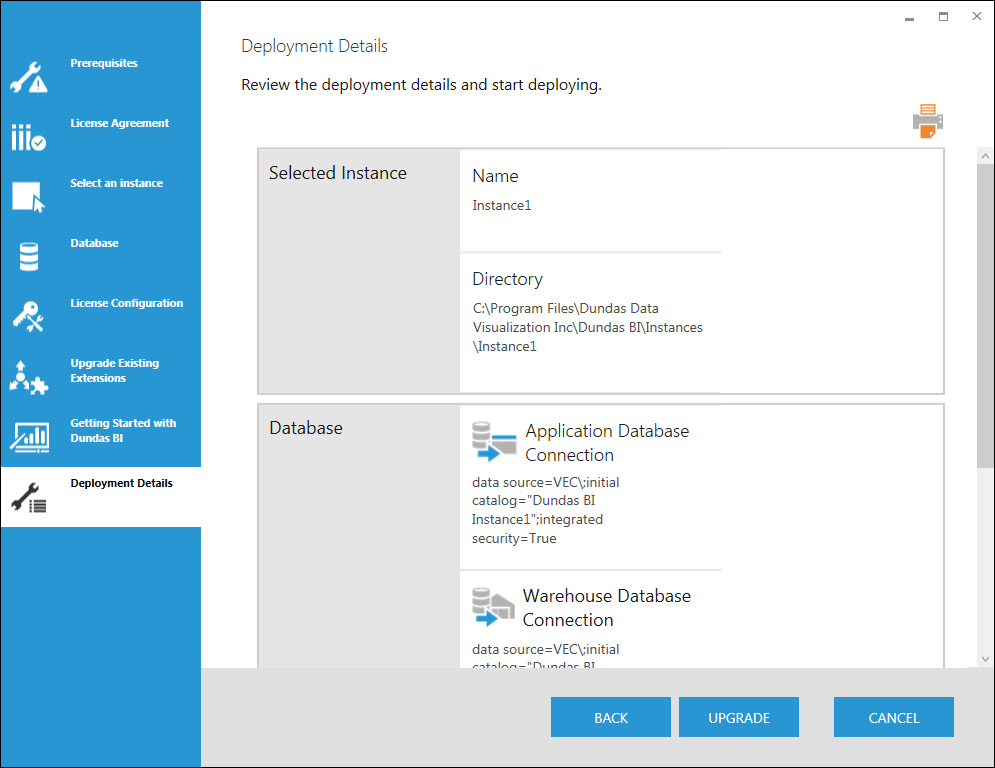
If everything looks fine, click Upgrade to begin the upgrade installation.
6.10. Upgrading instance has succeeded
When the upgrade installation completes, click the provided website link to begin using Custom Analytics. This should be the same link as before.
You can also review the upgrade installation logs from this screen.
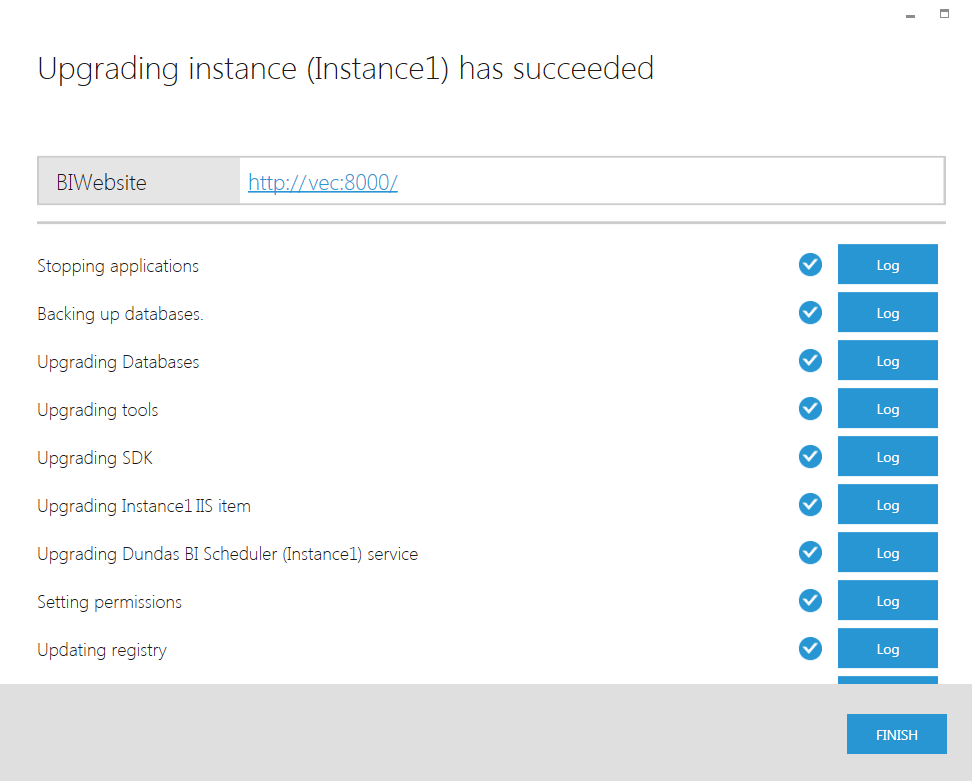
Click Finish to return to the Dundas BI Deployment application main screen.
7. Next steps
If you have a new retail license but did not apply it during the upgrade, log on to the upgraded Custom Analytics instance as an administrator and apply the new license. See Managing licenses for more details.
If you just upgraded to a new major version and no longer need the previous version of Dundas BI Deployment, you can uninstall it from Windows Settings.
8. See also
- Installing Custom Analytics
- Version numbers
- View the installation log files
- Managing licenses
- Installing Custom Analytics on Linux
- Using Custom Analytics Docker containers
- Orchestrating Custom Analytics with Kubernetes and Helm charts
- Remove an instance
- Custom Analytics - Release Notes