1. Overview
This article shows you how to add a new license and view your current license.
Once you've added a valid retail license, the evaluation watermark should disappear from your application screens the next time you log on.
2. Add a license
Once you've obtained a new license file or text, go the Administration area using the main menu on the left. In newer versions this can be found under Profile.
Expand Licensing along the left side of the screen, click Licenses, and then click Add New.
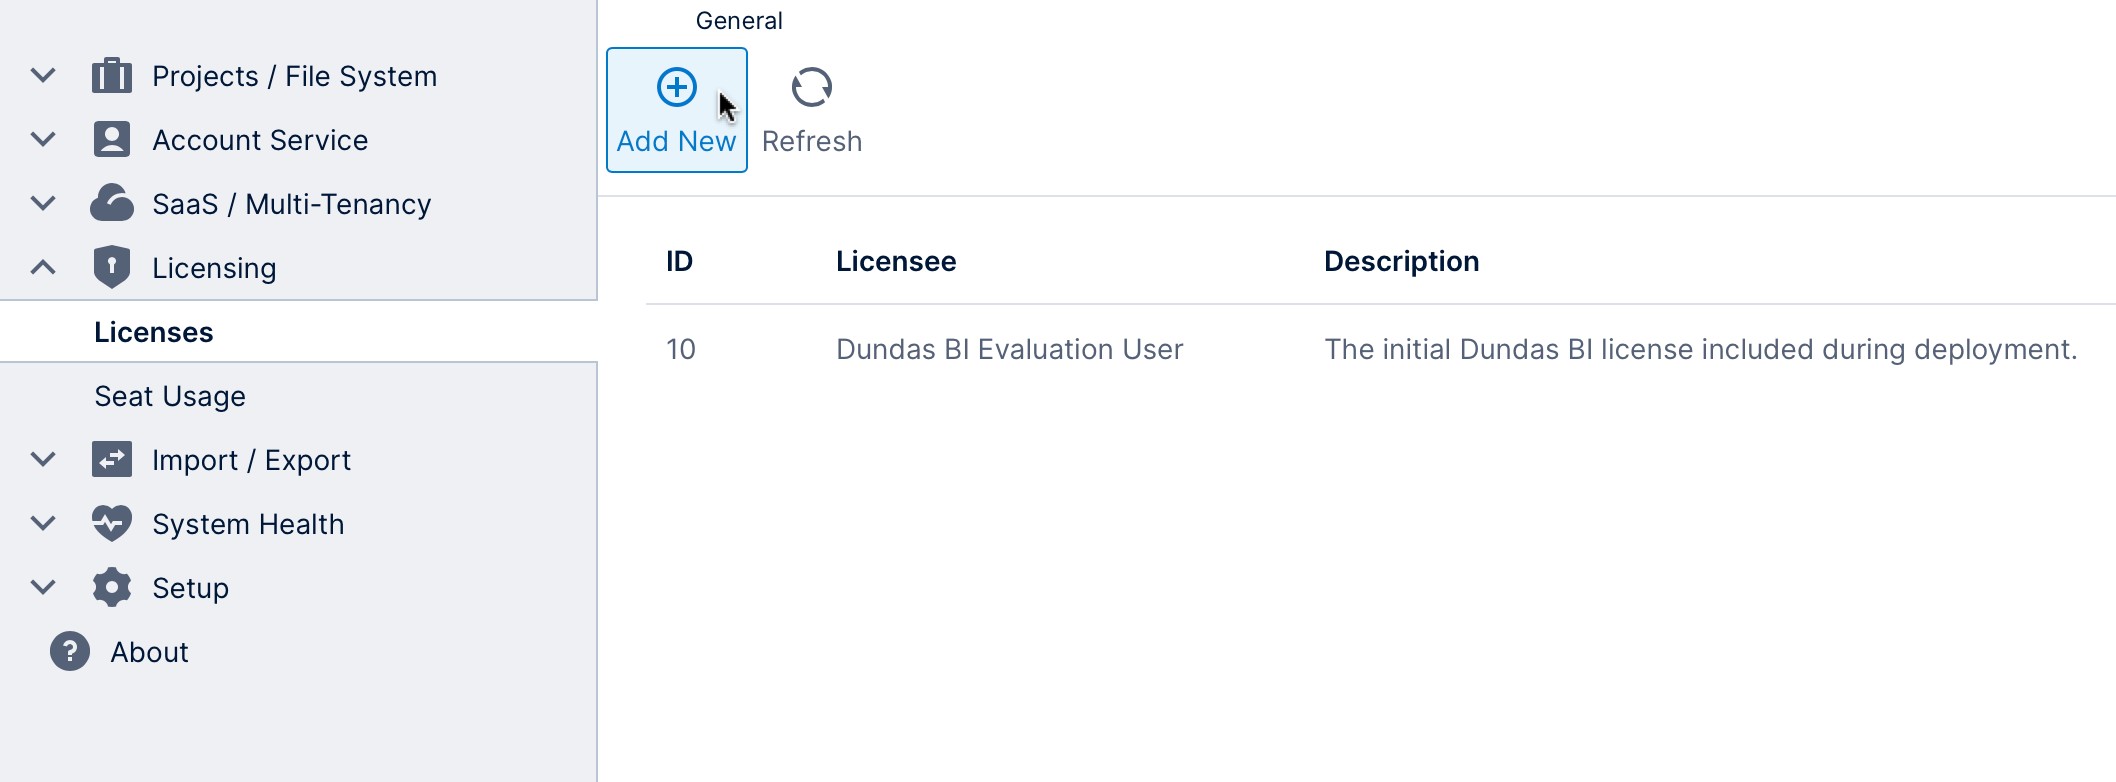
Most of the space in the dialog that opens is taken up by an empty text box.
Click into this text box and paste the license text you obtained, for example by pressing Ctrl+V or ⌘V on your keyboard. If you have a license file, click to choose and upload it.
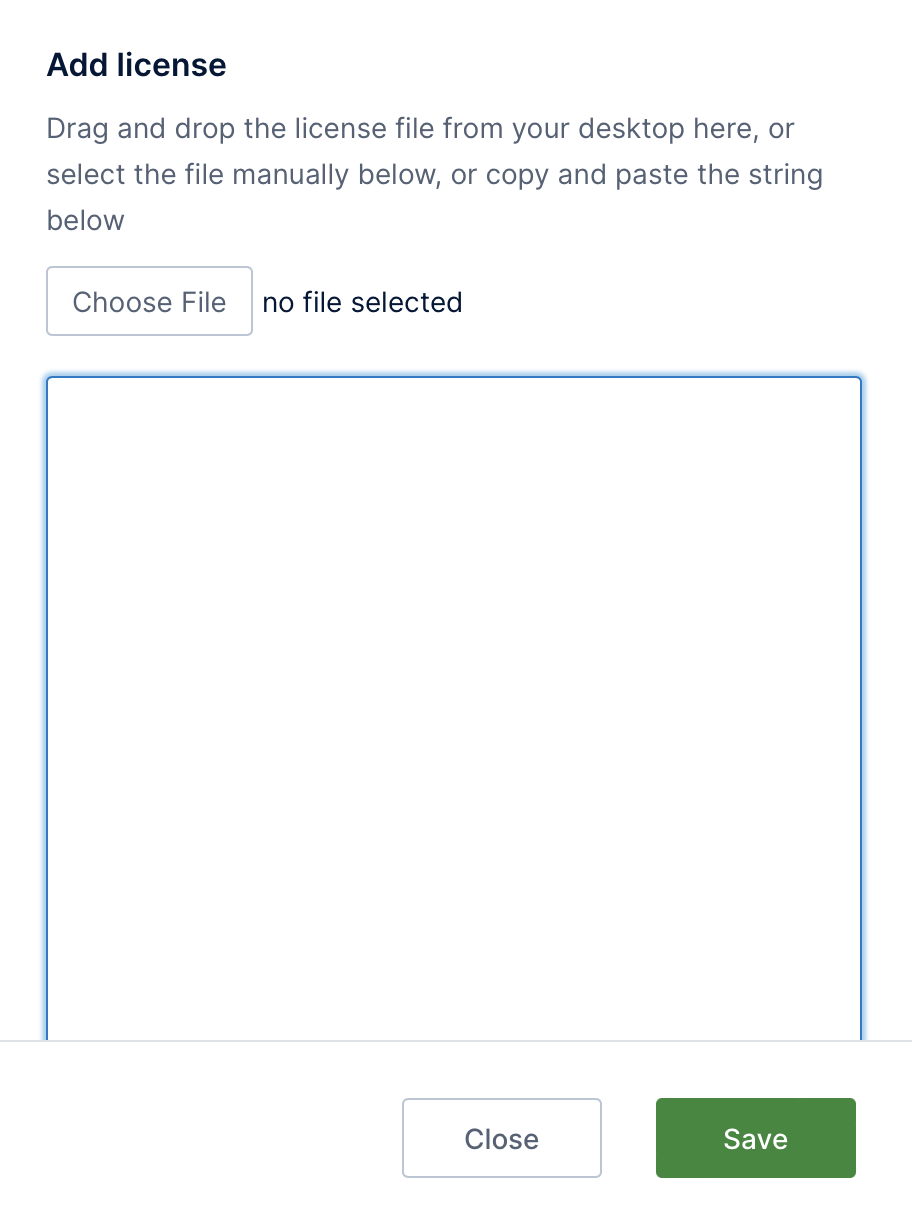
Click Save to add the license. The licenses list should be updated with the new entry.
Log out and log back on for the changes to take effect.
3. View licenses
Go to the same Licenses page described above to see a list of the licenses currently installed.
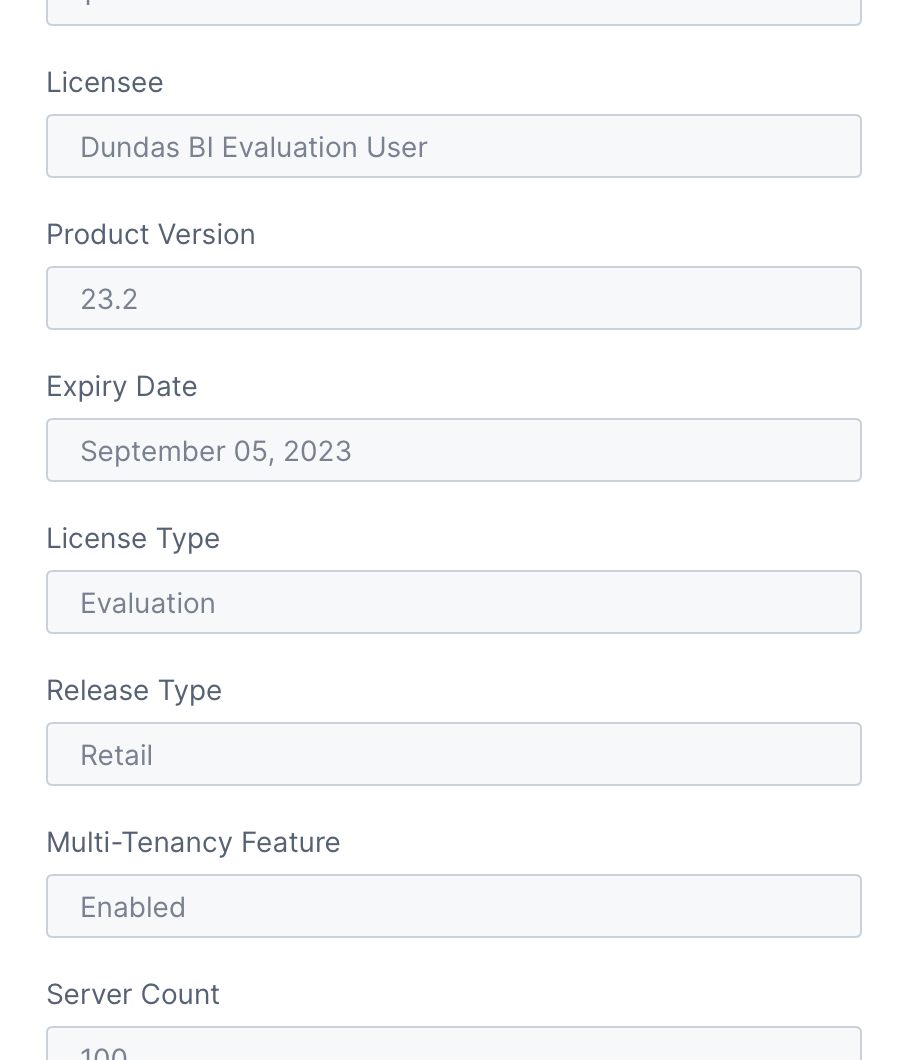
Select any license in the list and click Details in the toolbar to open the details in a dialog (double-click as a shortcut). Scroll down to view all the details of the license such as:
- Status of the license (e.g., Valid or Expired)
- Product Version
- Multi-Tenancy Feature (e.g., Enabled)
- Reserved Power User Seats (number of license seats for reserved/named power users)