
1. Overview
This walkthrough shows you how to use overrides to allow multiple tenants to share the same application instance and objects such as data connectors and dashboards but have them display differently for each tenant.
For example, data connector overrides can access different databases for each tenant if they have the same structure, allowing you to reuse all of the same objects based on that data connector between tenants including dashboards and reports. Each tenant might maintain their own database, or you may decide to use separate databases for security reasons.
2. Example setup
The following steps walk through setting up a simple example of a dashboard shared between tenants but displaying different data for each.
2.1. Set up tenant data sources
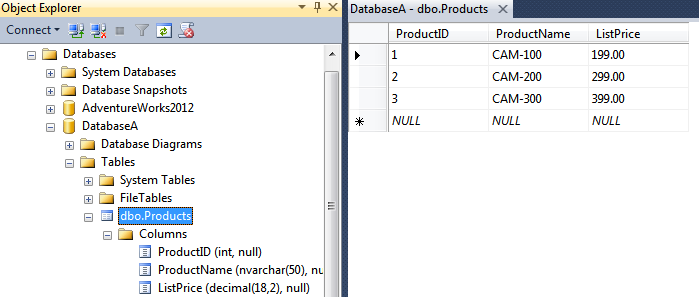
Create a database with a single table for the first tenant as follows:
- Database name: DatabaseA
- Table name: Products
- Column: ProductID, int
- Column: ProductName, nvarchar(50)
- Column: ListPrice, decimal(18,2)
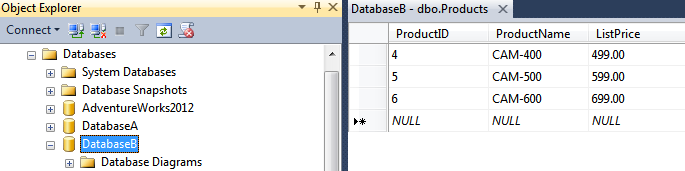
Create a DatabaseB for the second tenant with the exact same schema (but different data) as above.
2.2. Create a new project and dashboard
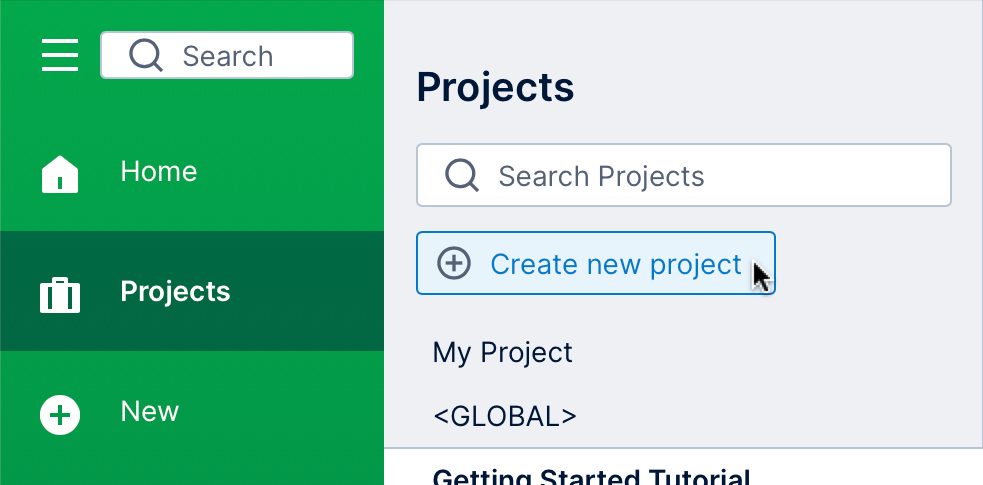
For this example, log on as a System Administrator and create a new project:
- Allow it to be accessible to all tenants by not assigning it any specific tenant.
- Select Set As Active Project (or switch projects afterward).
- Set Initial Project Privileges to Public to allow everyone read access by default.
In this project:
- Create a new data connector for DatabaseA.
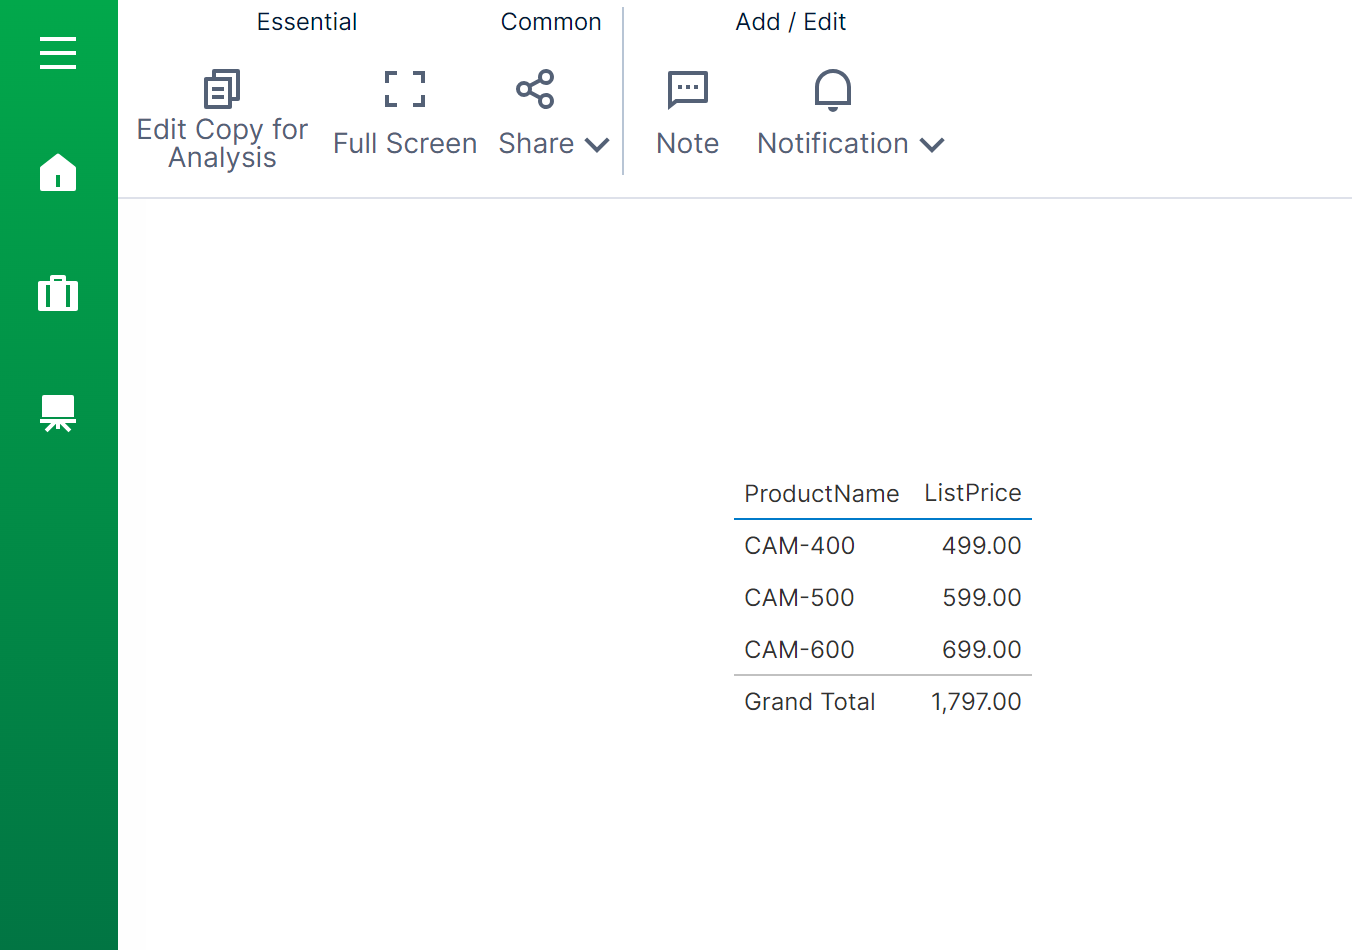
- Create a new dashboard by dragging the ListPrice and ProductName columns from your data connector to the dashboard canvas. In our example, data from DatabaseA is displayed as a table visualization:
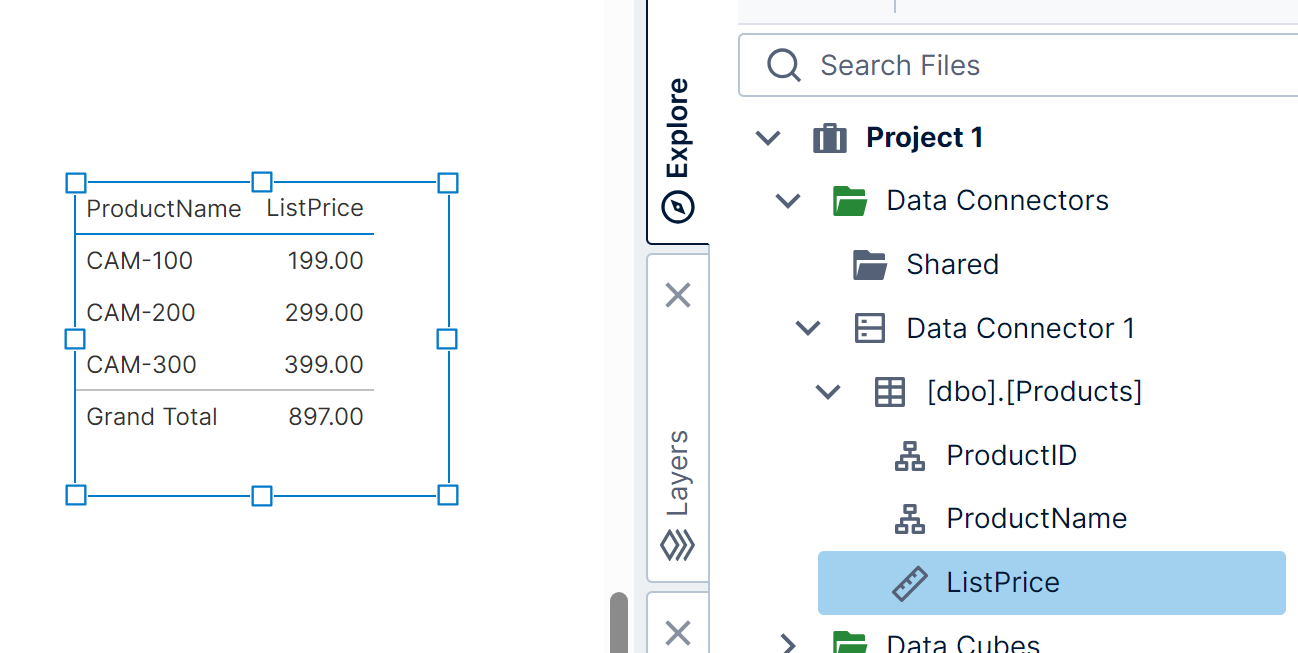
Create a new dashboard - Check in your dashboard so that other users with access to the project can view it.
2.3. Add tenants and users
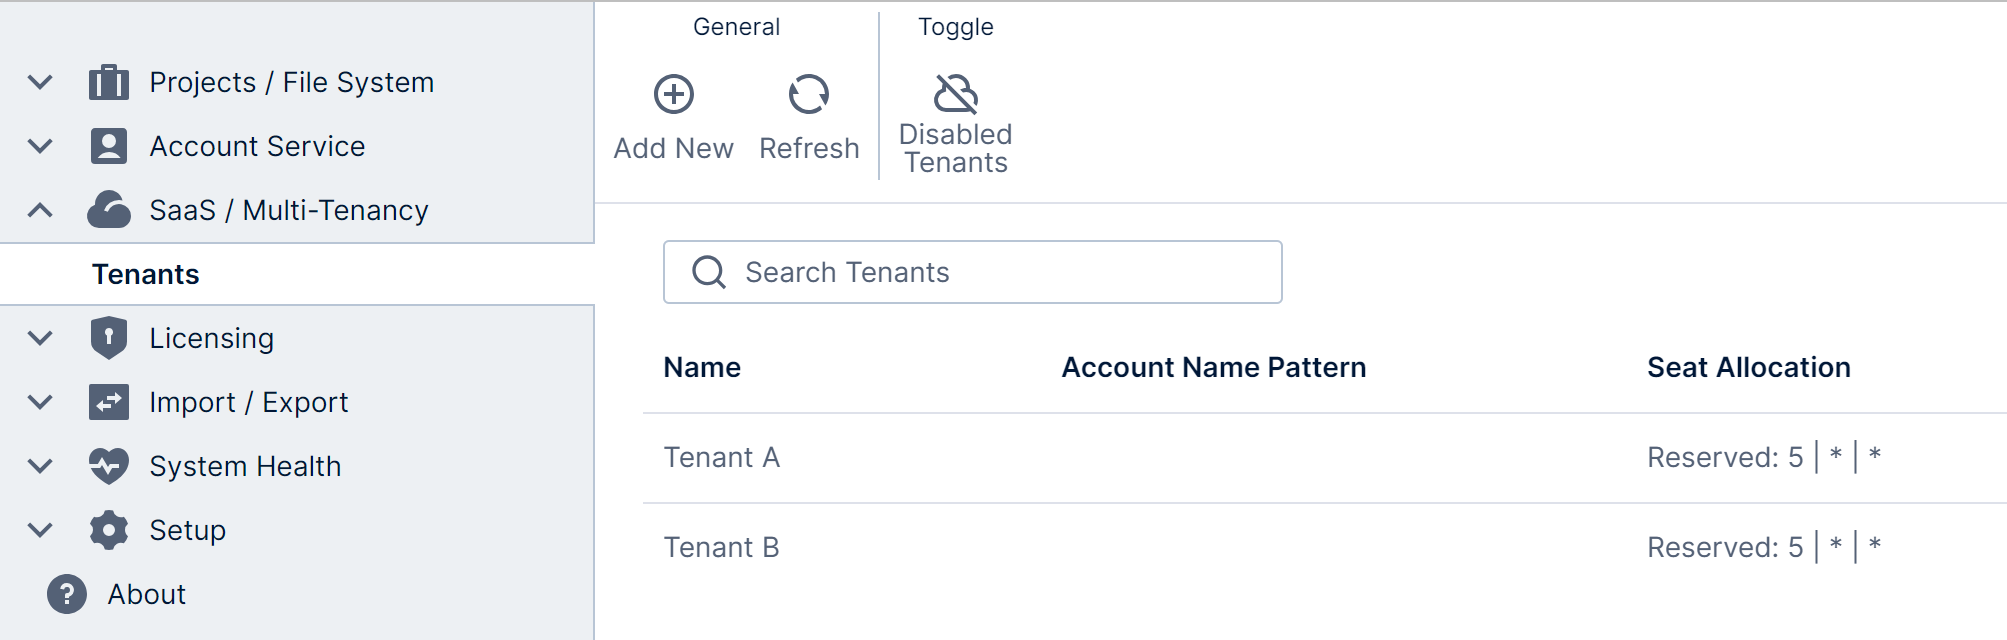
Access Administration from the main menu, expand the SaaS / Multi-Tenancy section and click Tenants. (If you don't see this option, it means you aren't licensed for this feature.)
Click Add New in the toolbar, and in the Add Tenant dialog, enter its Name (Tenant A in this example).
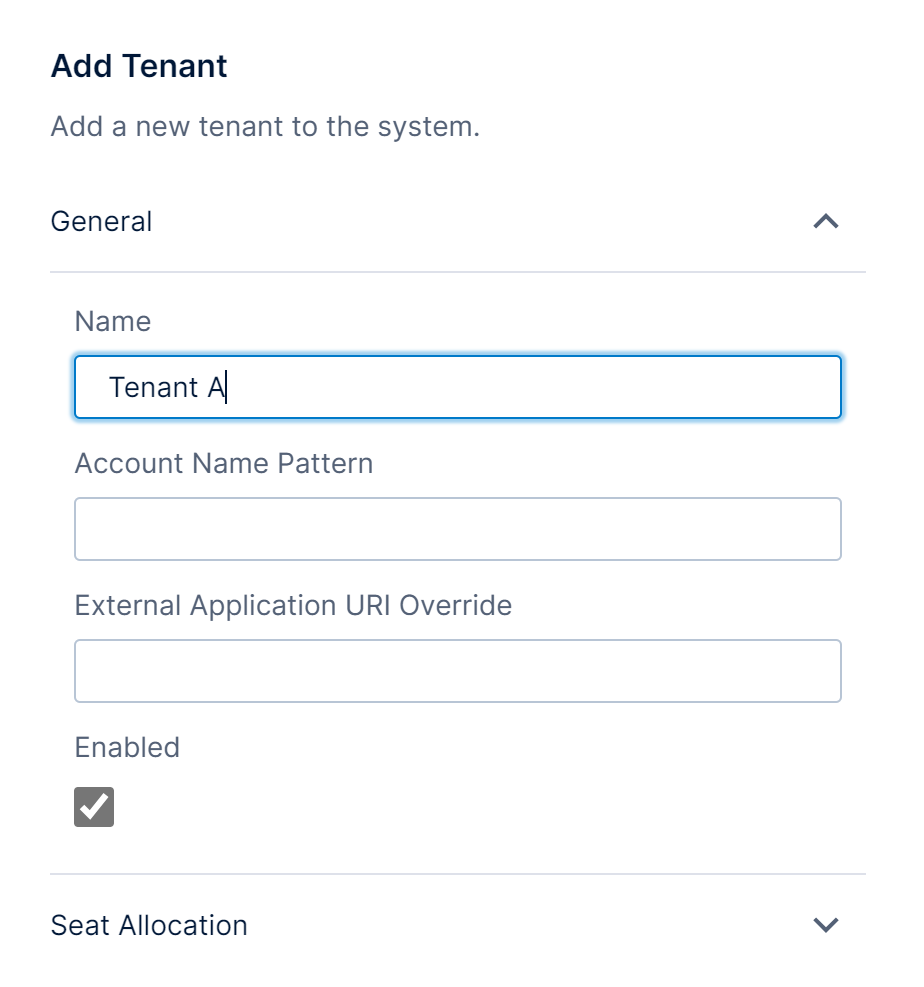
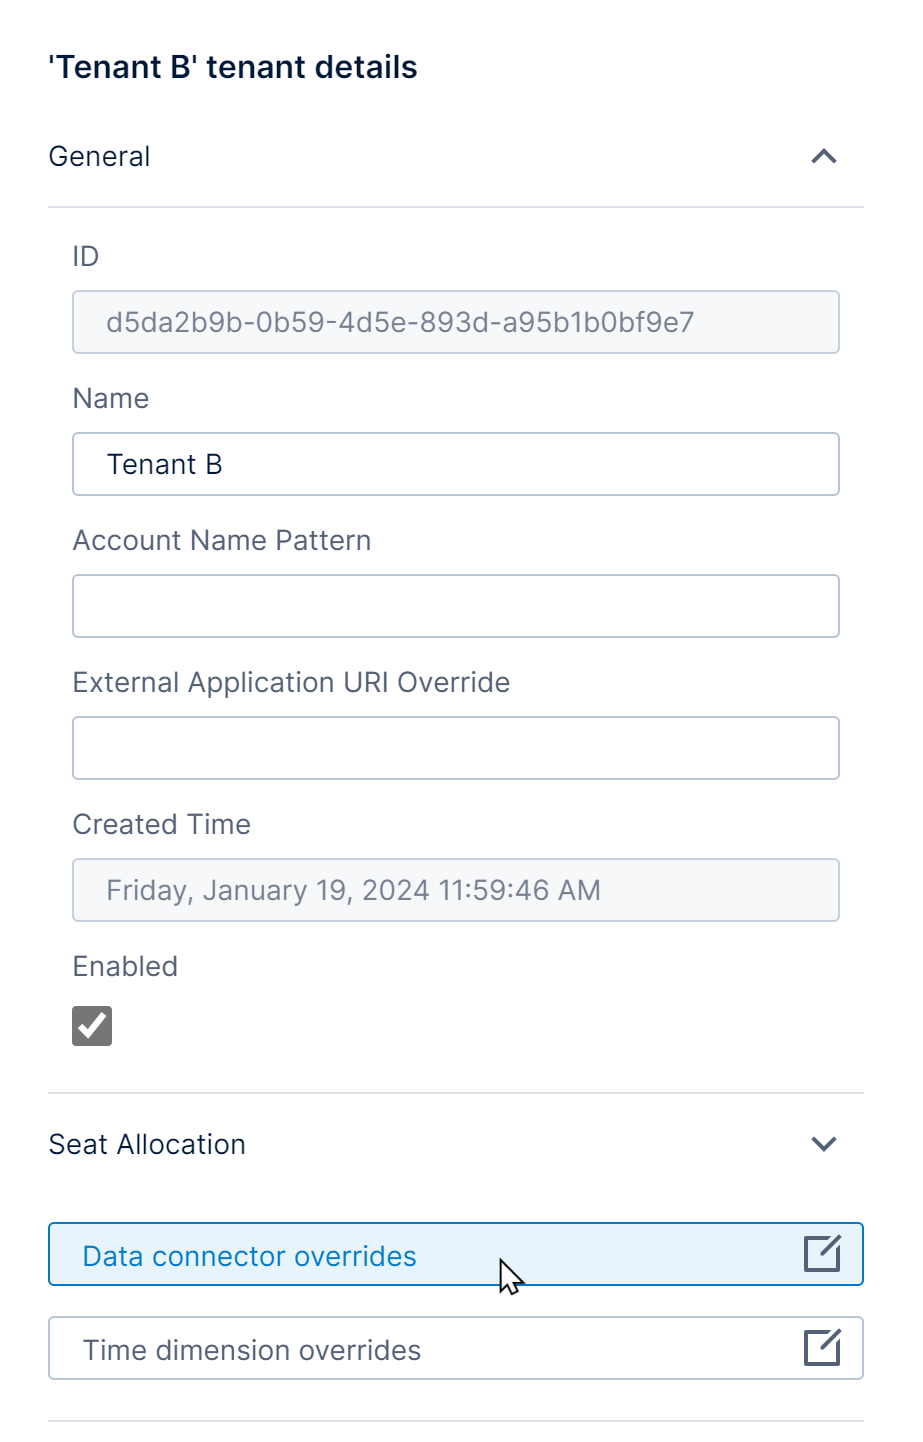
The External Application URI Override is another available tenant override that will use the specified URL in emails to this tenant's users, in shared links, and when using federated authentication, in case you have set up a different URL for each tenant.
For this example, seats available in the license will be allocated on a per-tenant basis, but this is optional if you want tenants to use the 'global' pool of all available seats: expand the Seat Allocation section and under Reserved set Standard User to 5.
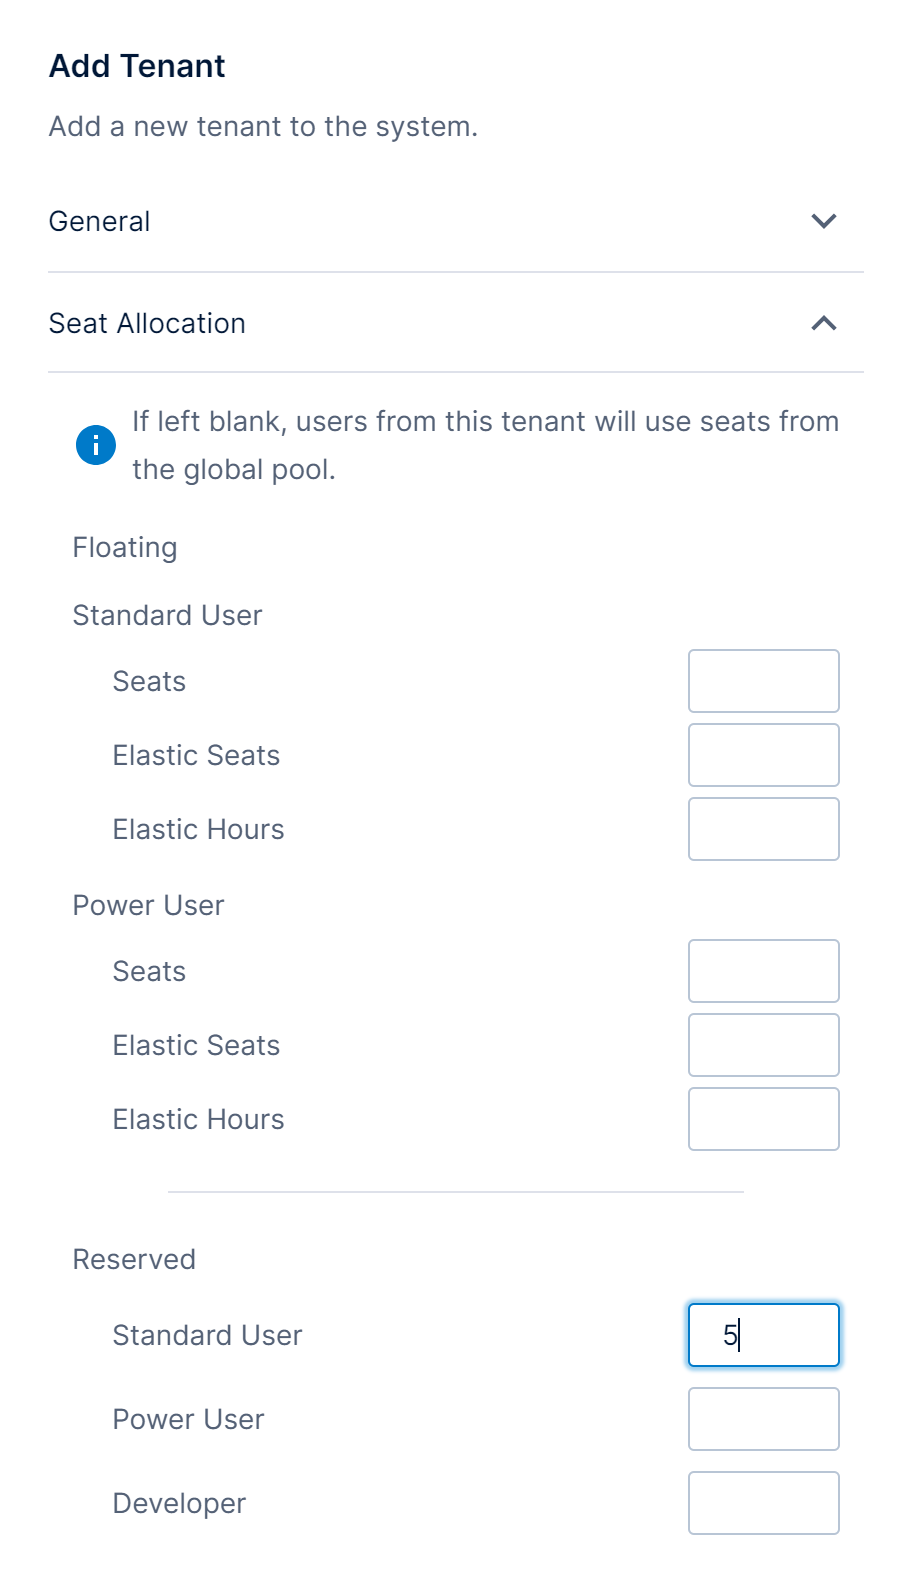
Click the submit button at the bottom to add the tenant.
Repeat the above steps in order to add Tenant B. The Tenants page will update with the list of both tenants.
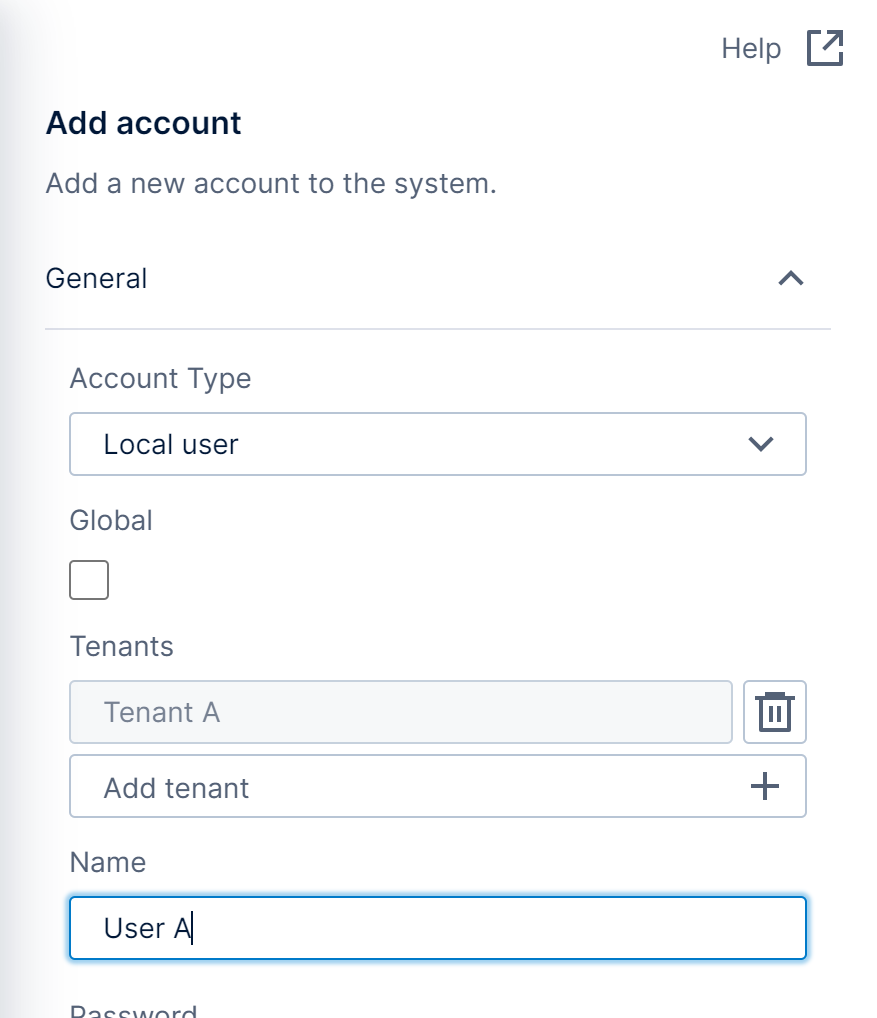
Next, edit Tenant A, click Accounts, and then Add account, or alternatively expand Account Service in the administration sidebar, click Accounts, and add an account from this page.
Add a new account User A and ensure it's assigned to Tenant A under Tenants.
Similarly, add a new account User B and add it to Tenant B under Tenants.
3. Add data connector overrides
From the Tenants page, edit Tenant B in our example.
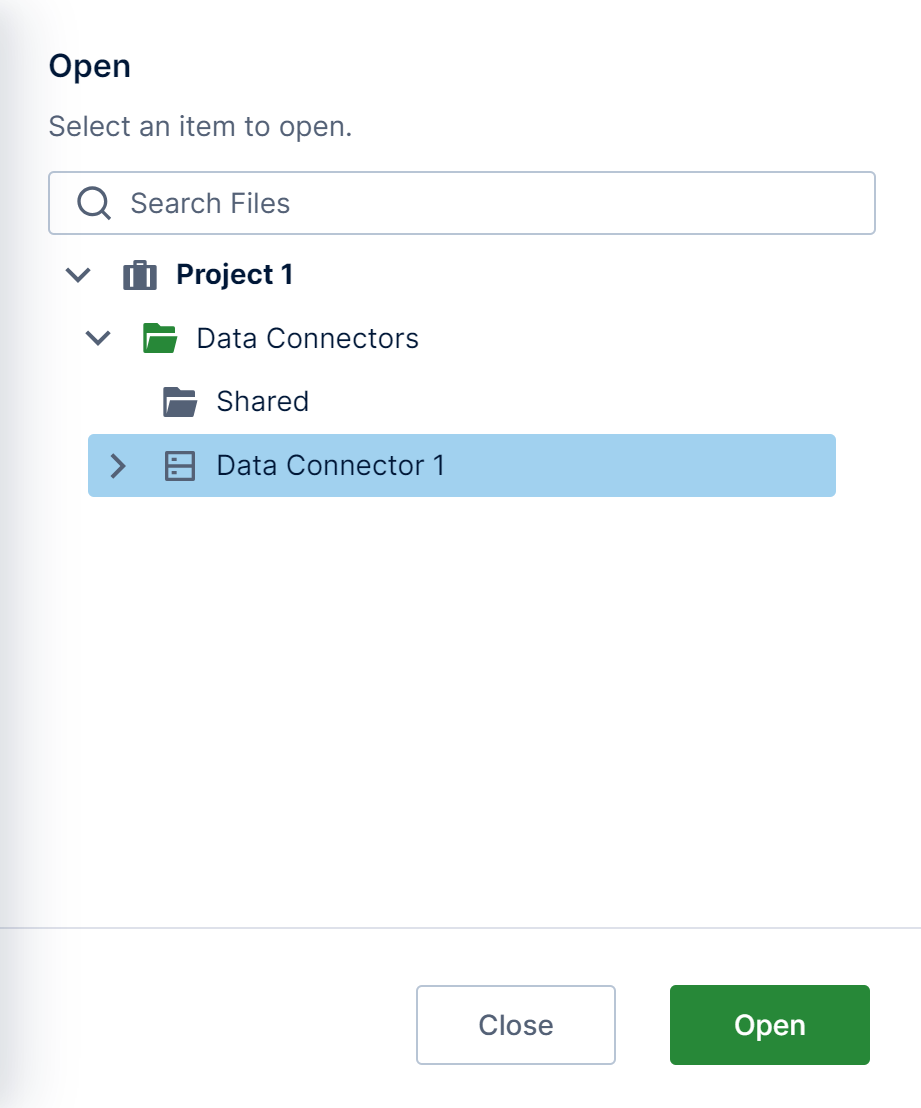
Click Data connector overrides and then Add override.
In the Open dialog, choose the data connector to override for this tenant and click the submit button at the bottom.
In the data connector dialog, update the settings required to connect to the data source for this tenant (e.g., DatabaseB).
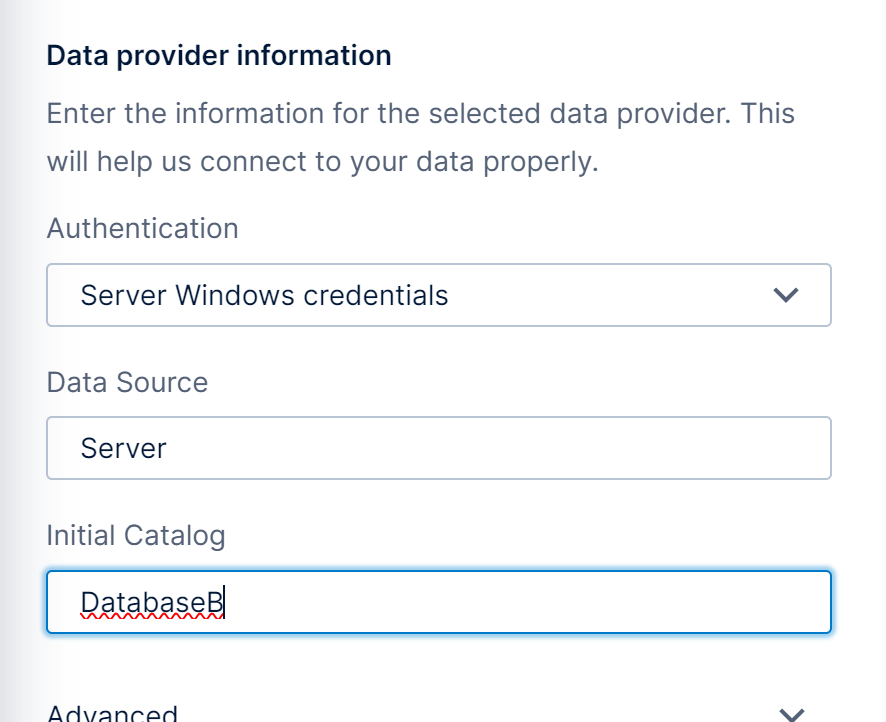
Submit the dialogs to add the override for the tenant.
4. View the dashboard as a tenant user
Log out, then log back on as User A:
- View the dashboard and observe that it displays the correct data from DatabaseA.
Log out again and log back on as User B:
- View the dashboard and observe that it displays the correct data from DatabaseB.
5. Time dimension overrides
Tenant time dimension overrides allow for a single time dimension's settings to be changed per-tenant. An example of this is if tenant A and tenant B use a different day as the start of the week.
- Like when adding data connector overrides, edit a tenant from the Tenants page in Administration, but then click Time dimension overrides in the dialog.
- Click Add override. In the Open dialog, select a time dimension to override and click Open at the bottom.
- In the Time Dimension dialog, change the options as required for this tenant such as First Day of Week, then click to Save each dialog.
6. See also
- Multi-tenancy
- Customize branding for each tenant
- Administration overview
- Accounts
- Groups
- Dedicated warehouse databases for tenants
- Manage projects and the file system
- Connect to data and view it on a dashboard
- Using custom attributes to filter data by user
- Using a security hierarchy to filter data by user