
1. Overview
The Dundas BI SharePoint Web Part lets your SharePoint users view and interact with available dashboards and reports from your Dundas BI server.
This article shows you how to save the Dundas BI SharePoint Web Part solution file so it can be manually deployed.
2. Launch the Deployment application
Start the Dundas BI Deployment application on any server where it was previously installed.
Locate or search for Dundas BI Deployment in the Start menu.
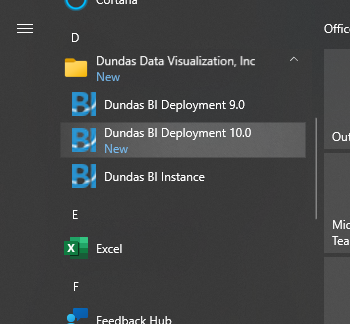
You can also locate and run Dundas.BI.Deployment.Application.exe in the folder where it was installed on the disk.
3. Save the SharePoint Web Part solution
In the Deployment application's main screen, click Extras to see the available SharePoint options.
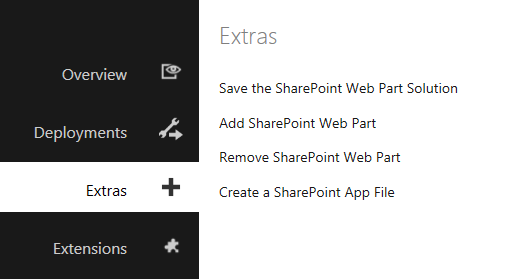
Click Save the SharePoint Web Part Solution.
3.1. SharePoint Version Selector
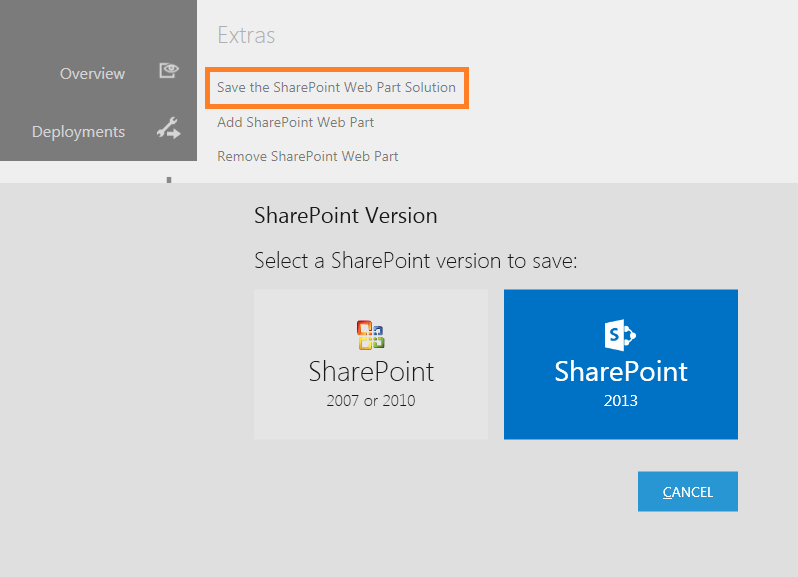
You can save the SharePoint Web Part solution on a computer that does not have SharePoint installed (e.g., a Windows 7 computer). In this case, you will be given the option of choosing the version of the SharePoint Web Part solution (e.g., SharePoint 2007/2010 or SharePoint 2013). Simply click the version you want, and then use the Save As dialog to save the solution file (Dundas.BI.Integration.SharePoint.wsp).
4. Manual steps for Dundas BI SharePoint deployment
To perform the following manual installation, you generally need to have local administrator privileges on the SharePoint server and be a db_owner of the SharePoint databases.
4.1. Manually add the Dundas BI SharePoint Web Part
stsadm.exe -o addsolution -filename "C:\somedirectory\Dundas.BI.Integration.SharePoint.wsp"
stsadm.exe -o execadmsvcjobs
stsadm.exe -o deploysolution -name DUNDAS.BI.INTEGRATION.SHAREPOINT.wSP -url "http://localhost" -immediate -allowgacdeployment -allowCasPolicies -force
stsadm.exe -o execadmsvcjobs
stsadm.exe -o activatefeature -name DundasBIWebParts -url "http://localhost" -force
stsadm.exe -o execadmsvcjobs
IISRESET
4.2. Manually remove the Dundas BI SharePoint Web Part
stsadm.exe -o deactivatefeature -name DundasBIWebParts -url "http://localhost"
stsadm.exe -o execadmsvcjobs
stsadm.exe -o retractsolution -name DUNDAS.BI.INTEGRATION.SHAREPOINT.wSP -allcontenturls -immediate
stsadm.exe -o execadmsvcjobs
stsadm.exe -o deletesolution -name DUNDAS.BI.INTEGRATION.SHAREPOINT.wSP -override
stsadm.exe -o execadmsvcjobs
IISRESET
4.3. Add mobile support (optional)
When SharePoint is viewed by a phone or tablet it displays a mobile view. For the mobile view to work with the SharePoint Web Part, a new file has to be created and added to the SharePoint application.
Locate the App_Browsers folder of the SharePoint web application. The location will resemble C:\inetpub\wwwroot\wss\VirtualDirectories\80\App_Browsers.
Create a new text document in this folder with the following content:
<?xml version="1.0" encoding="utf-8"?>
<browsers>
    <browser refID="default">
                                <controlAdapters>
                                                <adapter controlType="Dundas.BI.Integration.SharePoint.WebPart.DundasBIViewerWebPart, Dundas.BI.Integration.SharePoint.WebPart, Version=1.0.0.0, Culture=neutral, PublicKeyToken=521861cc52c056d5"
                     adapterType="Dundas.BI.Integration.SharePoint.WebPart.DundasBIViewerWebPartMobileAdapter, Dundas.BI.Integration.SharePoint.MobileWebPartAdapter, Version=1.0.0.0, Culture=neutral, PublicKeyToken=521861cc52c056d5" />
                                </controlAdapters>
                </browser>
</browsers>
Save the document and rename it to Dundas.browser.