
1. Overview
The Dundas BI SharePoint App File lets you add a Dundas BI Viewer App Part to the pages of your SharePoint Online (Office 365).
2. Launch the deployment application
Start the Dundas BI Deployment application from any server where it was previously installed.
Locate or search for the Dundas BI Deployment application in the Start menu.
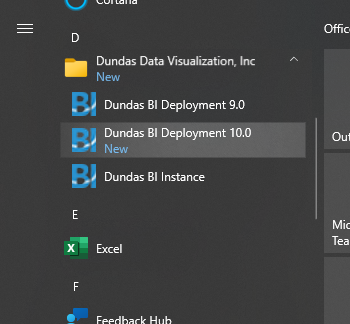
You can also locate and run Dundas.BI.Deployment.Application.exe in the folder where it was installed on the disk.
3. Create a SharePoint app file
In the Deployment application's main screen, click Extras to see the available SharePoint options.

Click Create a SharePoint App File.
3.1. Options
First, record the Client ID that is displayed (e.g., copy and paste into Notepad). You'll need this to deploy the app file to SharePoint later.
Next, enter the URL of your Dundas BI instance, and then click Browse to choose the file path for saving the app file.
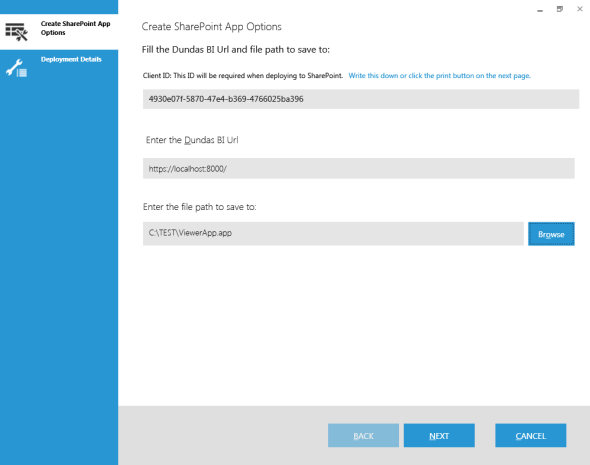
Click Next to continue.
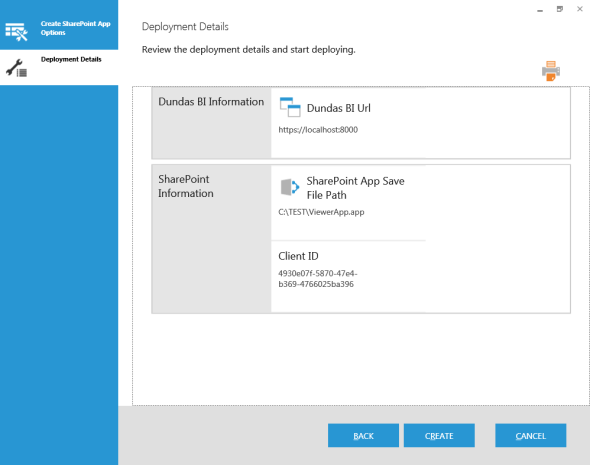
3.2. Deployment details
Review the deployment details. Click Create to start creating the app file (ViewerApp.app).
Wait while the app file is being created.
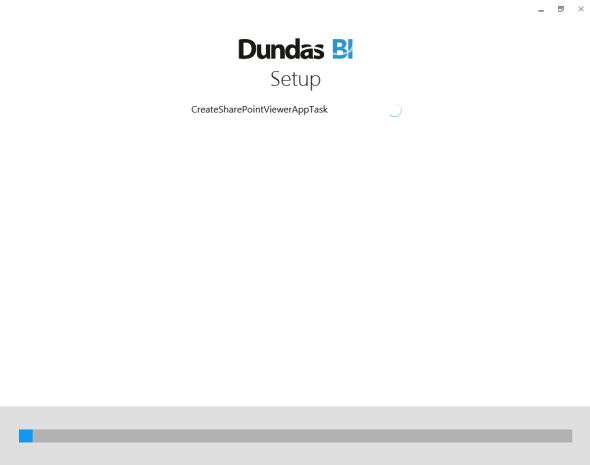
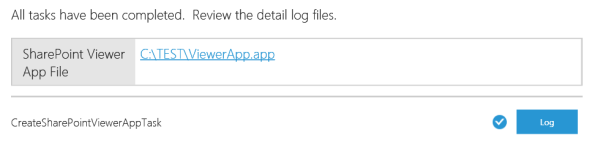
When the process is finished, a SharePoint Viewer App File is created (ViewerApp.app).
4. Install the SharePoint app file manually
Follow these steps to install the ViewerApp.app file on your SharePoint server.
- Visit https://{yoursite}.sharepoint.com/sites/AppCatalog/, the internal app catalog site.
- Click Distribute apps for SharePoint.
- Click (+)new and upload the ViewerApp.app file. This should make the app available for deployment on other sites.
- Visite https://{yoursite}.sharepoint.com/_layouts/15/appregnew.aspx (or the same appregnew on any subsite you're deploying to).
- Select An app running on a web server.
- Fill in the client ID you generated for the web part above.
- Choose the generate a client secret. Note this value, it will be needed again as well.
- Choose any title you wish (e.g., Dundas BI Viewer).
- Fill in the root of your Dundas BI instance for the app domain.
- Leave the redirect url blank and pick Create. It should give you a summary of all the info.
Now you can add the app to that particular site:
- Visit the site contents from the menu on the left or the gear context menu at the top right.
- Click the Add an App icon.
- Select the Dundas BI Viewer and agree to trust its very minimal permissions.
The app might take a couple of minutes to install, then you should be able to add the App Part to your web pages. If you hit the Page tab, start editing and then hit the insert tab you should be able to add app parts.
Once the app part is on the page you can edit the part itself like web parts were edited before. There will be a
property pane on the right and there will be a Dundas BI Properties section. The Dundas BI account and Windows Client
options should work fine without any further configuration, and when being actively edited there should be a project
explorer which appears in place of the app part on the page. You can select the view you want there and then copy the key that is displayed to the Default View Key property on the property pane. Then the app will be the chosen view by default.
The Azure ACS log on option requires more configuration in the Dundas BI app.
- The Create Accounts for SharePoint Users should be set to true, at least initially. Once an account is created this doesn't need to be on for the user to log on through this option.
- SharePoint Account Group is optional, an existing group may be listed here and newly created accounts from above will be added to this group.
- SharePoint Client ID should be set to the client ID you used in appregnew.aspx earlier.
- SharePoint Client Secret should be set to the client secret you generated in appregnew.aspx earlier.
- SharePoint URL should be set to the SharePoint URL you're using.