
1. Overview
This article explains how to use a menu layer to display content such as a menu that is separate from the rest of the dashboard's template grid.
2. Walkthrough
This walkthrough will guide you through the steps for creating a menu layer containing a collapsible navigation menu as an example, which can be used when viewing to navigate between various dashboards, reports, or other views.
When using the responsive resize mode, content is automatically re-organized when necessary to remain readable, fill the given screen real estate, and allow all content to be accessed by scrolling in one direction. For smaller screen sizes, you may want to further minimize the amount of space taken up for navigation or other options by using a button to show and hide this content in another layer. By using a menu layer, you can display content that fills the screen independently from the responsive grid.
2.1. Add a menu button
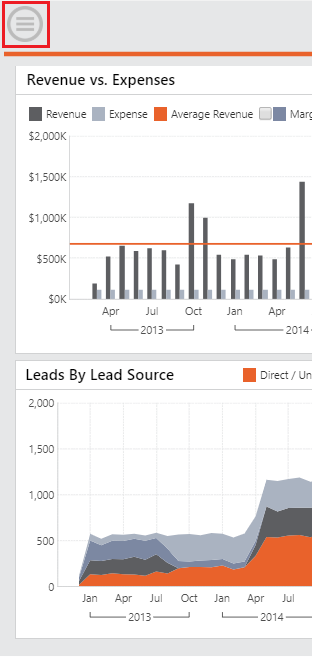
In this example, an image of a menu button will be used to open the navigation menu on the dashboard.
In the Explore window, expand Images and drag and drop an image onto the dashboard. Ensure that the image is positioned properly on the dashboard.
2.2. Add a menu layer
For this example, a menu layer will be added containing a menu component and a close button.
In the Layers window, click the + button in the toolbar to add a layer, and choose Menu Layer.
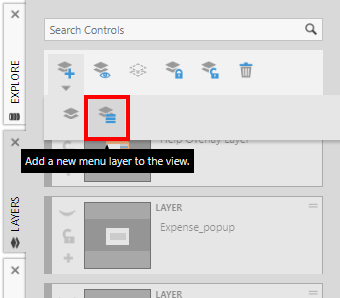
The new menu layer is now the current layer. Double-click its name if you want to rename it.
2.3. Add a close button
In the Explore window, expand Images and drag an image to use as the close button onto the canvas. This will allow viewers to close the navigation menu and switch back to the main layer.

We can position the button in the same location as the menu button image so that clicking one appears to turn it into the other.
2.4. Add and configure the menu
With the menu layer still selected as the current layer, go to the toolbar, click Components, and then Menu to add a menu component. Other components such as buttons or images can also be used for navigation.
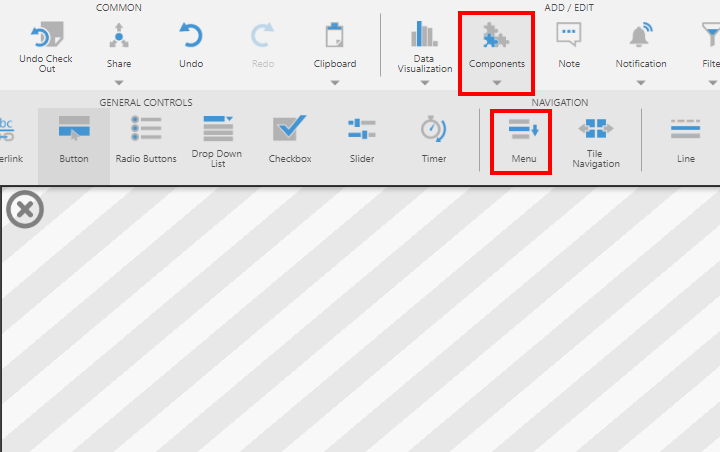
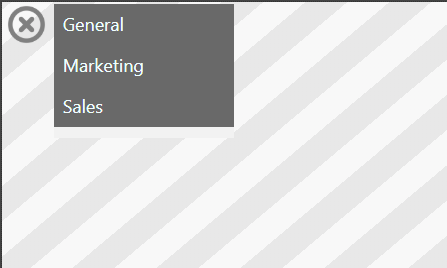
Positon and size the menu, and set up the menu items as required. For more information about menu components, see the How to set up menu navigation article.
2.5. Configure click actions
The following steps set up show/hide actions to run when the menu button and the close button are clicked.
2.5.1. Configure the menu button
In the Layers window, click the main layer to switch to it.
Select the menu button image, click Set Up Interactions in the toolbar, then choose Show / Hide.
Under Hide Layers, optionally select the main layer. Under Shown Layers, select the menu layer.
2.5.2. Configure the close button
Switch back to the menu layer, select the close button, and again click Set Up Interactions and choose Show / Hide.
Under Hide Layers, select the menu layer, and if the main layer was set up to be hidden, also select the main layer under Shown Layers.
The menu layer is now configured and can be shown and hidden when viewing to access the navigation menu.

When a template grid is used for the dashboard content below, the menu is positioned separately on top.