1. Overview
To facilitate collaboration on projects, every item you can open for editing uses a check in / check out model, including data connectors, data cubes, dashboards and more. This allows multiple people to make changes to these items without risk of overwriting or losing any changes. The change history is also saved and can be rolled back if needed.
The workflow is generally as follows:
- Check out or create an item
- Edit the item and apply your changes
- Check in the item so others can see your changes
You might have noticed there is no Save button in the toolbar. That's because your work is saved automatically so you don't need to be worried about losing your changes. You still need to check in your work though so others can see it too.
Related video: Auto Save and Version Control
2. Check out an item
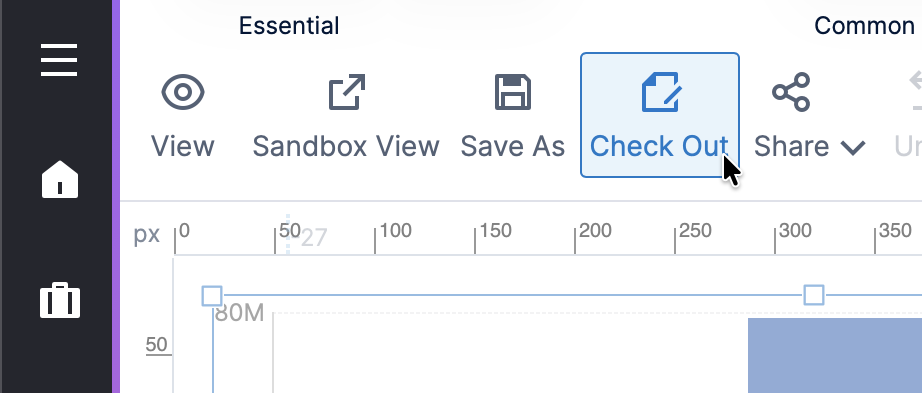
If an existing item has been checked in, it needs to be checked out to you before you can edit it.
If you open an item from the main menu or elsewhere for editing and most of the screen is disabled or whited out, it has not been checked out to you yet. Click Check Out in the toolbar, or just click with a mouse on the whited out content.
You can also check out an item before opening it from the main menu, or using the Explore window if you have a different item open: right-click (or long-tap) an item and choose Check Out.
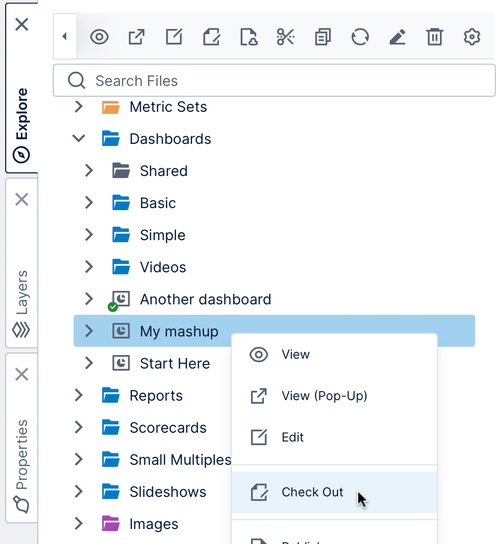
When you check out an item, you are reserving the item for editing for yourself. When others view the item, they will see only the last checked-in version.
Items checked out to you appear with a green checkmark icon like for Another dashboard in the figure above. You can now right-click the item again and choose Edit, or click to open the item from the main menu.
2.1. Item is already checked out
If an item is already checked out by another user, the item will appear with a red 'minus' icon.
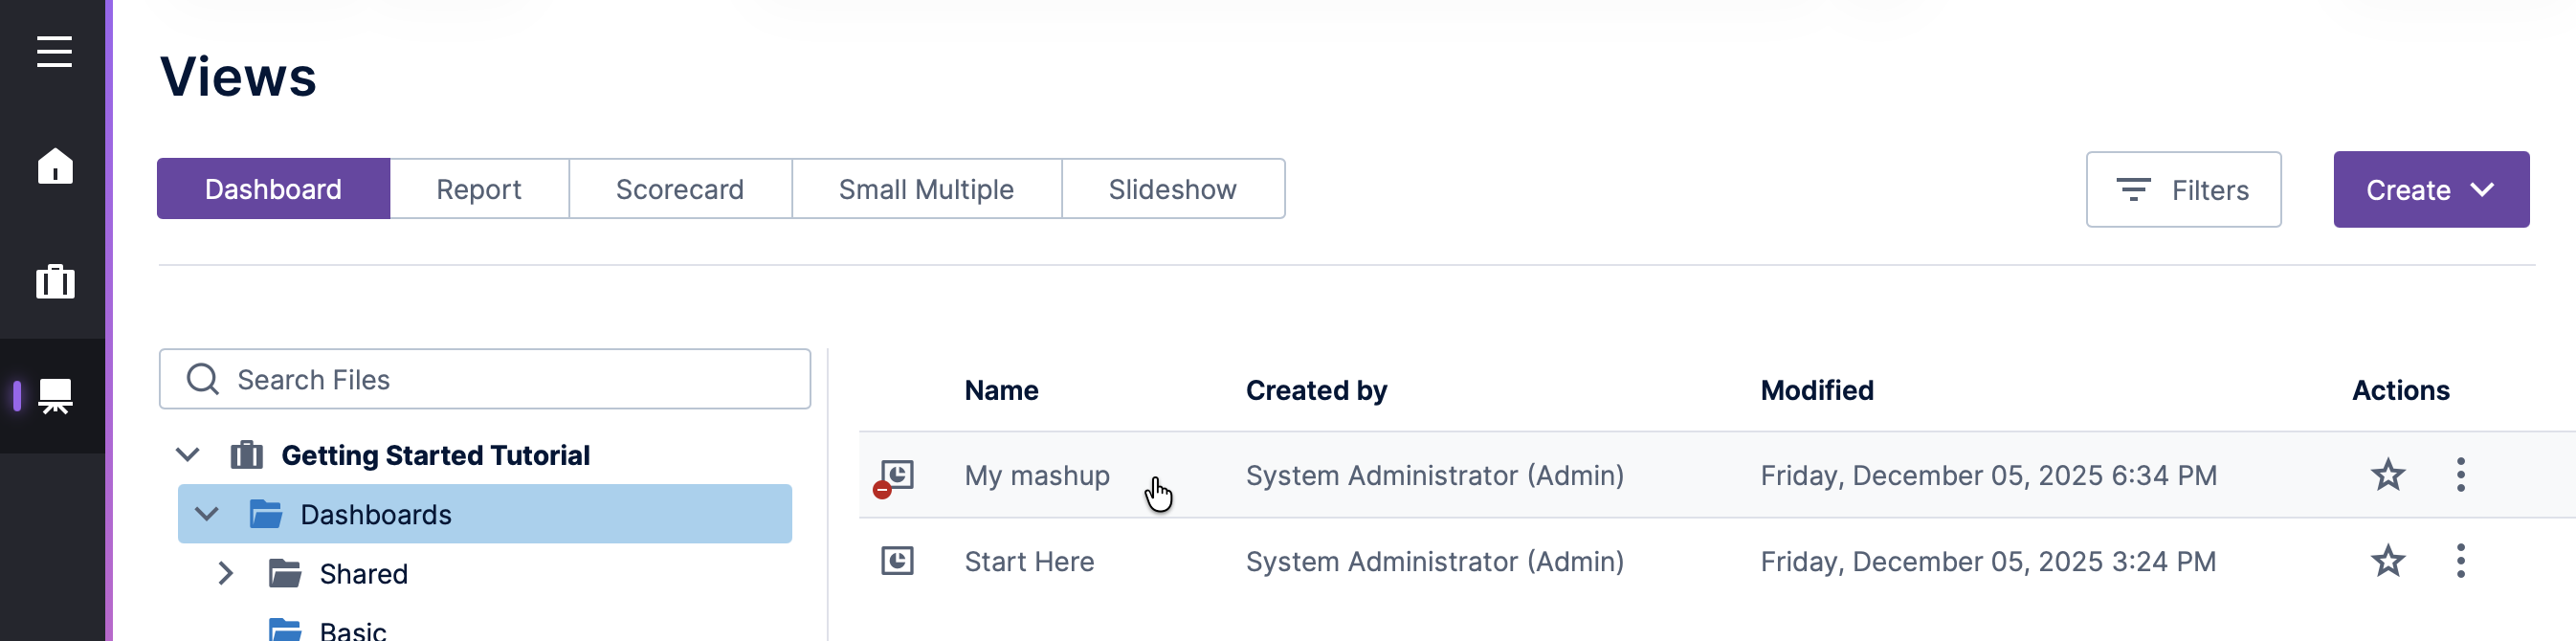
You'll need to wait for the other user to check the item back in or undo their check out.
To find out who the other user is, see Checked Out To in the file's read-only properties.
3. Auto saving
While editing a dashboard or other full screen item, your changes are automatically saved as needed.
The status bar at the bottom displays a message whenever an auto-save operation is performed.

4. Check in an item
Check in your changes so that others can see them or check out the item themselves. Newly created items are also not visible to other users before it's checked in the first time.
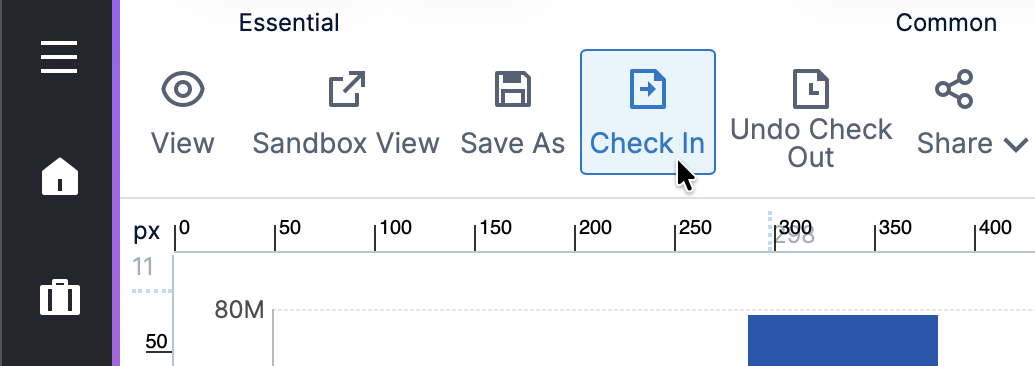
Click Check In in the toolbar while you have the item open for editing. Sometimes this is located under Share.
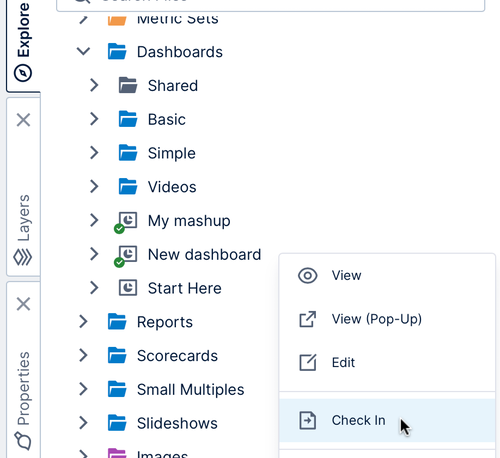
Like when checking out, you can also check in later when the item is no longer open: go to the main menu or an Explore window, right-click (or long-tap) the item, and then choose Check In.
In the Check In dialog, optionally enter a comment to include in the file history. Any other files used by the current file that are checked out will be listed below and selected by default so that all of your changes are shared.
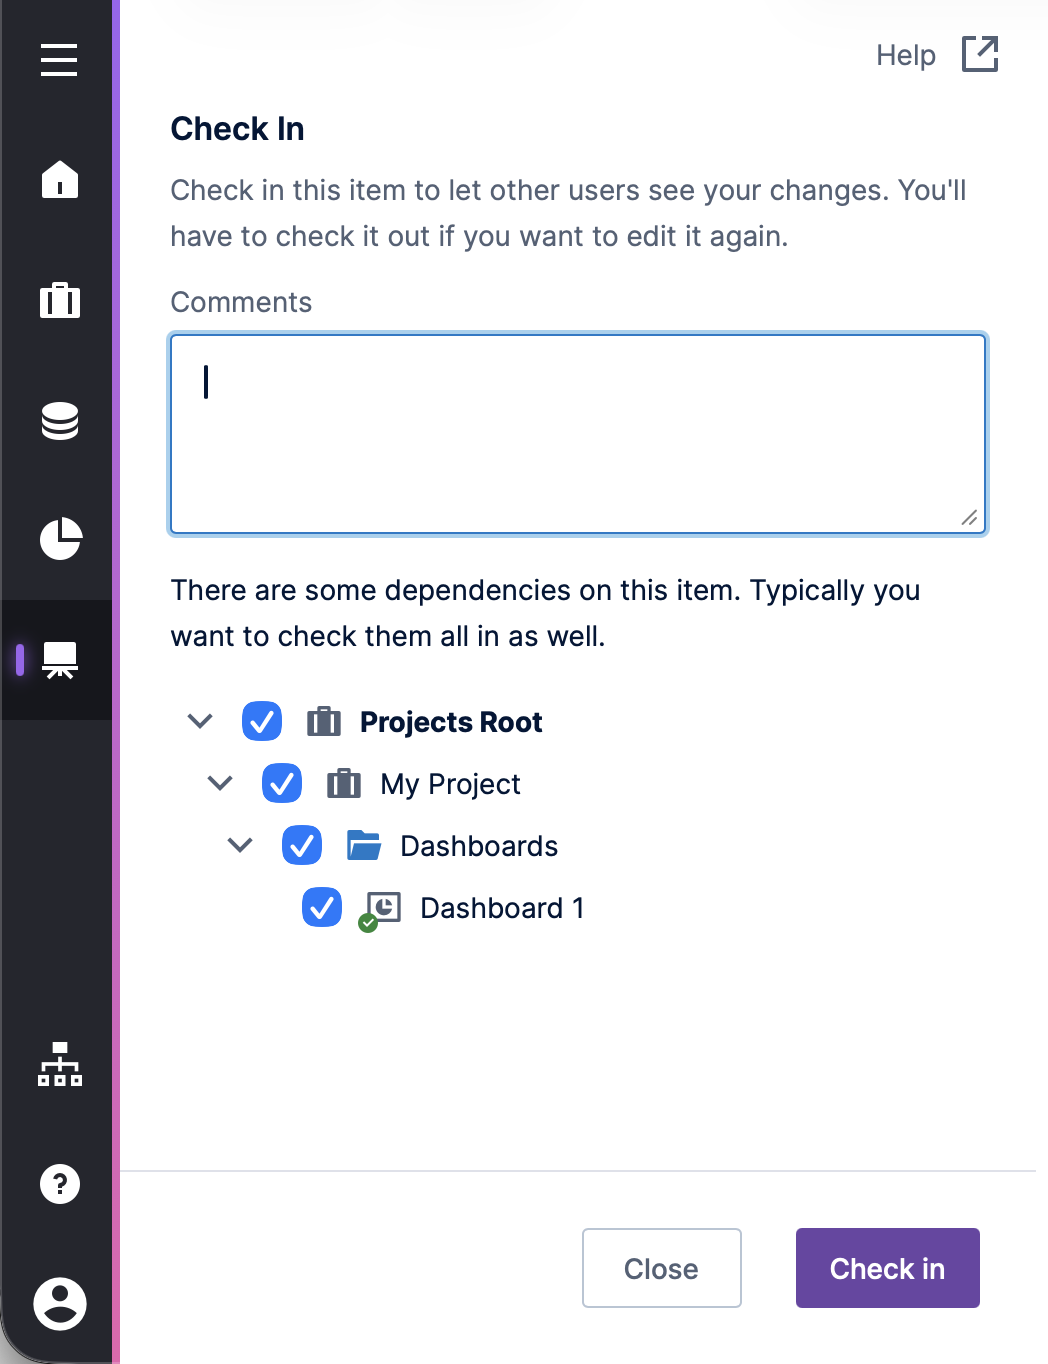
Click Check In at the bottom.
Each time an item is checked in, a new entry is recorded in its revision history (with your comment) and a new version of the item is created. You can restore a previous version of an item from the Revision History dialog. For more information, see File and folder properties.
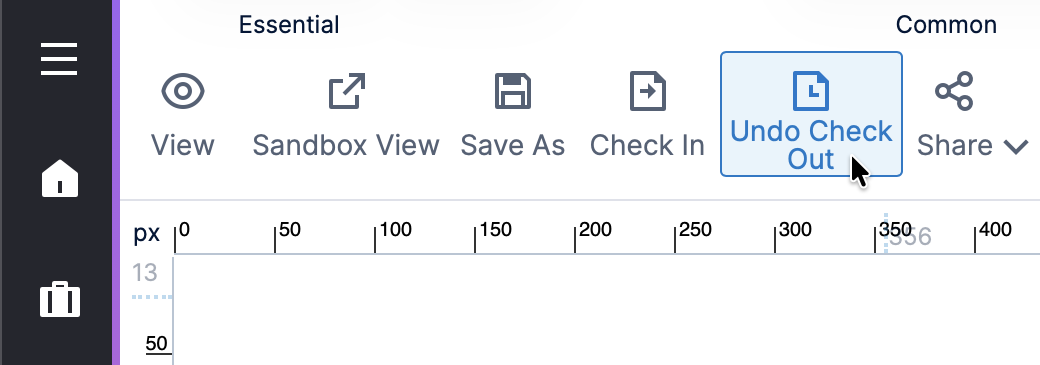
5. Undo a check out
If you aren't happy with the changes you made to an item, you can undo the check out.
This will discard all of your changes since the last time it was checked in, and the item won't be checked out to you anymore.
You can undo a check out from the toolbar or the right-click menu.