
1. Overview
This article shows you how to remove or uninstall a Dundas BI instance from a Windows server using the Deployment application.
For Linux installations, use the Deployment wizard and choose the option to remove rather than create an instance.
2. Launch the Deployment application
Locate or search for the Dundas BI Deployment application in the Start menu on the server, which was installed previously by the Dundas.BI.Setup program.
If there are multiple versions, choose a version number at least as high as the version of the instance you want to remove.
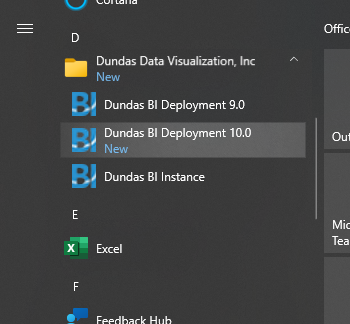
You can also locate and run Dundas.BI.Deployment.Application.exe in the folder where it was installed on the disk.
3. Remove an instance
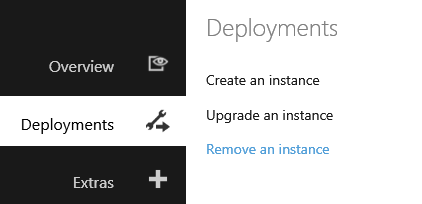
In the Dundas BI Deployment application, click Deployments on the left.
Then click Remove an Instance.
3.1. Select the instance for removal
In the Select an instance step, select the instance you want to remove.

Click Next to continue.
3.2. Choose removal options
By default, the application and warehouse databases associated with a Dundas BI instance are not removed.
If you want to remove the databases along with the instance, click the lock icon to unlock this option, and then follow the prompts to confirm since this will result in the loss of any content, settings, and data saved within that Dundas BI instance. Once unlocked, you can click the checkbox to indicate you want to remove the databases.
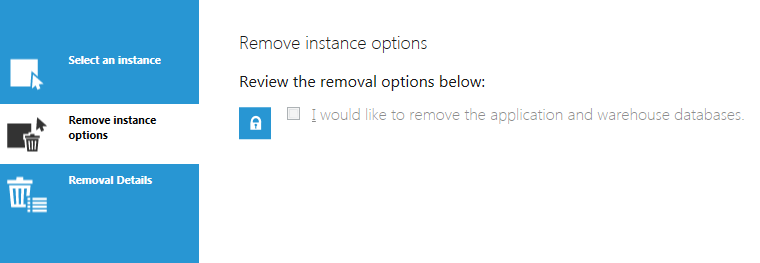
Click Next to continue.
3.3. Review details
This screen lets you review the details for removal before proceeding.
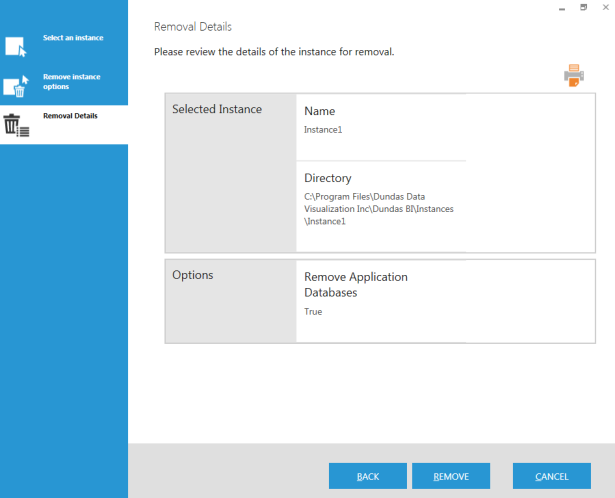
If everything looks fine, click Remove, and then click Yes to confirm.
3.4. Remove instance completed
You should see the Removing instance from server has Succeeded screen when the removal is complete.
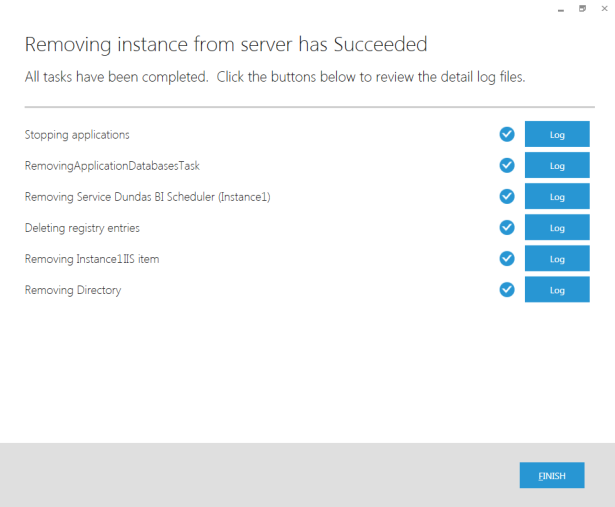
Click Finish to return to the Dundas BI Deployment main screen.
4. Uninstalling the Deployment application
Each major version of Dundas BI has its own version of the Dundas BI Deployment application used to deploy and upgrade instances.
If you no longer need the Deployment application for a particular version, you can uninstall it from Windows on the server like any other program (e.g., from the Apps section of Windows Settings).