1. Overview
Layers and groups can be used in dashboards, reports, and other views. They provide ways to manage and organize multiple elements such as visualizations, filters, and components, and to make changes to multiple elements at once. Both layers and groups are useful when editing, while layers can also be shown or hidden interactively when viewing.
Even when not using multiple layers, the Layers window can help you find and work with elements on your canvas.
Related video: Group and Layers
2. Groups
You can group multiple elements on the canvas together when editing. Once grouped, you can easily apply operations to the set of elements as a whole, such as dragging the group to a new location, without having to re-select all of them each time.
If you have related items such as a chart, its title label, and a legend, you may want to group the elements together so they always appear side-by-side no matter where you move the group on the canvas.
2.1. Group multiple elements together
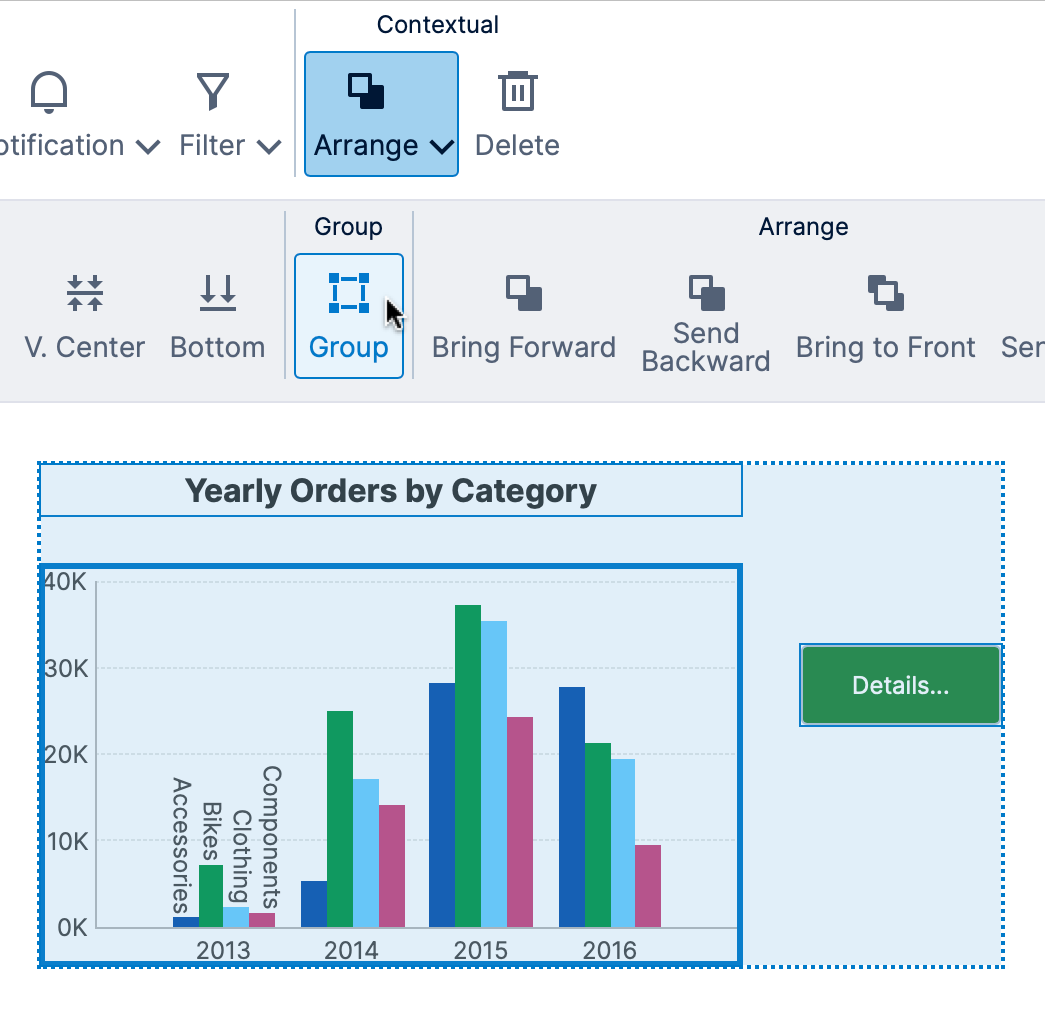
To group two or more elements, first select them on the canvas by dragging a selection rectangle around all of the elements. You can also press the CTRL (Γîÿ on Macs) or SHIFT key while clicking each element that you want to select.
Once you've made the selection, go to the toolbar, click Arrange, and then click Group.
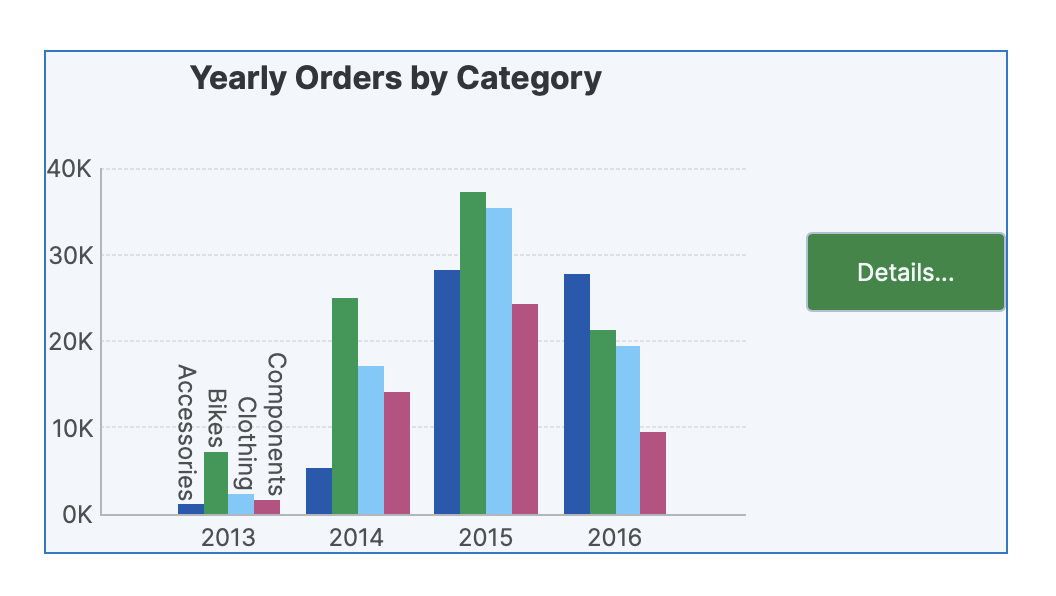
The grouped set of elements appears with a light blue background. You can move the group around the canvas by dragging it. You can even delete the group (and all of its elements).
2.2. Show or hide a group
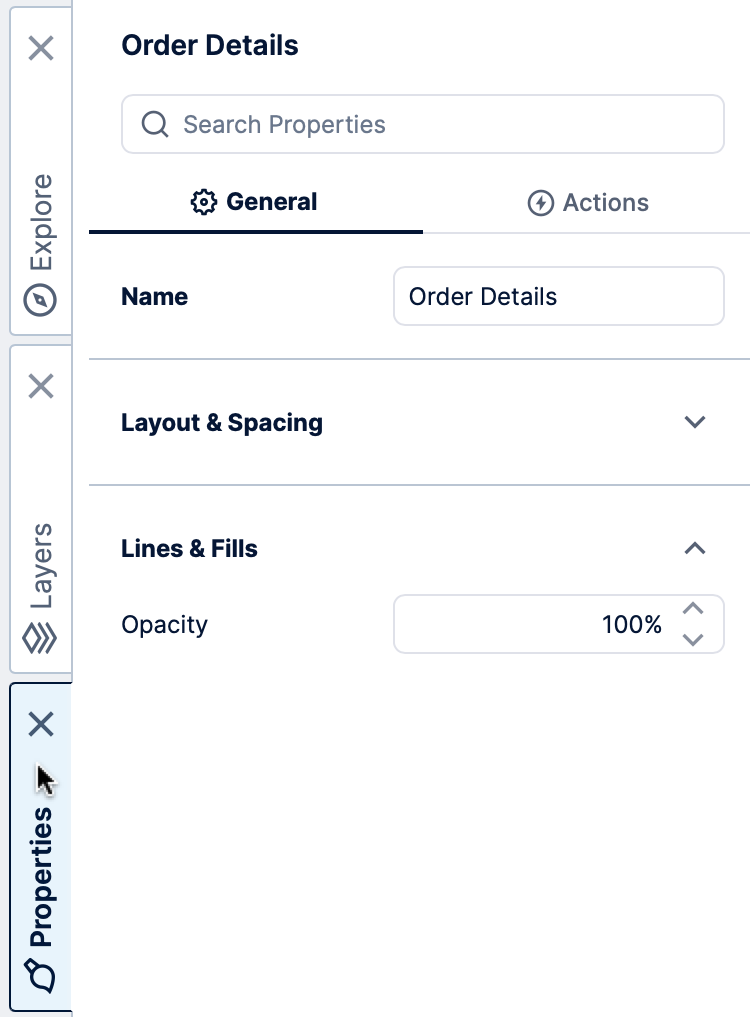
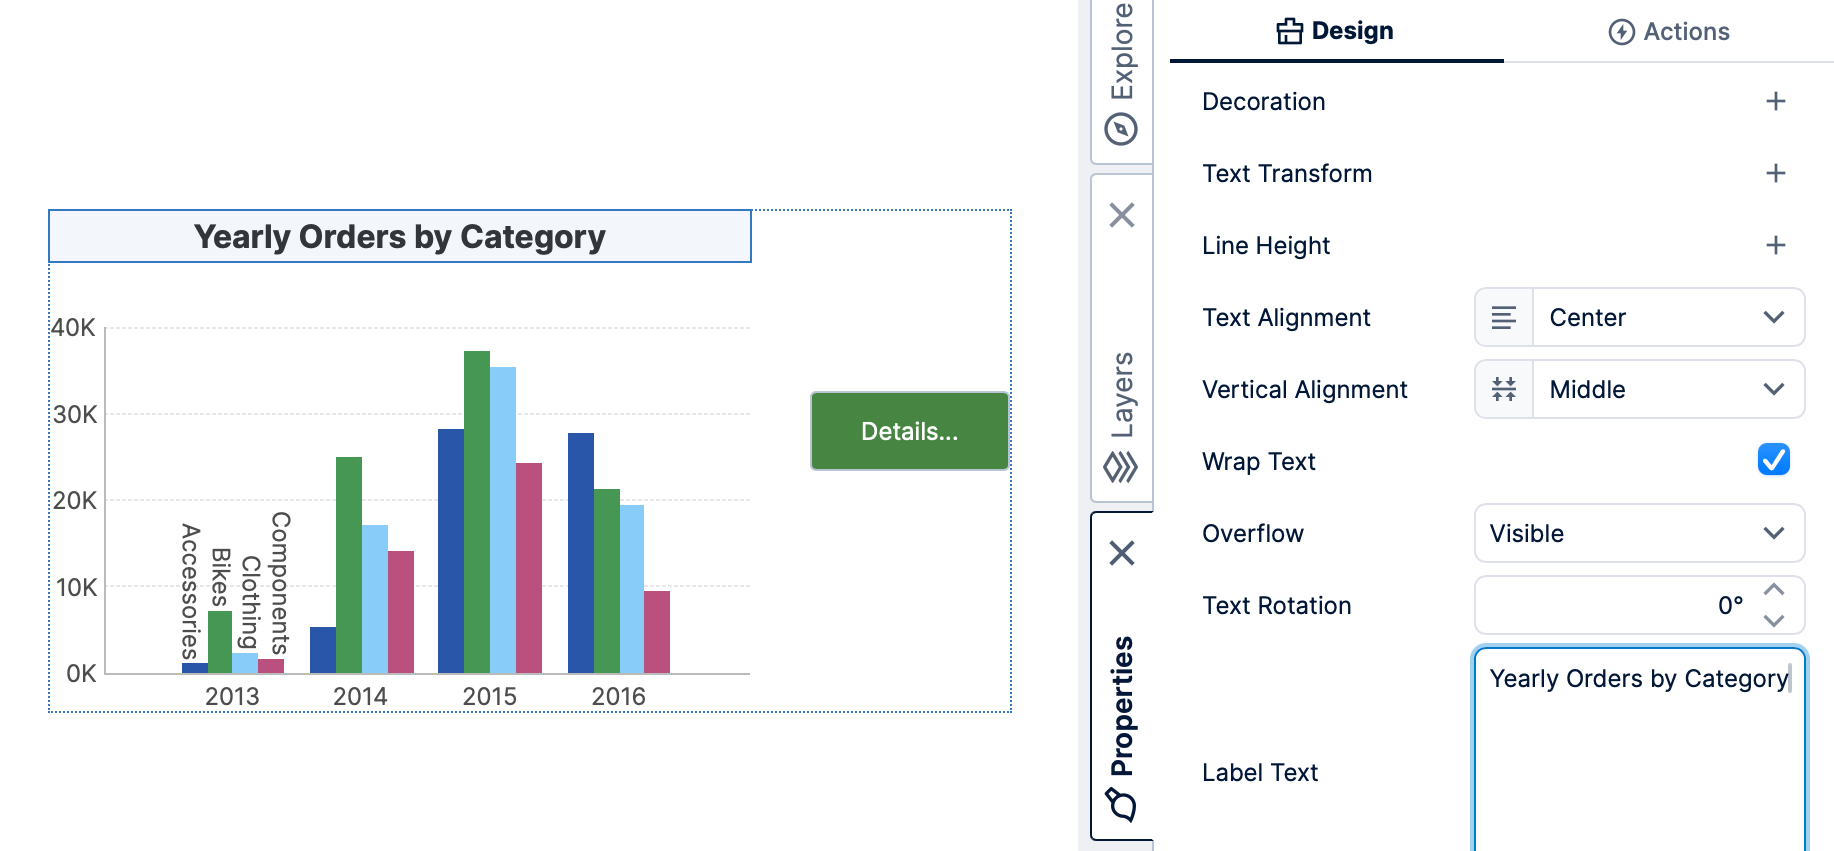
A group has its own set of properties, just like any individual element on the canvas.
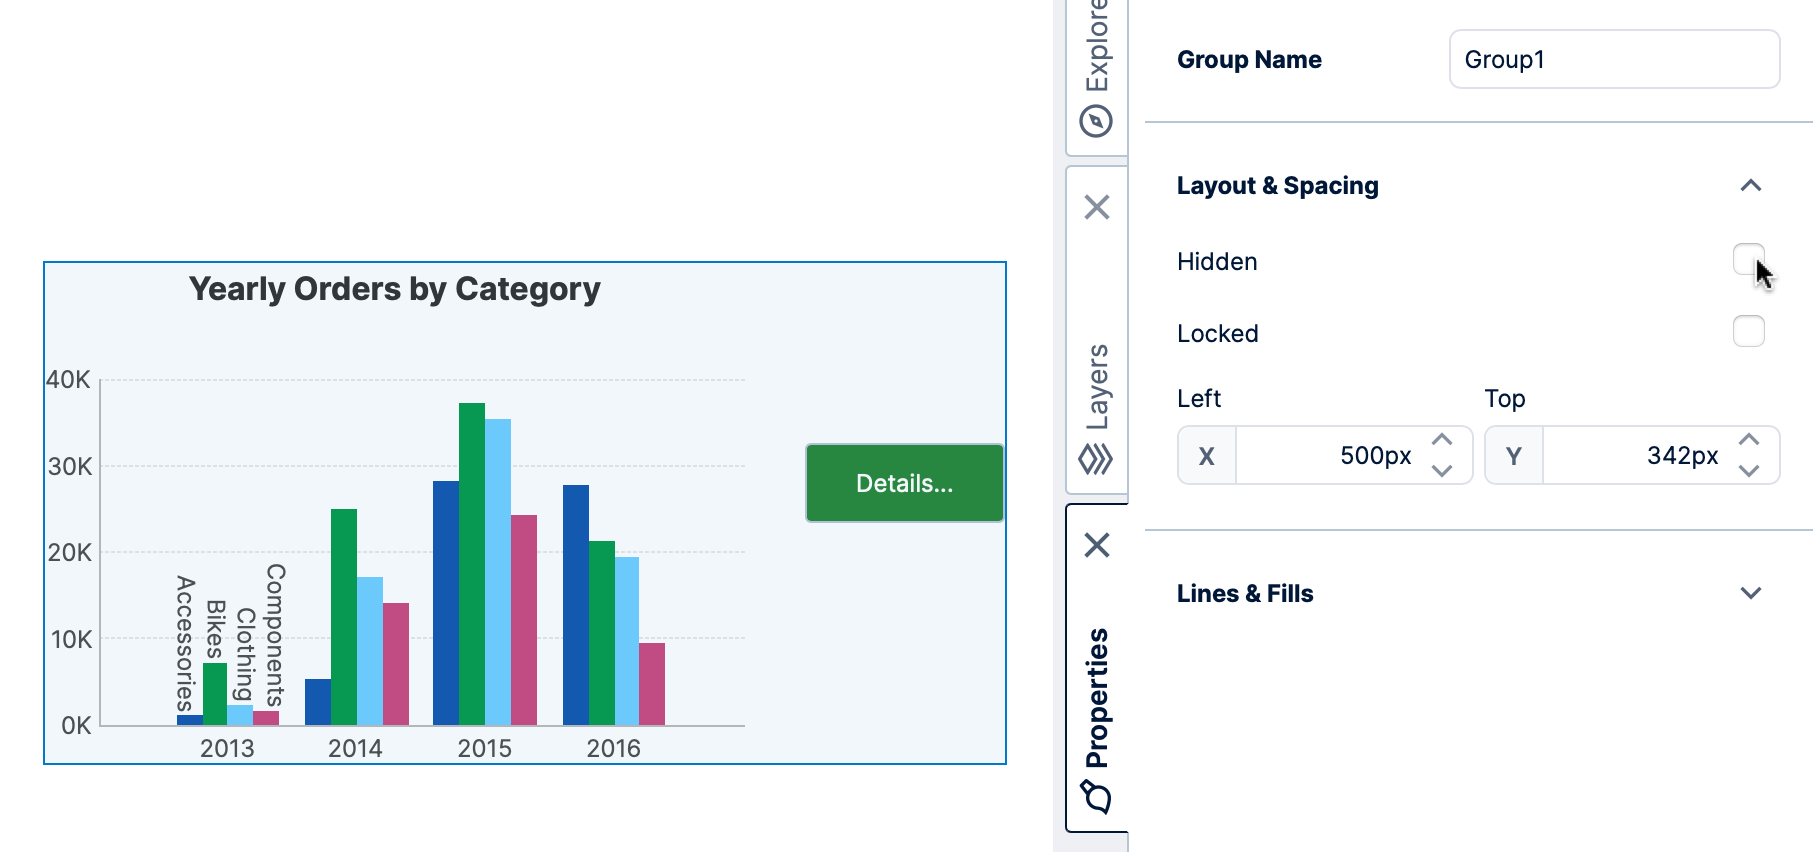
Select a group on the canvas, and then open the Properties window to see the properties of the group. Select or de-select the Hidden property, for example.
2.3. Access group members
You can still access each element individually when it's part of a group.
After first clicking one of the elements of the group to select the group, click a second time on one of the elements to select it.
The element will be highlighted separately from the rest of the group, and you can access its options in the toolbar, context menu, and Properties window.
2.4. Ungroup
To ungroup a set of elements, first select the group on the canvas.
Then go to the toolbar, click Arrange, and then click Ungroup.
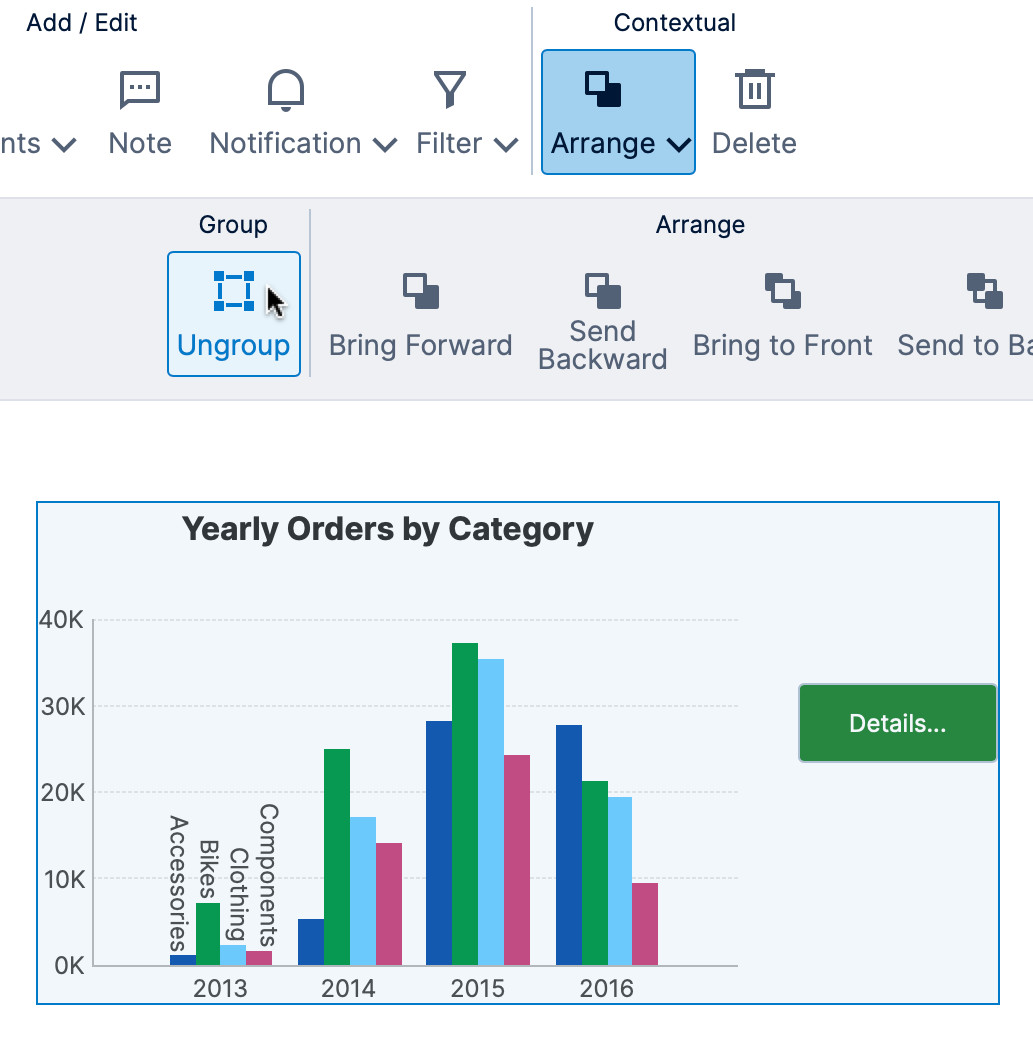
The group is removed and you can access the elements individually again.
3. Layers
Whenever you add an element to the canvas, the element is assigned into the current layer. There is always at least one layer in every dashboard, report, or other view, and you can also add new layers and insert elements into them as you like.
Even with only one layer, the Layers window is useful for seeing and managing the elements on your canvas.
Separating elements into multiple layers makes it easy to set up an interaction with a few clicks to allow viewers to show and hide a layer's content. For example, a common case is to create a help overlay using layers for a dashboard, which is displayed when the viewer hovers over or clicks on a help button. You can also create a layer that will appear over other content like a popup, containing filter options or additional visualizations, for example.
Multiple layers can also be useful for complex views with overlapping elements. As you're designing, you can hide layers that are completed and show just the layers you are actively working on. Layers can also be locked to prevent accidental modification (such as moving a chart out of position by mistake).
3.1. View elements within a layer
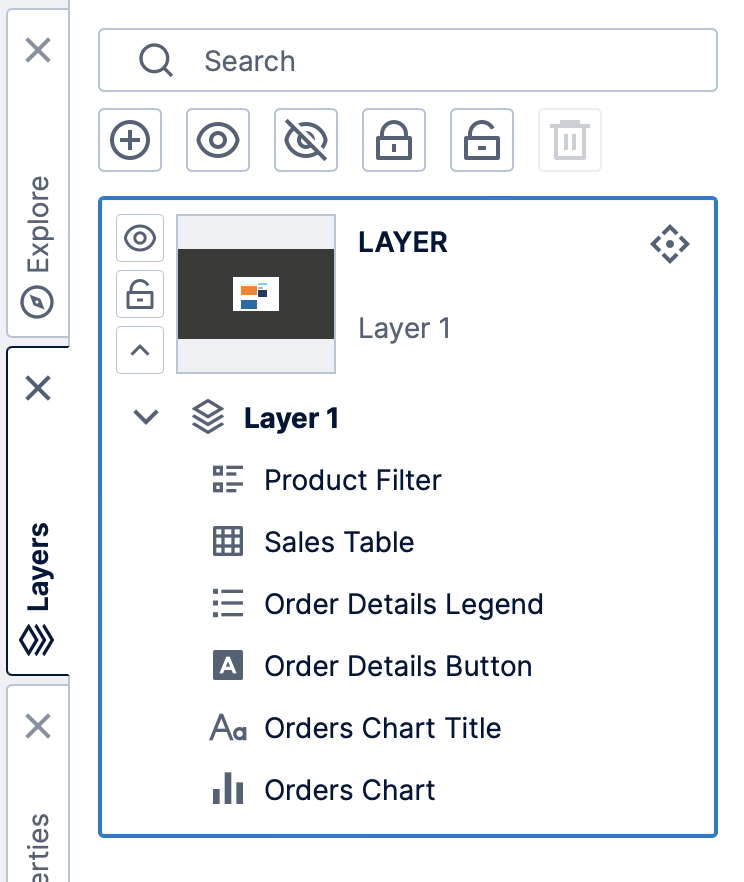
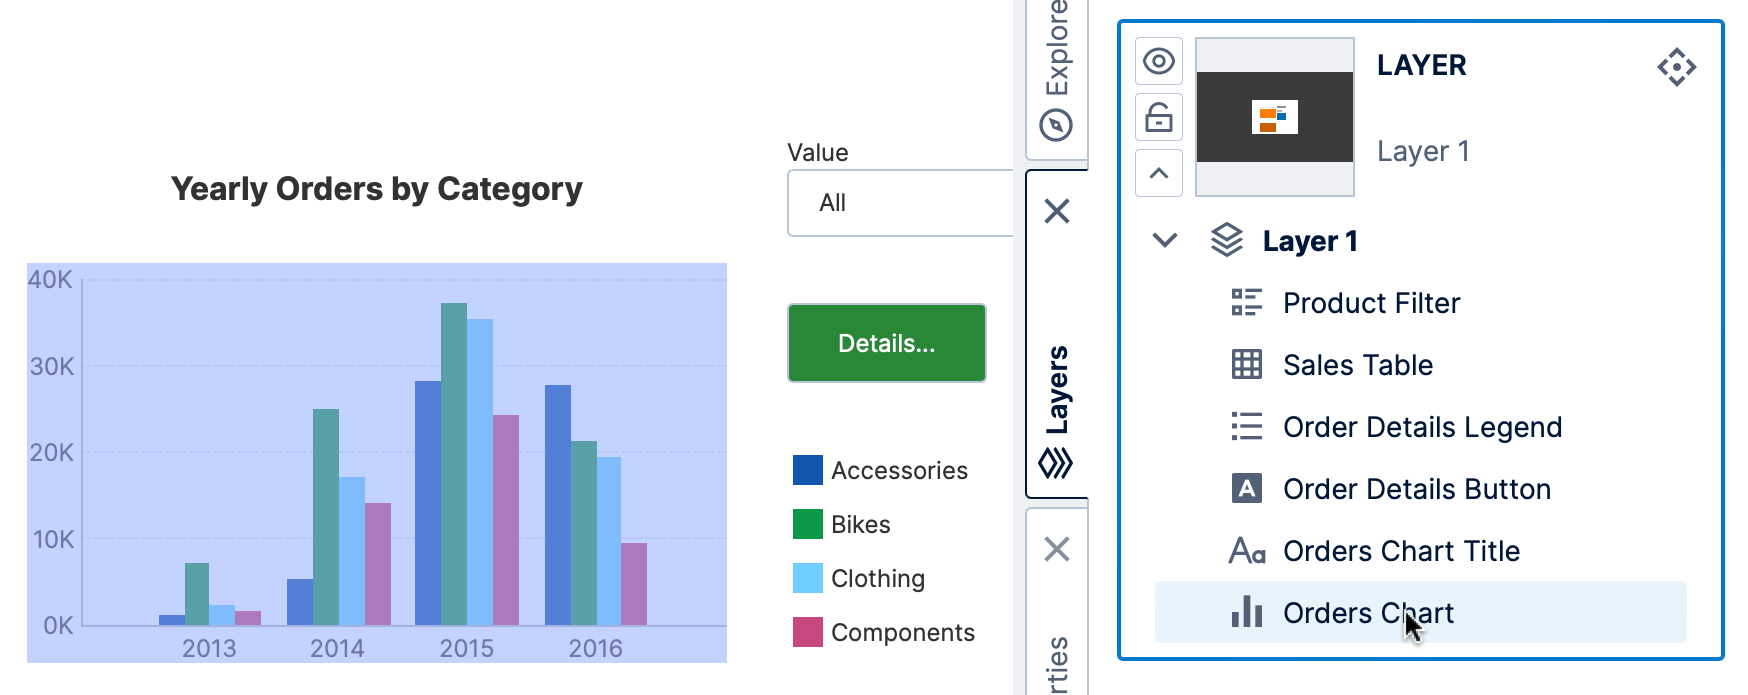
A very useful feature in the Layers window is the ability to see a list of all elements in the view grouped by layer. Visualizations, components, groups, scripts, hidden items, and other elements are each listed according to their z-order, which means items listed first are displayed on top of other items if they overlap. The icon displayed for each layer is a small preview of the elements it contains.
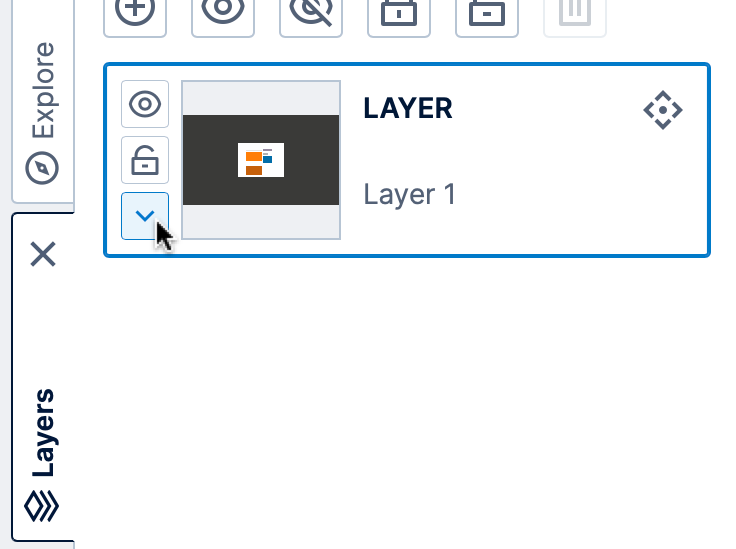
To expand the list of elements in a layer, click its down arrow button on its left. You can also search for an element by its name at the top of the window.
You can drag and drop elements within a layer to change their z-order, or click to select an element and use the options under Arrange in the toolbar such as Bring To Front.
Hover over an item to highlight the corresponding element on the canvas. Similarly, clicking to select one or more items on the canvas will highlight them in the Layers window.
If you click to select an item in the Layers window, it will be selected the same as if you clicked on it directly on the canvas, which means you can switch to the Properties window for the element for example. Double-click an item on the list to center your screen on it.
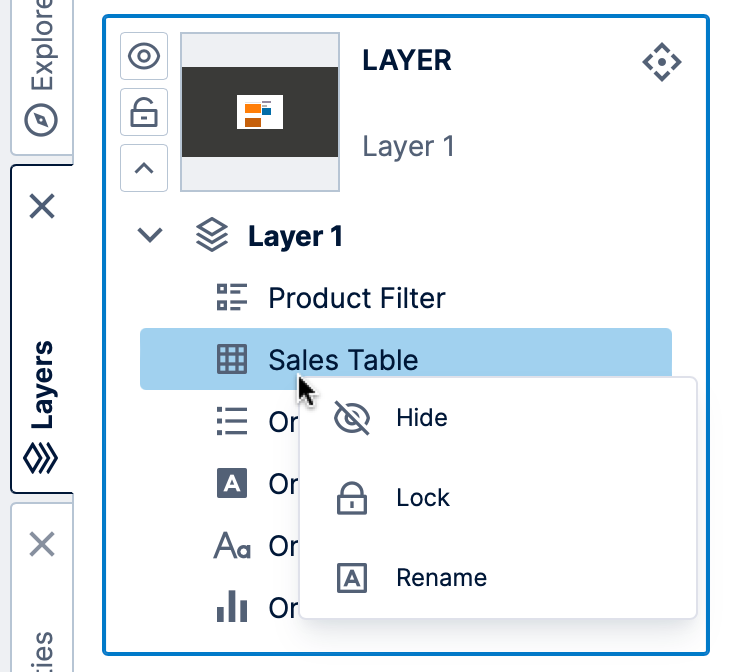
Right-click (or long-tap) an item to access common options such as renaming, showing & hiding, or locking/unlocking.
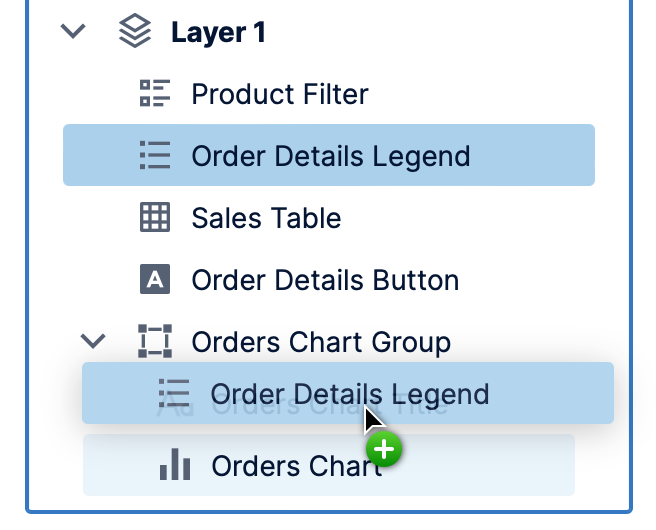
Groups are also listed with each of its contained elements listed separately below and indented.
You can click and drag an element into or out of a group.
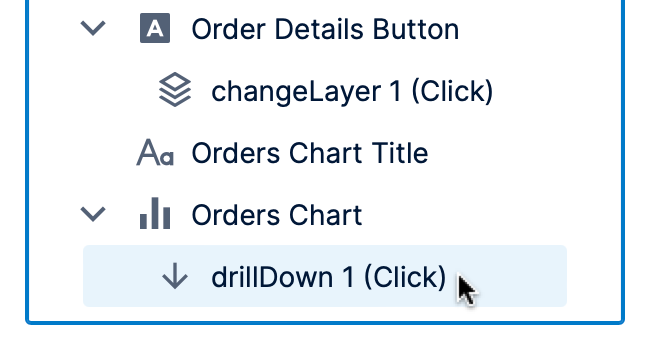
If an item in the list besides a group has an expander arrow, it has an interaction or script assigned to it.
Click to expand the item to view its actions, each with its associated event in parentheses (e.g., click). Click an interaction to open its dialog, or on script to open it in the Script Editor.
3.2. Show or hide a layer
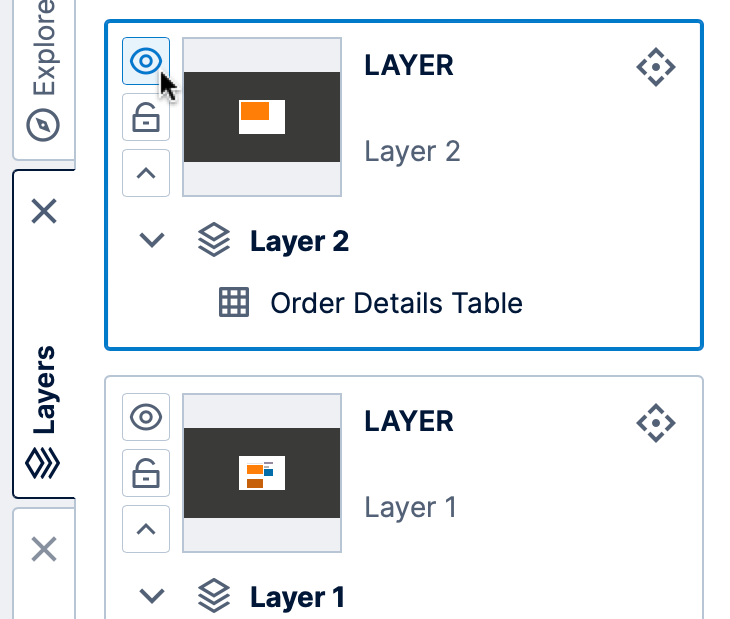
To show or hide a layer, toggle the eye icon on its left.
To show or hide all layers at once, click the corresponding button at the top of the Layers window.
You can also set up interactions to show and hide layers, which will allow each viewer to interactively show and hide content.
3.3. Lock or unlock a layer
Layers can be locked to prevent accidental modification (e.g., moving a chart out of position by mistake).
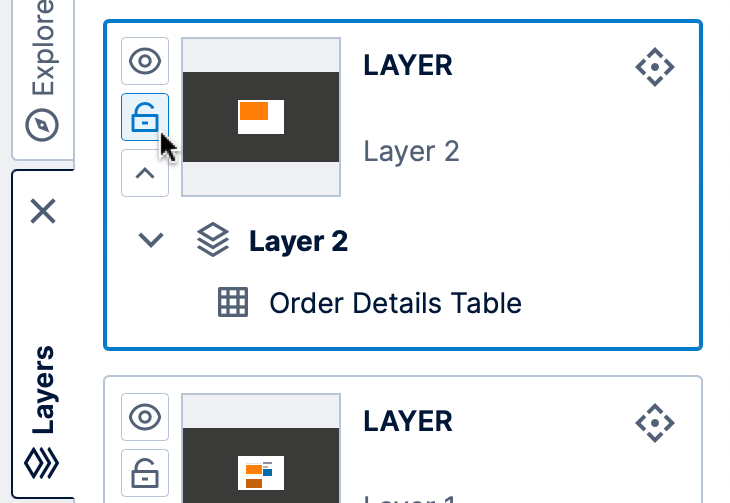
To lock or unlock a layer, toggle the lock icon on its left.
To lock or unlock all layers in one operation, click the corresponding button at the top of the Layers window.
3.4. Rename a layer
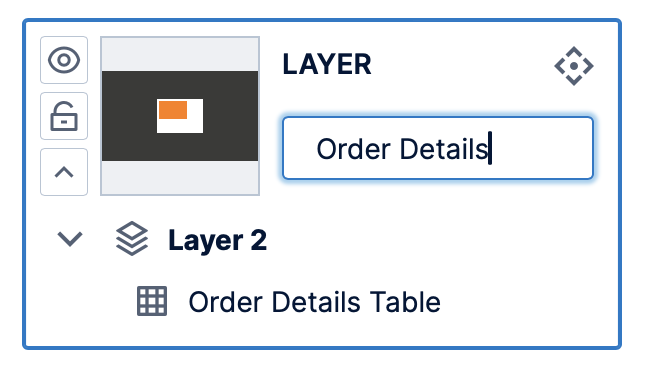
Double-click the name of a layer to change it, then press the enter/return key or click elsewhere.
You can also right-click and choose Rename from the context menu, or you can use the Properties window to rename it.
3.5. Add a new layer
In the Layers window, click the Add button in the toolbar.
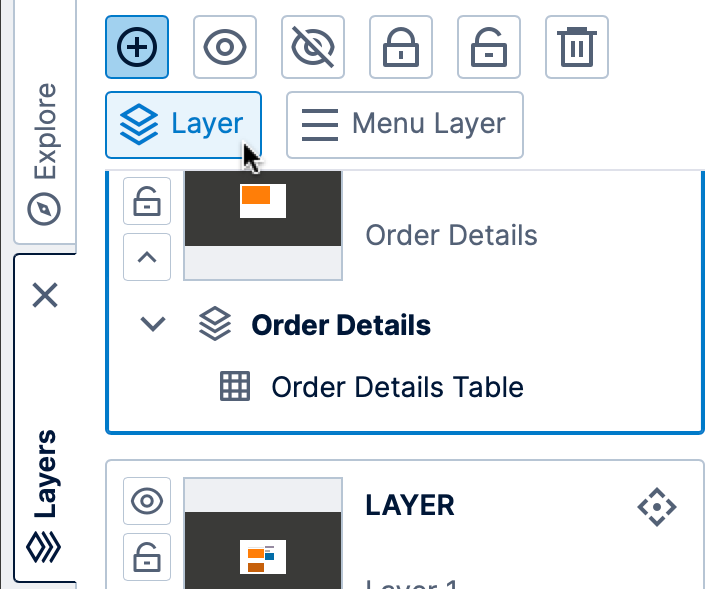
For dashboards, you then choose between a regular layer and a menu layer, described below. In most cases, you can choose the first option to create a regular layer.
When added, the new layer will be positioned above existing layers in terms of z-order. It will also be set as the new current layer as indicated by its blue selection border. When you add new content, it will be assigned to this layer.
The menu layer option can be useful for dashboards that use a template grid, because it contains only a single template cell that is separate from the dashboard's main template grid. You could use this for dashboards with menu navigation that should span the full width or height of your dashboard, for example. For more information, see the article on menu layers.
3.6. Reorder the list of layers
In the Layers window, you can drag a layer and move it above another layer in the list. This will change the z-order of the layers. The elements of a layer higher in the list will always appear on top of elements in a layer below.
3.7. Set the current layer
The current layer is shown as selected in the Layers window (appearing in blue). New elements that you add to the canvas will go into this current layer by default.
To change the current layer, click any part of the layer you want to select in the Layers window.
3.8. Delete a layer
To delete a layer (and all of its contained elements), select the layer in the Layers window and then click Delete at the top of the Layers window.
3.9. Move an element from one layer to another
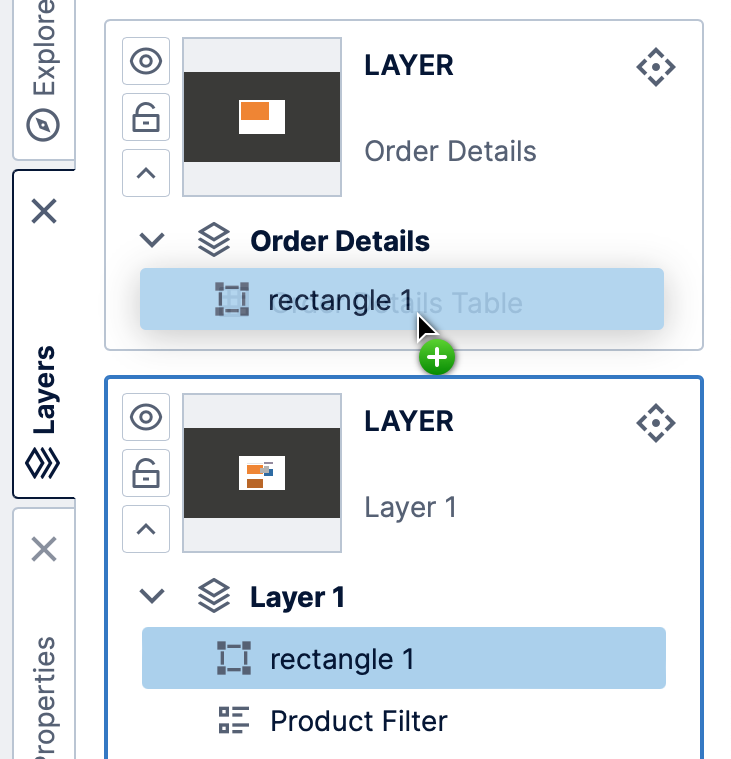
In the Layers window, after clicking the down arrow buttons to list the elements of two layers, you can drag an element from one and drop it on the other to move it.
Alternatively, right-click or long-tap an element and choose Send To Layer, then choose from the list of layers.
3.10. Properties of a layer
To modify the properties of a layer, go to the Layers window. Expand the layer's list of elements by clicking its down arrow button, and then click to select the layer itself at the top of the list.
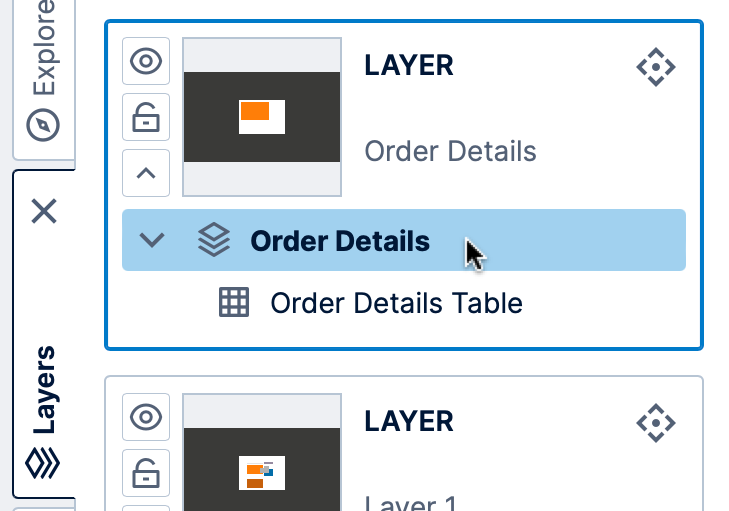
Now you can go to Properties to view or modify the properties of the layer, including its Script Name.