
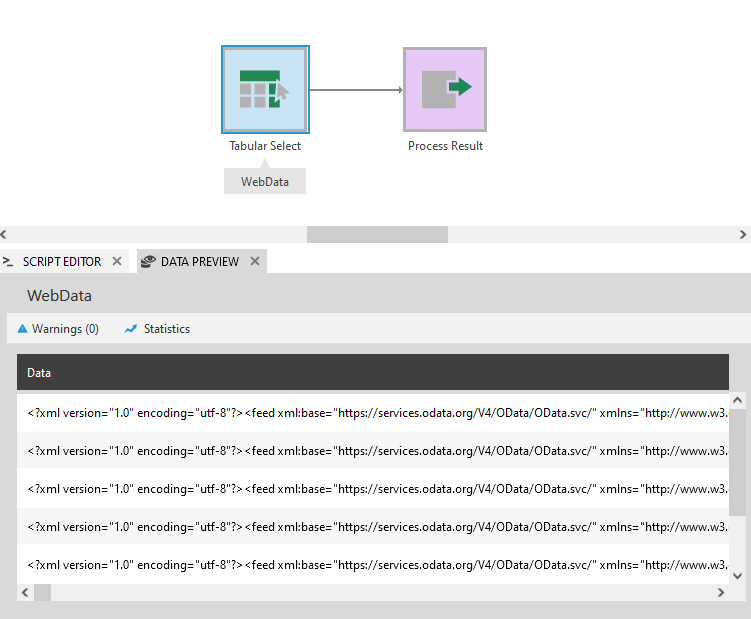
The Flatten XML transform turns rows of data containing XML text into separate columns for each of its values. XML is a common result of using the Generic Web data provider to connect to online data sources, for example.
1. Input
The Flatten XML transform requires one column containing XML text.
There might be only one row containing all of the XML, or it could be split into multiple rows.
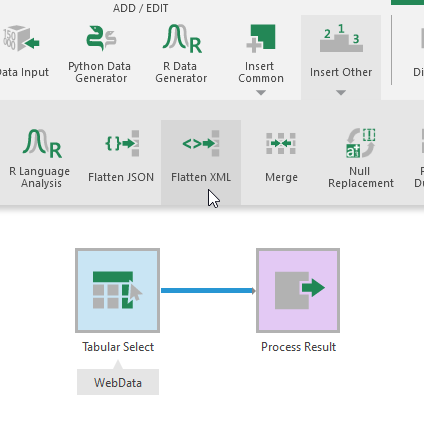
2. Add the transform
Optionally, click to select an existing connection between two of your transforms where you want to insert one.
In the toolbar, choose Insert Other, then Flatten XML.
If you didn't select an insertion point earlier, click and drag from the transform you want to use as input onto the new transform to connect it.
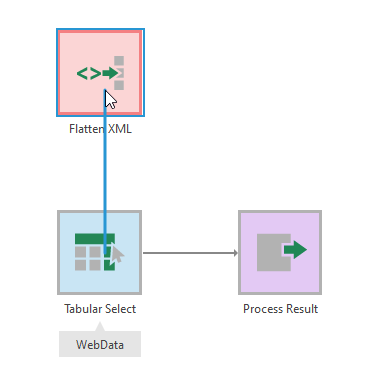
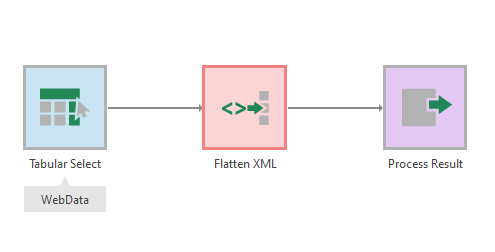
The transform initially appears red because it requires configuration.
3. Configure
Open the configuration dialog by clicking or right-clicking the new transform and choosing Configure in the toolbar or menu (or double-clicking the transform).
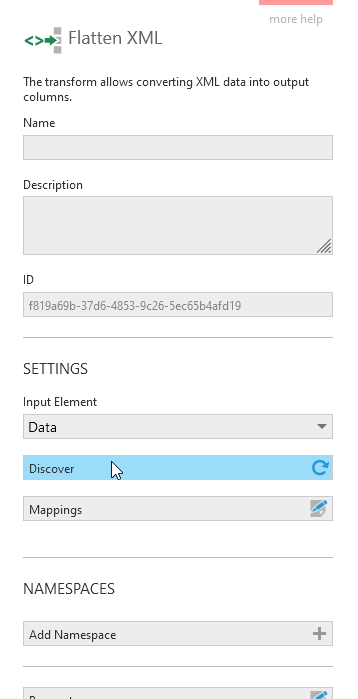
If your input has more than one column, set the Input Element dropdown to the one containing XML text.
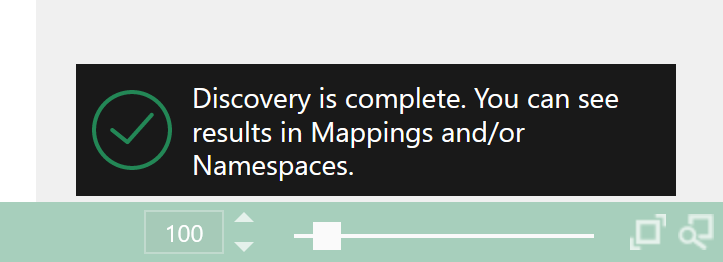
Next, click Discover to automatically populate mappings and other details defining the structure and data types of your columns based on the current input XML. A notification will appear in the lower right corner of the screen when complete, often right away.
If the XML contains prefixes (e.g., <prefix:element>...), these may have been populated under the Namespaces heading along with their corresponding URLs in order to parse the XML correctly.
3.1. Editing mappings
Click Mappings to confirm or change the discovered mappings, although this is typically not required.
The initial Mappings dialog shows the top level of the discovered elements in your XML.
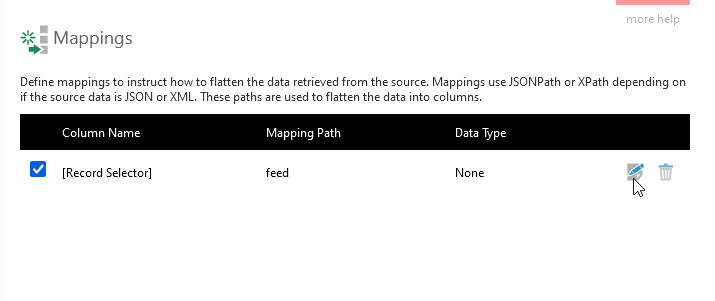
Your top-level element might only contain child or sub-elements like the example above rather than directly containing data.
Click the Edit icon for a mapping to open its details.
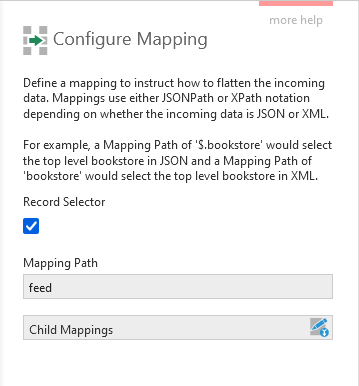
The Mapping Path is set using XPath syntax to refer to an element or attribute value in the XML.
A selected Record Selector option indicates that this mapping represents multiple child elements that will each be transformed into a record.
Click on Child Mappings for this type of mapping to open another Mappings dialog like the first one above, this time for the child element.
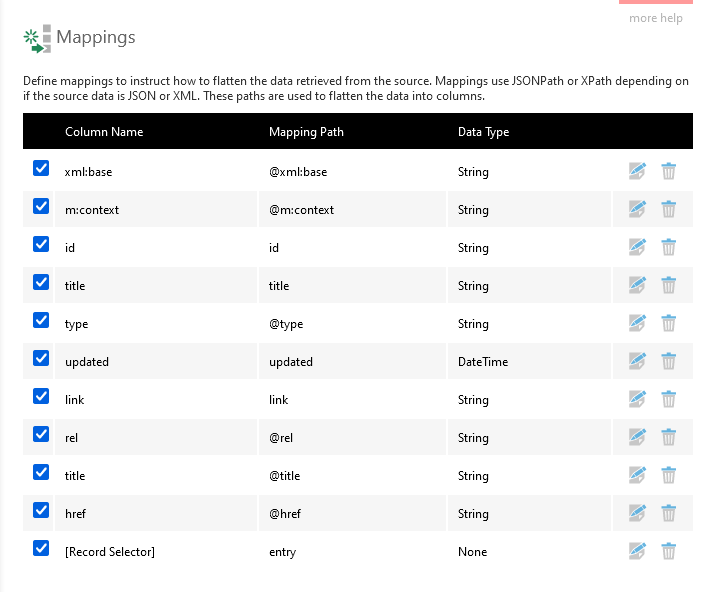
Mappings representing data that will be turned into columns will have a type listed in the Data Type column. You can edit these mappings if you want to change the data type to something else that will be compatible with that property's values.
A mapping with [Record Selector] as its column name indicates there can be multiple child elements of that type within each of the current parent element type, so the child elements will be turned into multiple records (rows of data) and then combined/joined with the parent record. Only one of these can be enabled at each level of mappings at a time to prevent excessive duplication of the parent record's values.
You can exclude a mapping from the transform output by unchecking its checkbox along the left, or delete it using the icon along the right.
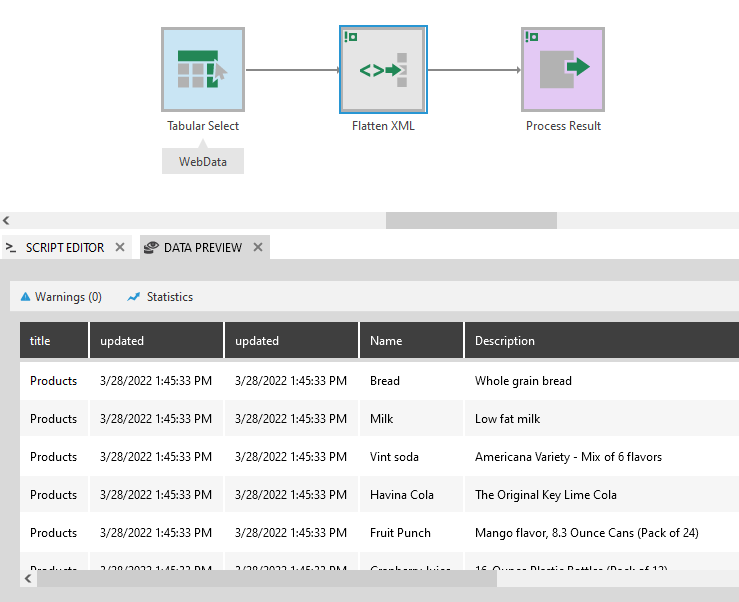
4. Output
After submitting the configuration dialogs, you can preview the output by opening the Data Preview window with the transform selected.
You can configure other standard transform options such as parameters and output elements by configuring the transform again.