
1. Overview
To install Dundas BI directly on Linux, download and run the appropriate Dundas BI Linux installer for your OS. This will install the Dundas BI Deployment Wizard, which you then use to create and manage instances of Dundas BI.
A Dundas BI instance is a named version of the Dundas BI product. As an example, you can install one instance for development, testing or staging purposes, and then have a second instance dedicated to production usage. Multiple instances of Dundas BI can also reside on the same server computer.
Besides installing Dundas BI on Linux directly, you can also run Dundas BI Docker images or use Helm Charts to deploy on Kubernetes. After installation, users can log on to access the entire application from any device running a supported web browser.
1.1. Supported Linux distributions
Dundas BI supports certain versions of the following distributions:
- Red Hat Enterprise Linux (RHEL)
- Ubuntu LTS
- Debian
See the Dundas BI - System Requirements for your version of Dundas BI for supported version details.
Docker container images are also provided for deploying Dundas BI on other distributions or versions.
1.2. Known limitations
There are certain known limitations when running on Linux, including Docker and Kubernetes:
Unsupported data sources:
- Data source support on Linux is detailed for each version of the software in Dundas BI - System Requirements.
Unsupported features:
- Logging on with Windows/Active Directory (federated authentication including Azure Active Directory is supported)
- UNC path when using file data providers, such as CSV/flat files, Excel, XML (URLs and uploading are supported)
- Windows authentication with data providers, including Server Windows credentials, Specified Windows credentials, Impersonated Windows credentials
- SharePoint web part
- XAML diagrams (SVG is supported)
- The default font Segoe UI used in Dundas BI version 11 and earlier is typically not available on Linux when views are exported, so an alternative is used instead
2. Install the deployment wizard
To start installing Dundas BI directly on Linux, first download the installer file to your server. You can download it from the My Account page of this website after logging in with a free account (you can click Sign Up on the login page if you do not have one yet).
Use the .deb file for Ubuntu or Debian, or the .rpm file for RHEL.
On Ubuntu or Debian, go to the folder where the .deb installer is saved and run the following command:
sudo dpkg -i [Installer file name].deb
On RHEL, go to the folder where the .rpm installer is saved and run the following command:
sudo yum install [Installer file name].rpm
3. Run the deployment wizard
The Dundas BI Deployment Wizard lets you create and manage instances of Dundas BI on your Linux server.
Launch the Dundas BI Deployment wizard by using the following command:
sudo dundasbi --wizard
At this point you may be prompted to install the required version of .NET if you haven't already, in which case you can enter y for this to be downloaded and installed automatically.
4. Create a Dundas BI instance
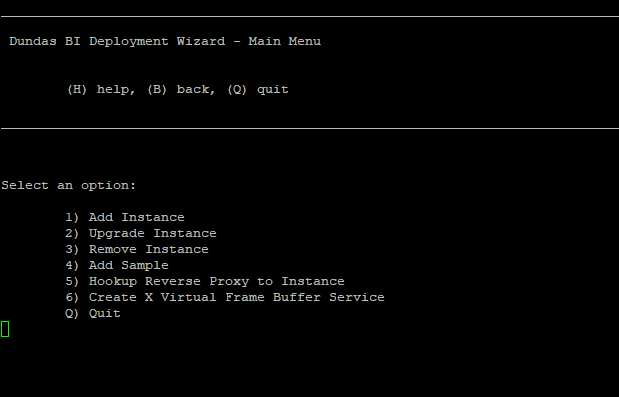
The Dundas BI Deployment Wizard will open with a menu of options similar to the screenshot below.
To create a new Dundas BI instance, enter 1.
5. License agreement
You must agree to the terms of the Dundas BI License Agreement before proceeding. Choose whether you want to view the terms of agreement by entering y or n.
You must accept the license agreement to proceed with the installation.
Enter y to accept the license agreement.
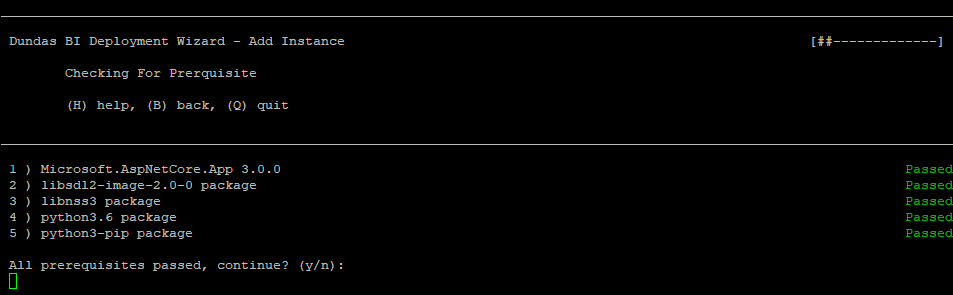
6. Prerequisites
The installation requires a number of prerequisites to be installed before it can proceed further. If your system has all of the prerequisites, enter y to continue.
If your system is missing some of the prerequisites, install them automatically either by entering fixall to install all of them or the corresponding number to select them individually.
Once all of the checks have passed, enter y to continue.
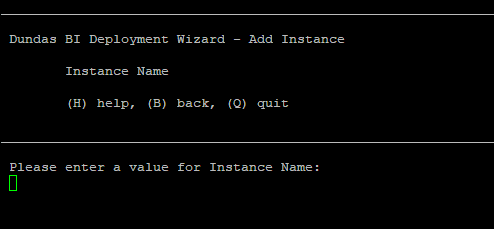
7. Instance details
Enter a unique name to the Dundas BI instance.
Note that your chosen instance name cannot have any spaces or special characters. Valid characters are: a-z, A-Z, 0-9, and underscores.
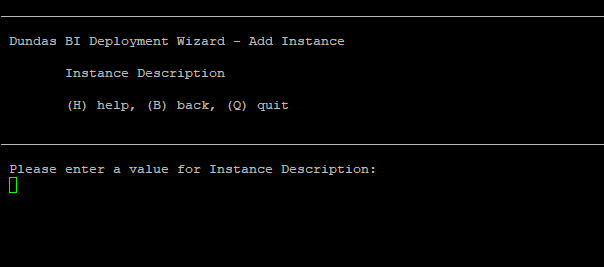
Enter a brief description of your instance. This is optional.
8. Database
Dundas BI stores its own data internally using two databases: an application database and a warehouse database.
8.1. Application database
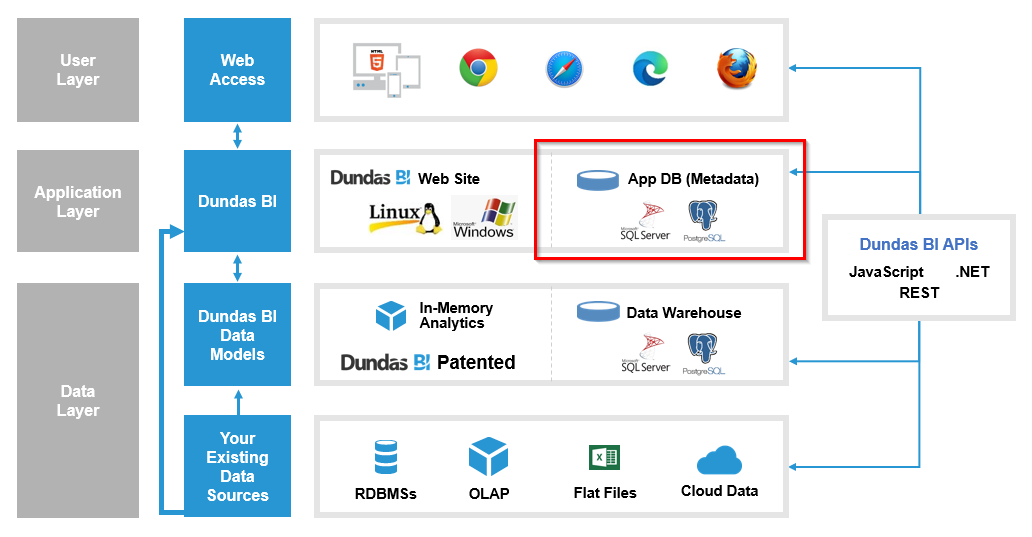
The application database stores the configuration settings of the application and all of the objects that were created using Dundas BI.
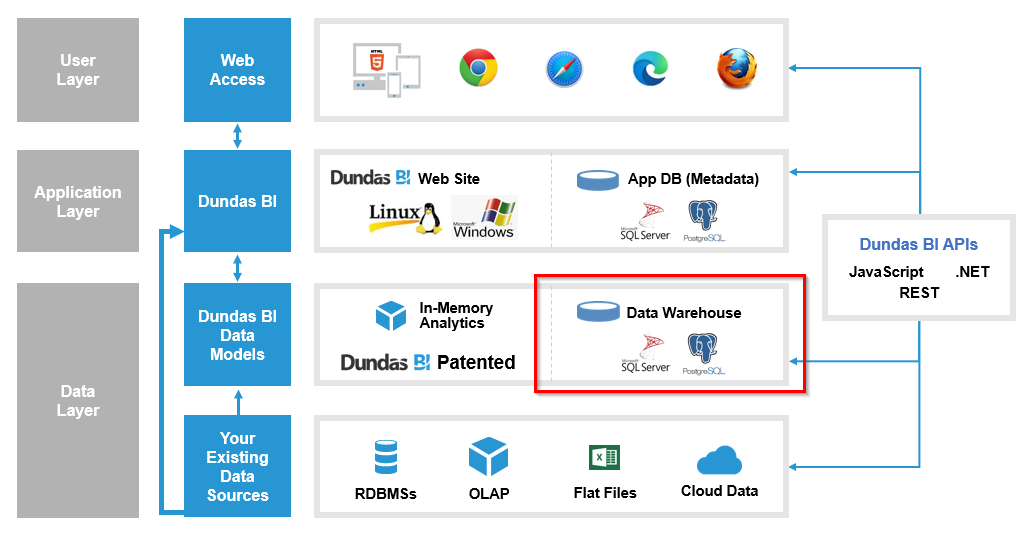
Note that the application database is different from your data source databases, as seen below (indicated in red).
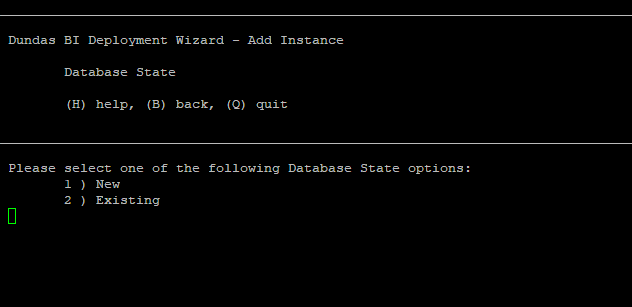
Choose whether to create a new application database or use an existing one. The latter option is applicable when you have an existing database that you want to use.
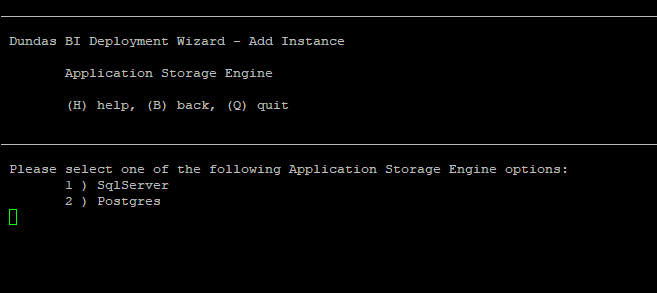
8.2. Select type
Dundas BI can store its own data using Microsoft SQL Server or the open-sourced PostgreSQL.
Select the type of database server to use to run this instance.
8.3. Database name
Enter a database name or press Enter to use the default database name.
8.4. Application database connection
Enter the server name for the application database, which will be used to run Dundas BI.
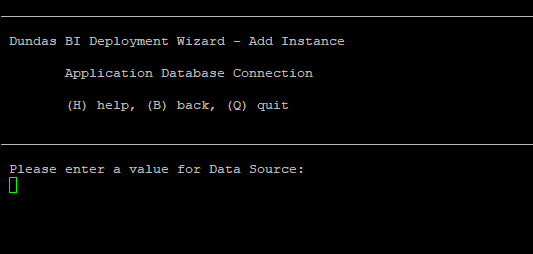
Enter the User ID and Password for the application database.
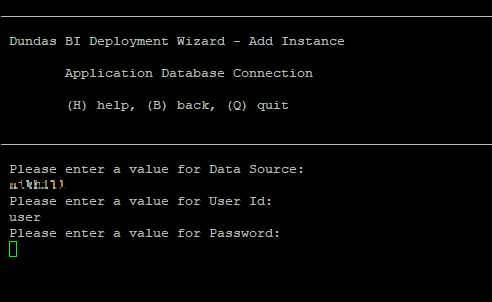
The user ID and password needs to correspond to a database server account that has db_create permissions for Microsoft SQL Server or usesuper permissions for PostgreSQL.
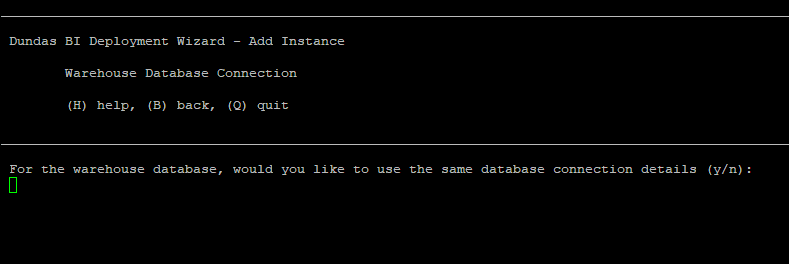
8.5. Warehouse database connection
The warehouse database is indicated in the diagram below in red.
For the warehouse database connection, you can choose to use the same settings as the application database (except for the database name, which must be different) by entering y.
Enter n if you want to provide the connection settings directly as in the previous step.
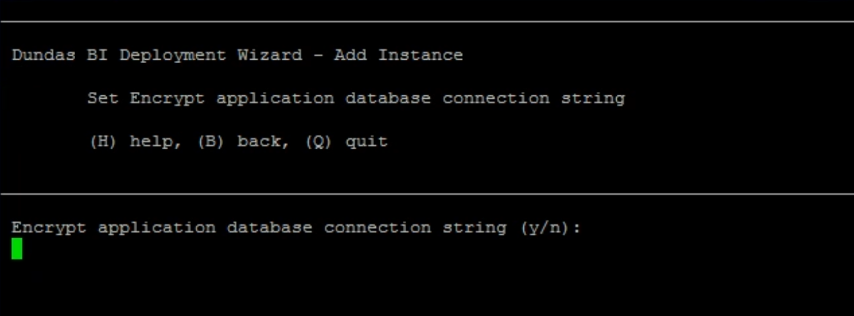
8.6. Encrypt application database connection string
When selected, this option will encrypt the application database connection string found in the dbi.config file.
Enter y to encrypt the application database connection string.
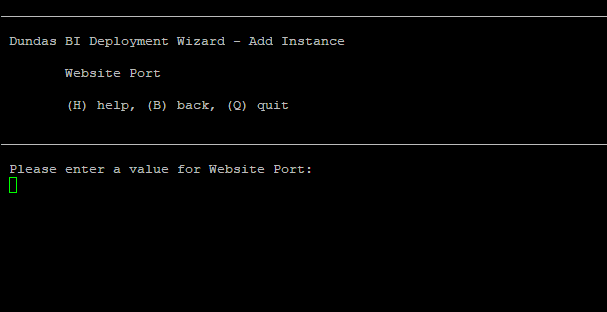
9. Specify website port
You must enter a value for the website port. Ensure to enter a valid port number.
10. Administrator configuration
Choose a username and password for the Dundas BI administrator account.
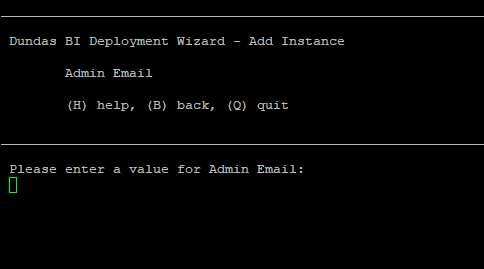
Enter the email address and password for the administrator.
The administrator username and password are required to log on to Dundas BI for the first time. After logging on, the administrator can change the password as desired.
11. Deployment details
Another prerequisites check may run at this point similar to the previous check above.
The next step lets you review all of the options you selected one more time before proceeding with creating the instance.
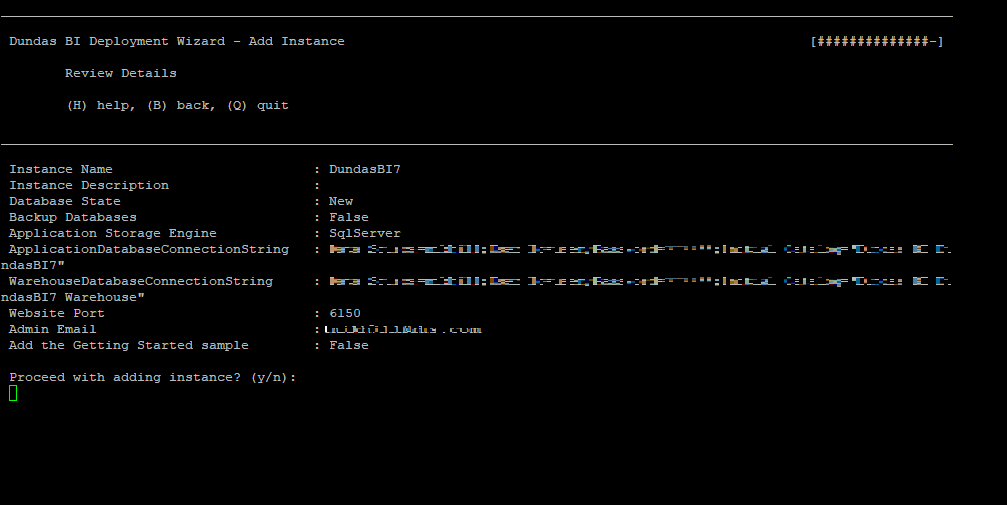
To proceed, type y.
12. Federated authentication
You can use federated authentication to allow users to log onto Dundas BI with their existing identities from providers such as Azure Active Directory or Google, or other providers supporting protocols such as SAML 2.0 or OpenID Connect.
If you are using federated authentication, you should use the Deployment wizard to add the federated authentication module (bridge) to your Dundas BI instance before configuring your reverse proxy in the next step below. For details, see Enabling federated authentication.
13. Configure reverse proxy
After setting up your instance, configure the reverse proxy. The following shows how you can automatically set up NGINX as your reverse proxy server based on the current configuration of your Dundas BI instance when you run this wizard step.
Launch the Dundas BI Deployment wizard by using the following command.
sudo dundasbi --wizard
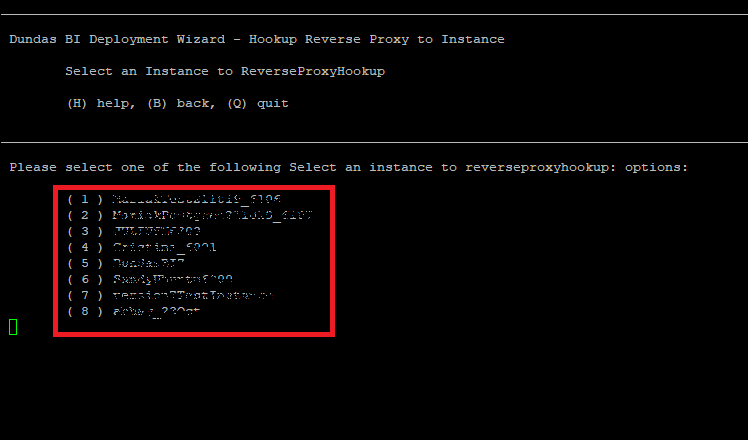
Enter the number indicated for the step Hookup Reverse Proxy to Instance, then select an instance from the list by typing the corresponding number for the instance.
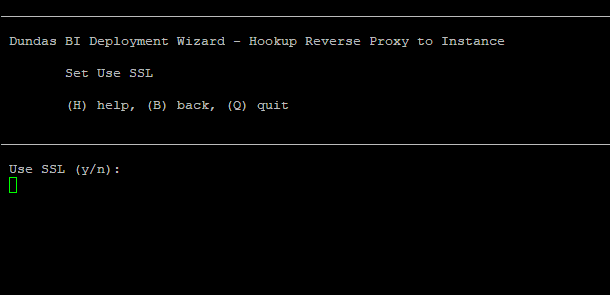
Select whether to use SSL by selecting y or n.
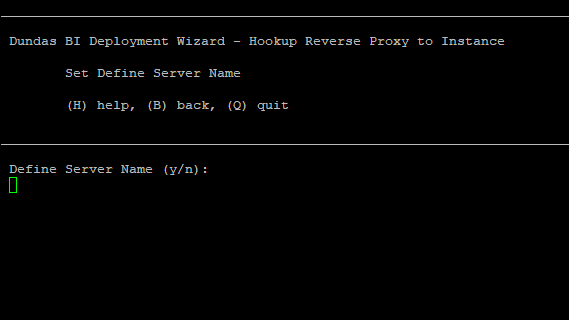
Select whether to provide a name for the proxy server, and then enter the name if applicable.
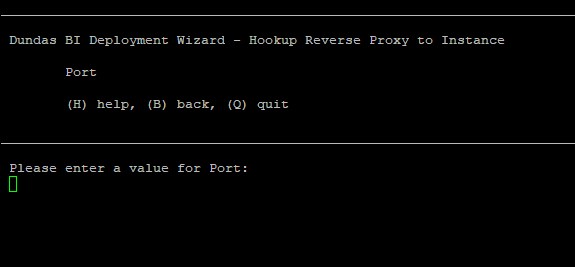
Enter a port number that will be used to access your instance.
Review the reverse proxy configuration details.
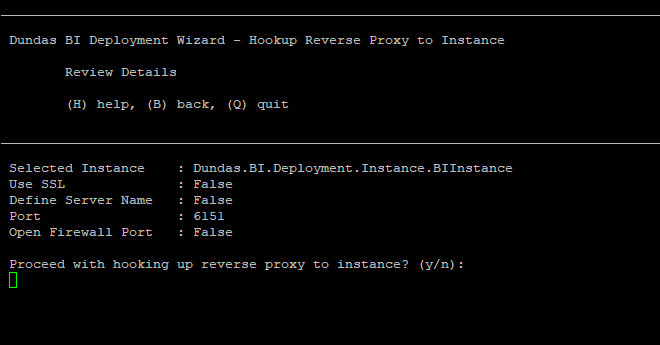
To proceed, enter y.
After the tasks are successful, you can access your Dundas BI website using the reverse proxy port number.
14. X Virtual Frame Buffer Service
To enable exporting dashboards, reports, and other views, the X Virtual Frame Buffer Service must be configured. In Dundas BI version 8.0.1 and later, this is done automatically as part of a prerequisites step when creating an instance, otherwise you can configure the service as described below.
Launch the Dundas BI Deployment wizard by using the following command.
sudo dundasbi --wizard
Enter the number indicated for the step Create X Virtual Frame Buffer Service to begin configuring the X Virtual Frame Buffer service. The prerequisites check runs. Type fixall to install any prerequisite that is not installed.
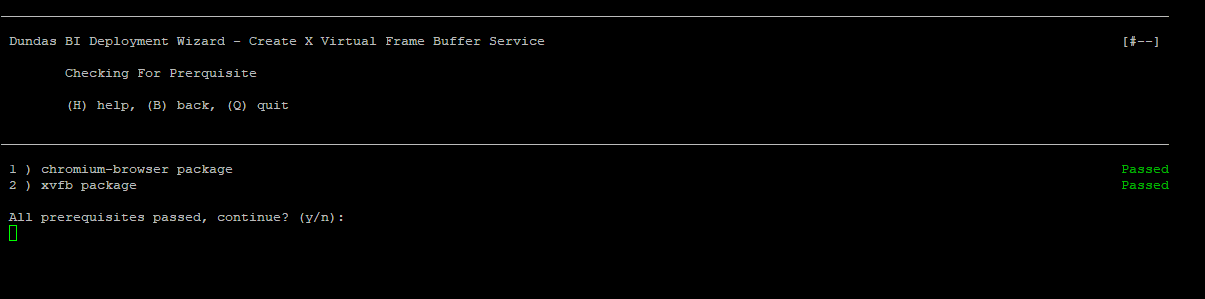
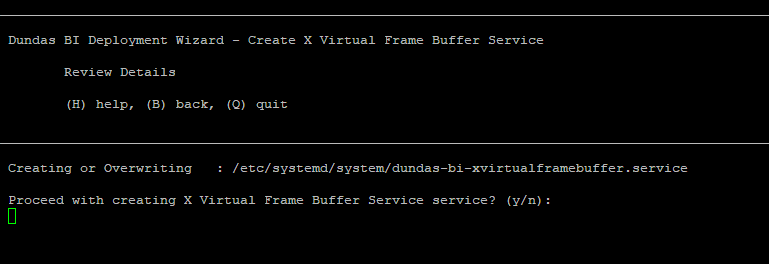
After all the prerequisites are installed type y to proceed. Confirm to start creating the X Virtual Frame Buffer Service by typing y.
15. Next steps
After installation, you'll want to:
- Log on for the first time as the administrator (admin).
- Get familiar with the various admin-related functions such as managing user accounts.
- Review configuration settings including the email settings used for features like notifications, the Internal and External URLs used to access the Dundas BI website internally and by users respectively, and configuration best practices.
- Apply a retail license if needed.