The Merge transform allows values from two or more columns to be merged into a single column. This might be useful in cases such as after a full outer join where one column may be null.
This article provides a simple example of merging two date columns.
1. Input
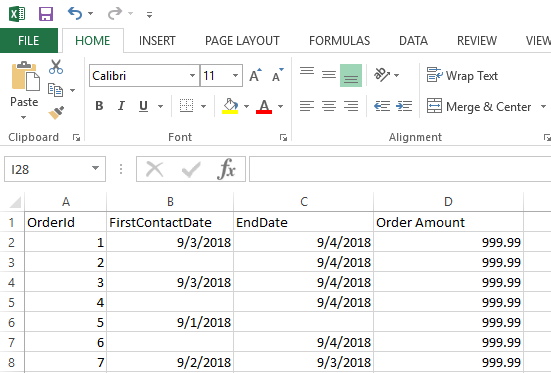
The Merge transform requires requires two or more columns. This example will merge the FirstContactDate and EndDate columns from this data:
2. Add the transform
In the toolbar, choose Insert Other, then Merge.

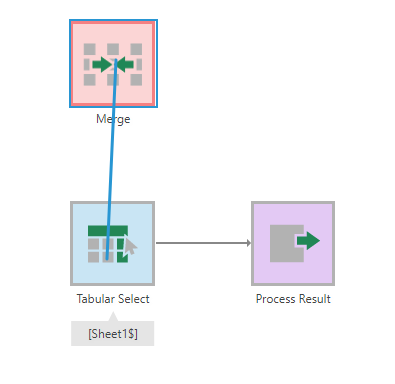
Click and drag from the input transform (e.g., Tabular Select) onto the Merge transform.
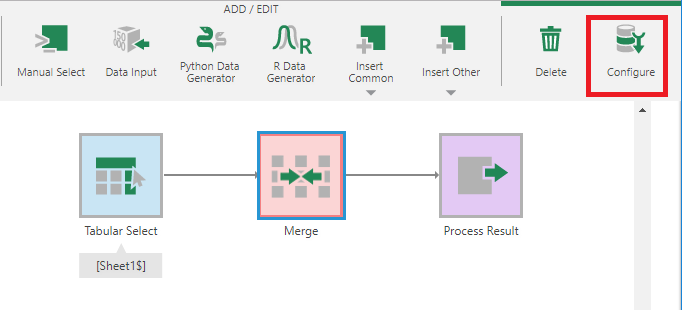
3. Configure
Next we need to configure the transform. Click to select it, and choose Configure in the toolbar.
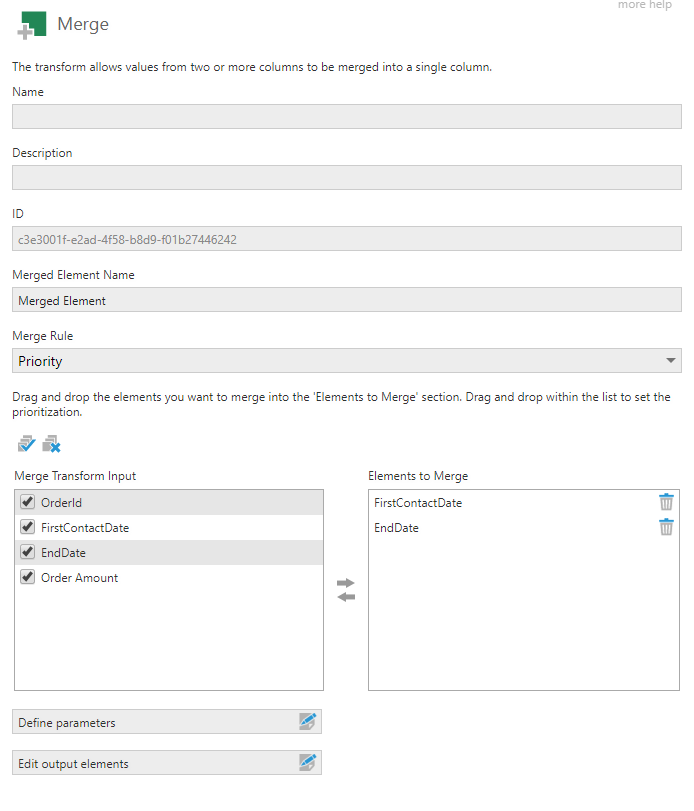
The Merge configuration dialog will appear. Here you need to drag the elements you want to merge and drop them under Elements To Merge.
The Merge Rule is initially set to Priority, which takes the first non-null value found based on the order of the Elements to Merge list. The other options are Highest (highest value will be merged), and Lowest (lowest value will be merged).
Click the submit button at the bottom of the dialog when finished.
4. Output
To preview the output, open the Data Preview window with the merge transform selected.
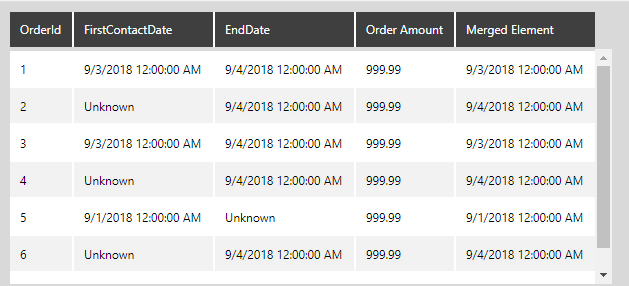
The figure below illustrates the output for our example. Note the added Merged Element column with dates from the FirstContactDate and EndDate columns, with the priority based on the set order of the elements.