
1. Overview
The Custom Logon URL configuration setting specifies where the user should be redirected when accessing the logon page. For example, when a user logs out or their logon session times out, you may want to redirect them to a specific location.
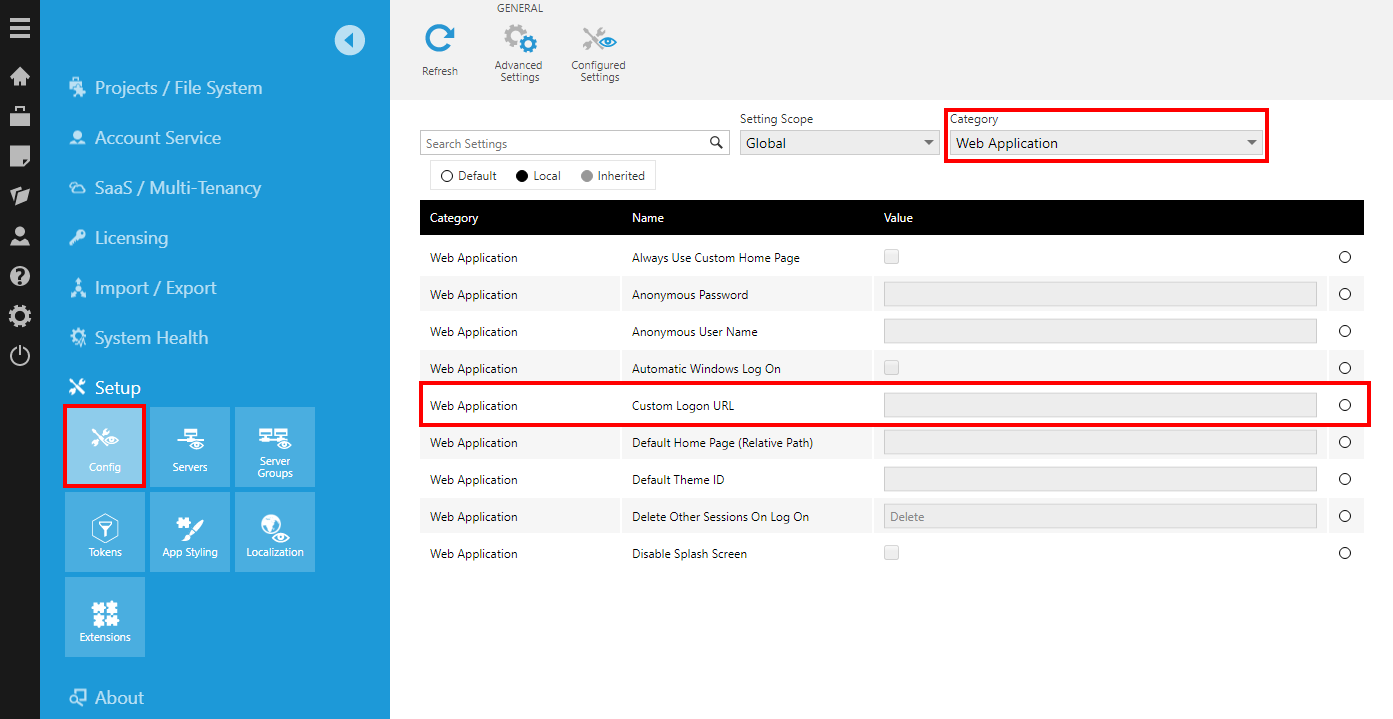
2. Set up the configuration setting
Access Administration from the main menu, click to expand Setup, then click Config.
Select Web Application from the Category drop-down select the Custom Logon URL setting and then click Edit on the toolbar.
Click Edit value and provide the target URL.
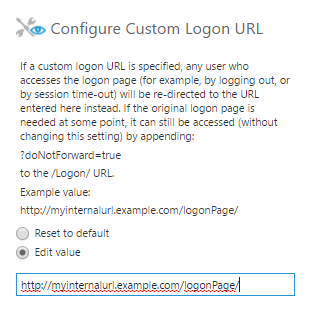
Click Submit.
3. Notes
- The original logon page is still accessible by appending ?doNotForward=true to the query string (for example, http://dundas.instance.com/LogOn?doNotForward=true).
- The return URL is automatically appended to the query string when redirecting to the custom logon URL. This allows the custom logon page to send the user back to their previous location once they authenticate.
- When working with Multi-Tenancy, the Tenant ID can be appended to the query string (for example, http://dundas.instance.com/LogOn?tenantId=092741e1-61a4-4ee8-925a-1e78a90260ad). Furthermore, when a tenant user is logged on, the Tenant ID is appended to the query string automatically. This means the target page can be set up to redirect or re-brand for the page for each tenant based on the Tenant ID.