Using a security hierarchy to filter data by user
1. Overview
This walkthrough shows you how to filter data depending on the user by using a security hierarchy with custom attributes.
Security hierarchies allow you to set up user-dependent filtering, or row-level security, for the data accessed from a data cube. For example, when a user is viewing a dashboard based on a data cube with a security hierarchy, the data that appears can be filtered to correspond to the custom attribute value associated with the user's account.
You can also use custom attributes to filter data in a data cube transform's parameter, but setting up a security hierarchy allows for using warehouse or in-memory storage as well as other benefits such as limiting the values shown to users in filters.
2. Example preparation
To prepare the example shown in this article, log in as a member of the System Administrators group, and create a custom attribute that will associate a filter value with each user:
- Access Administration from the main menu, expand Account Service and click Custom Attributes.
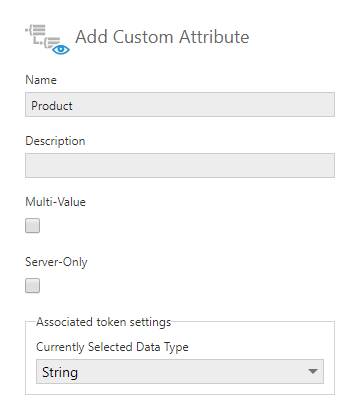
- Click to add a new custom attribute and name it Product for this example.
- To be able to select multiple values from a hierarchy to filter by for each user, select Multi-Value before submitting the dialog. You can edit a custom attribute later to select this option, but it cannot be changed back if this custom attribute is also used for something besides security hierarchies that requires a single value.
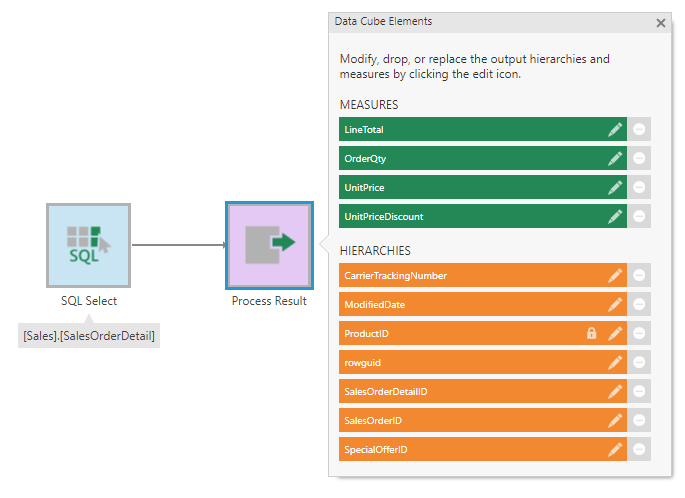
Create a new data cube to use the custom attribute. In this example we choose the Blank option for a new data cube, then from an Adventure Works sample database connector in the Explore window, we drag the table [Sales].[SalesOrderDetail] to the canvas. A SQL Select transform and a Process Result transform appear on the canvas.
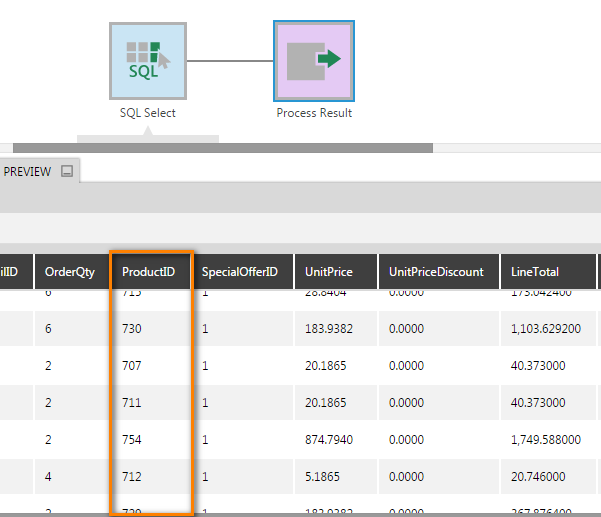
Clicking the Process Result transform and then opening the Data Preview window shows that there are a number of product IDs as seen in the following figure:
3. Set the security hierarchy
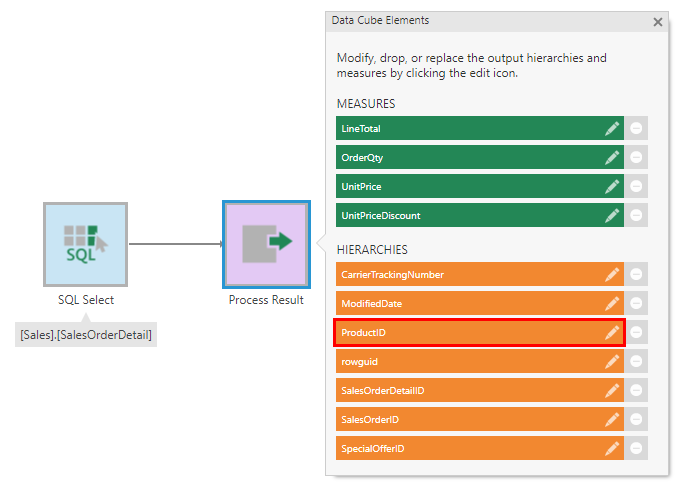
While editing your data cube, select the Process Result transform. In the Data Cube Elements popup, click to edit the hierarchy containing values to filter by for each user. For our example, click ProductID.
Select the Security Hierarchy option, and then select the Custom Attribute from the dropdown that will provide a value to filter by for each user (select Product for the example above).
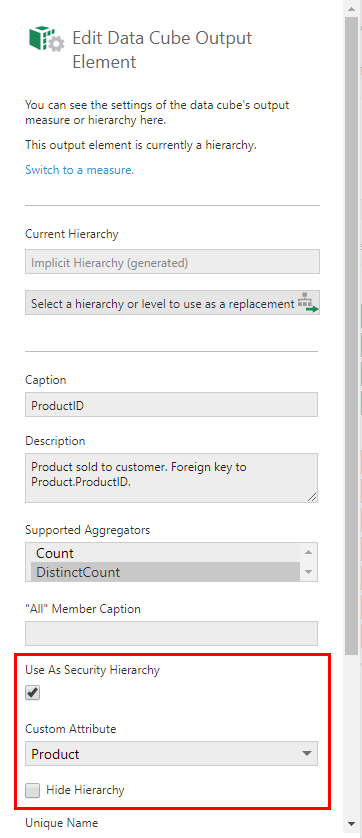
If this hierarchy should be used to filter the data seen by users but not selected and displayed directly, select the Hide Hierarchy option. (Leave this unchecked for now while following this walkthrough.)
Click the submit button at the bottom. The security hierarchy is now configured to filter based on the user's Product custom attribute value.
4. Assign custom attribute values
Typically, an administrator will assign the custom attribute value to other users and/or groups. You should assign an appropriate value to each account or group that needs to access this data cube's data.
In the Administration screen, expand Account Service and click Accounts to see the list of users in the system. (To assign a value to a group of users, click Groups instead.)
Click the Edit button for the user or group. For the purposes of this walkthrough, we will edit System Administrator for simplicity. In the Account Details dialog, scroll to the bottom and click the Custom attributes button.
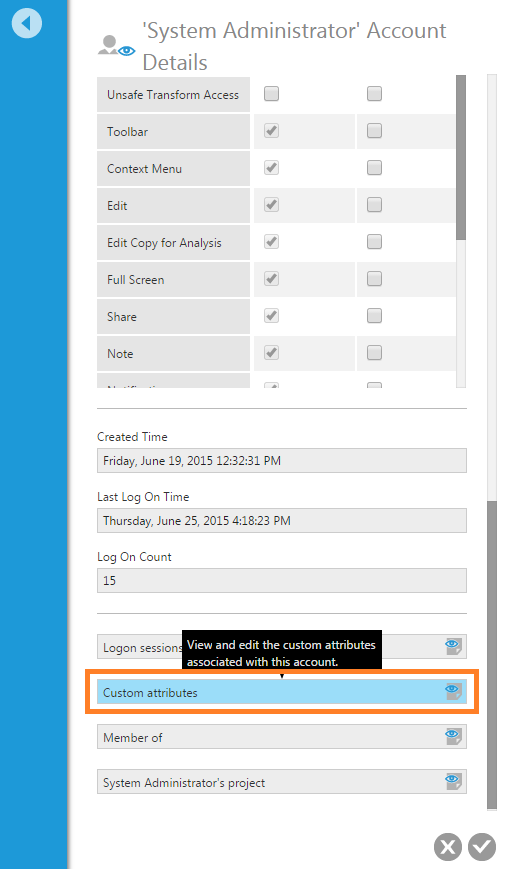
In the View Custom Attributes dialog, click Add custom attribute. Select the checkbox for the Product custom attribute and click the submit button at the bottom.

Click the Edit button for the new custom attribute. In the Edit Custom Attribute dialog, click Select an OLAP or data cube and choose the data cube (created above) containing the security hierarchy associated with this custom attribute.
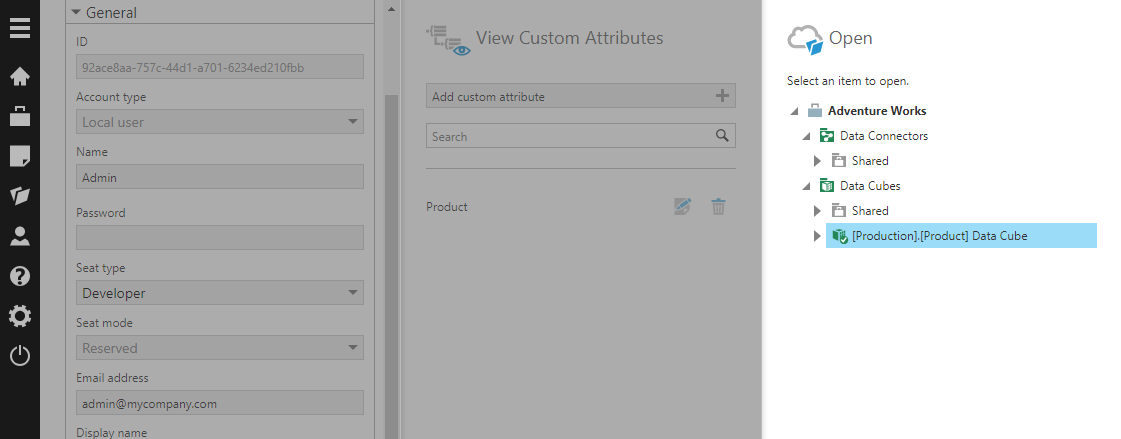
(If the Open dialog currently displays the wrong project, close this dialog and use the Projects button in main menu at the far left to switch projects before clicking again to select a cube.)
Use the hierarchy value dropdown that now appears for the security hierarchy (for ProductID in our example) to browse or search for the value to filter by for this user.
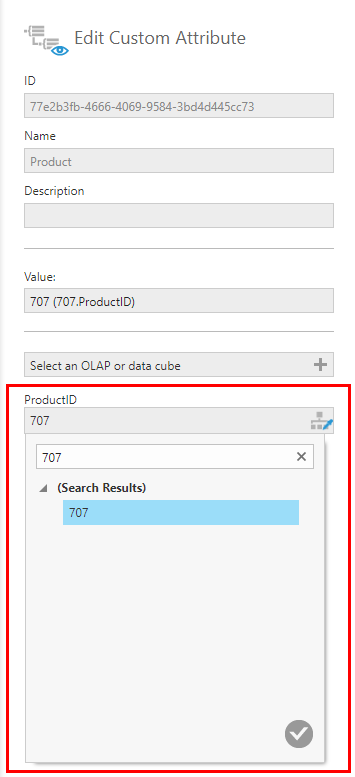
If your custom attribute has its Multi-Value option selected, each time you choose a hierarchy value it will be added to the list.
You can also set the Value field to a member unique name, or to the raw keys from the data source for an implicit hierarchy, rather than selecting values from a cube.
Submit the dialogs when finished. A popup will inform you that you will need to log off and log back on for the changes to take effect.
5. Select data from the data cube
After logging in again, create a new metric set from the main menu, then locate the data cube in the Explore window.
Drag the OrderQty measure to the canvas, which will appear as a table visualization. Then drag the ProductID dimension onto the area of the table labeled Row Header. (A small lock icon identifies ProductID as the security hierarchy in the Explore window.)
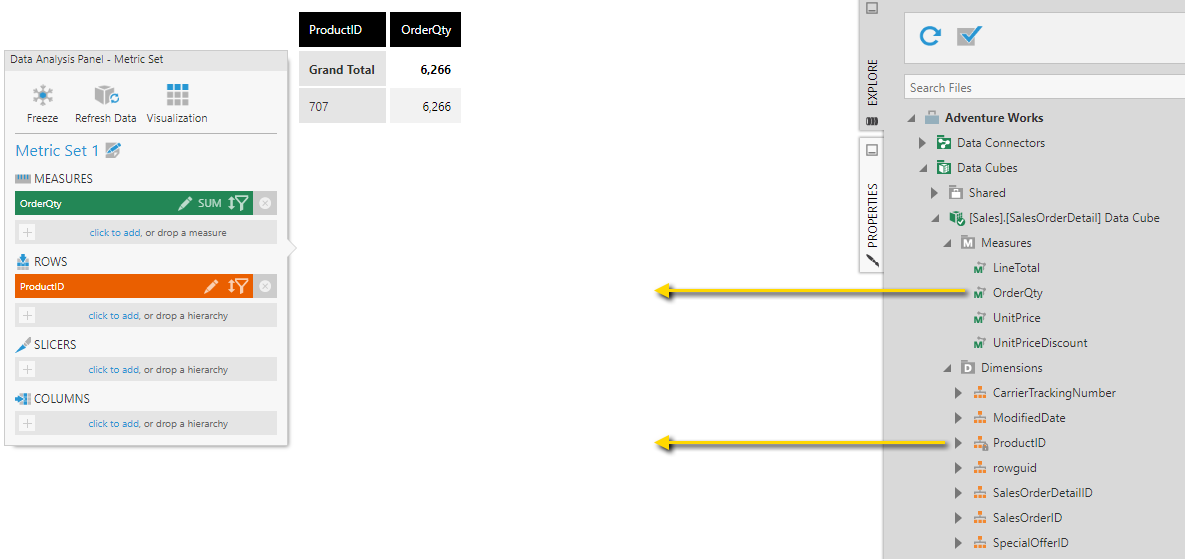
Since you're logged on using an account with a value assigned to the security hierarchy's custom attribute, you'll see data filtered by that custom attribute value.

